Quick Links: Jump to What You Need
- Where to Start
- Fast Diagnosis: Sleeping or Gone for Good?
- The Comeback Steps, at a Glance
- Match Your Symptom to a Fix
- Keep This From Happening Again
- Bottom Line
| Starter Condition | Sign to Look For | Action |
|---|---|---|
| Salvageable (Dormant) | Dark film (hooch) on top | Drain dark liquid, proceed with revival |
| Salvageable (Dormant) | Sharp acetone or vinegar smell | Continue with 1:1:1 feeding cycle |
| Salvageable (Dormant) | Flat after time in fridge | Warm to room temp, feed every 12 hours |
| Discard Immediately | Visible mold (green, black, white, pink fuzzy patches) | Chuck entire batch |
| Discard Immediately | Pink or orange streaking | Discard — harmful bacteria risk |
| Discard Immediately | Rotten sewage or spoiled dairy odor | Discard — contaminated |
Where to Start
My hands are still tacky with dough, the loaf on the bench just got its final shape, and my brain has already jumped ahead to that jar sitting untouched on the counter — that’s usually when this crisis hits. No long story right now, just the checklist: is your starter sleeping, truly finished, or plain hungry, and what’s the actual move for each one.
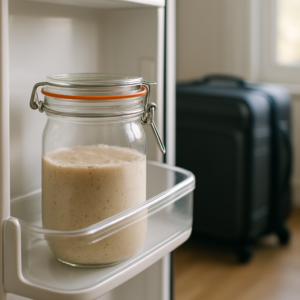
Run through the items below in sequence. Nine times out of ten, a “dead” starter is simply napping — hooch on top, a sharp bite to the smell, and no visible movement after a stretch in the fridge don’t automatically mean it’s over.
Fast Diagnosis: Sleeping or Gone for Good?
Worth saving — look for any of these signs:
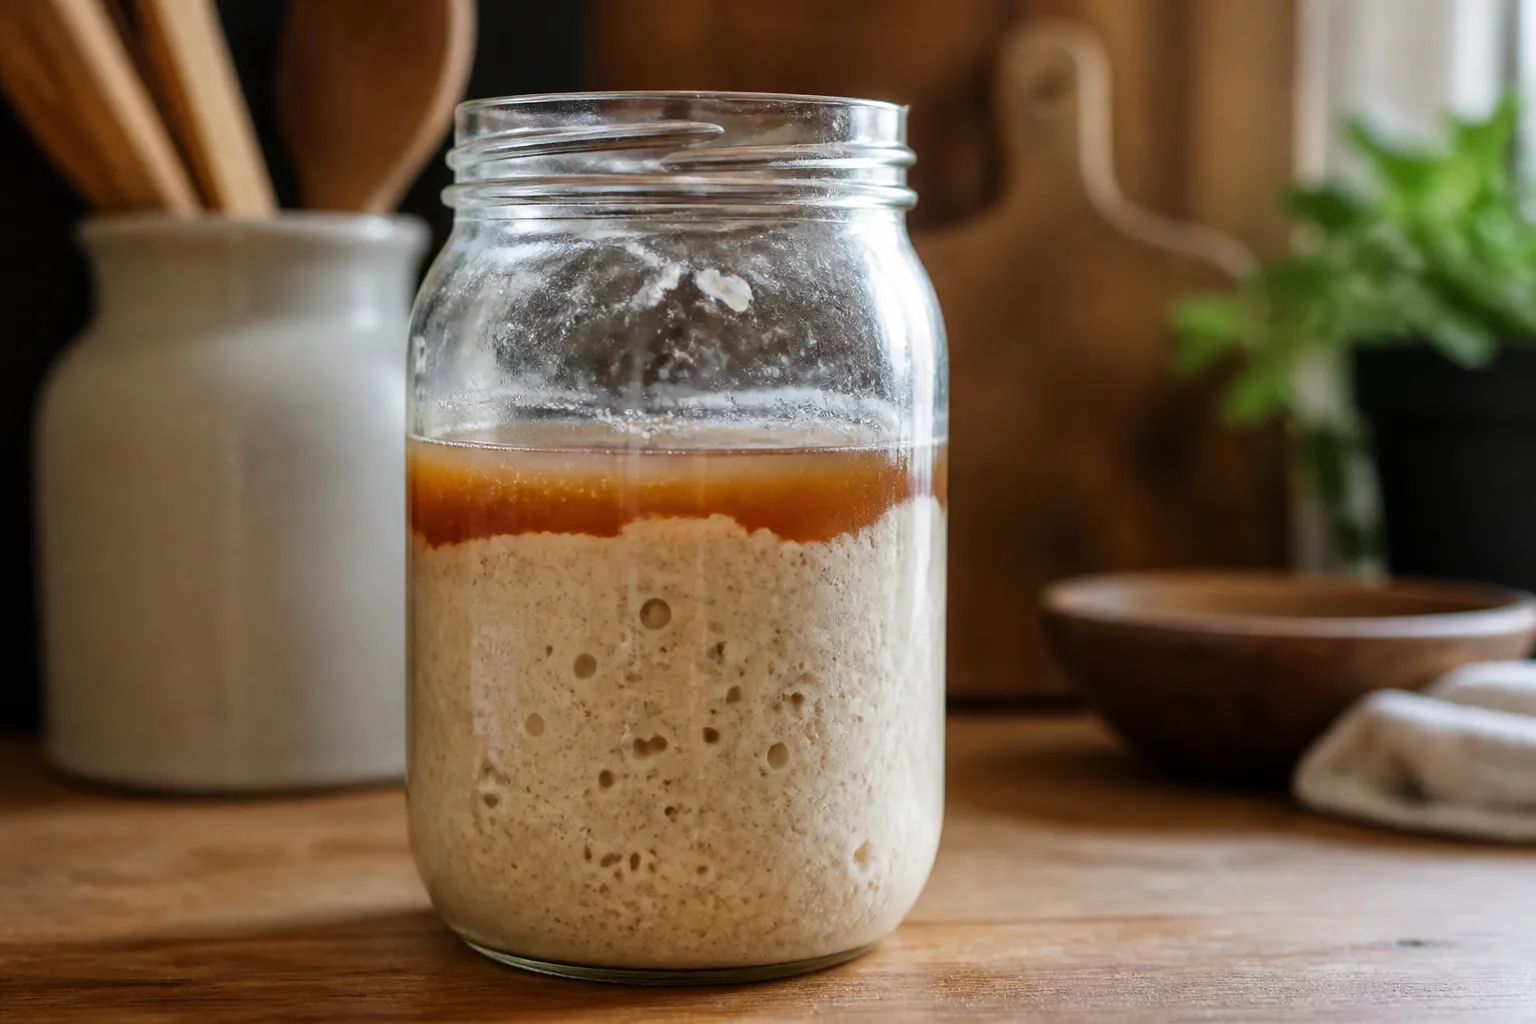
- A dark film floating on top (hooch), whether it’s grey, brown, or black. That’s simply the runoff from starved yeast and bacteria — a sign of hunger, not a corpse.
- A sharp whiff of acetone, booze, or vinegar. Harsh on the nose, but expected from a starter that hasn’t eaten in a while.
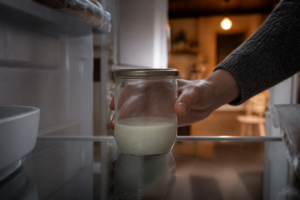
- Zero bubbling or motion after sitting in the fridge for a long stretch. Flat and quiet isn’t the same thing as unsalvageable.
- A watery, split look, where the flour-and-water mix has separated into a liquid layer sitting beneath a paste-like top.
Toss it and begin fresh — watch for any of these:
- Any mold you can actually see. Fuzzy patches in green, black, white, or pink all point to contamination. Chuck the whole batch right away.
- Pink or orange streaking, even faint. That’s a red flag for harmful bacteria that can genuinely make you sick. Don’t try to rescue it.
- A rotten odor that’s nothing like its usual sour, boozy funk. A starving starter smells intense; one that smells like sewage or spoiled dairy is contaminated.
The Comeback Steps, at a Glance
If your starter cleared the checklist above as savable, here’s the plan laid out step by step — skip the backstory, just the numbers.
- Let it warm up first. Set the starter out at room temperature for a couple hours before touching anything else.
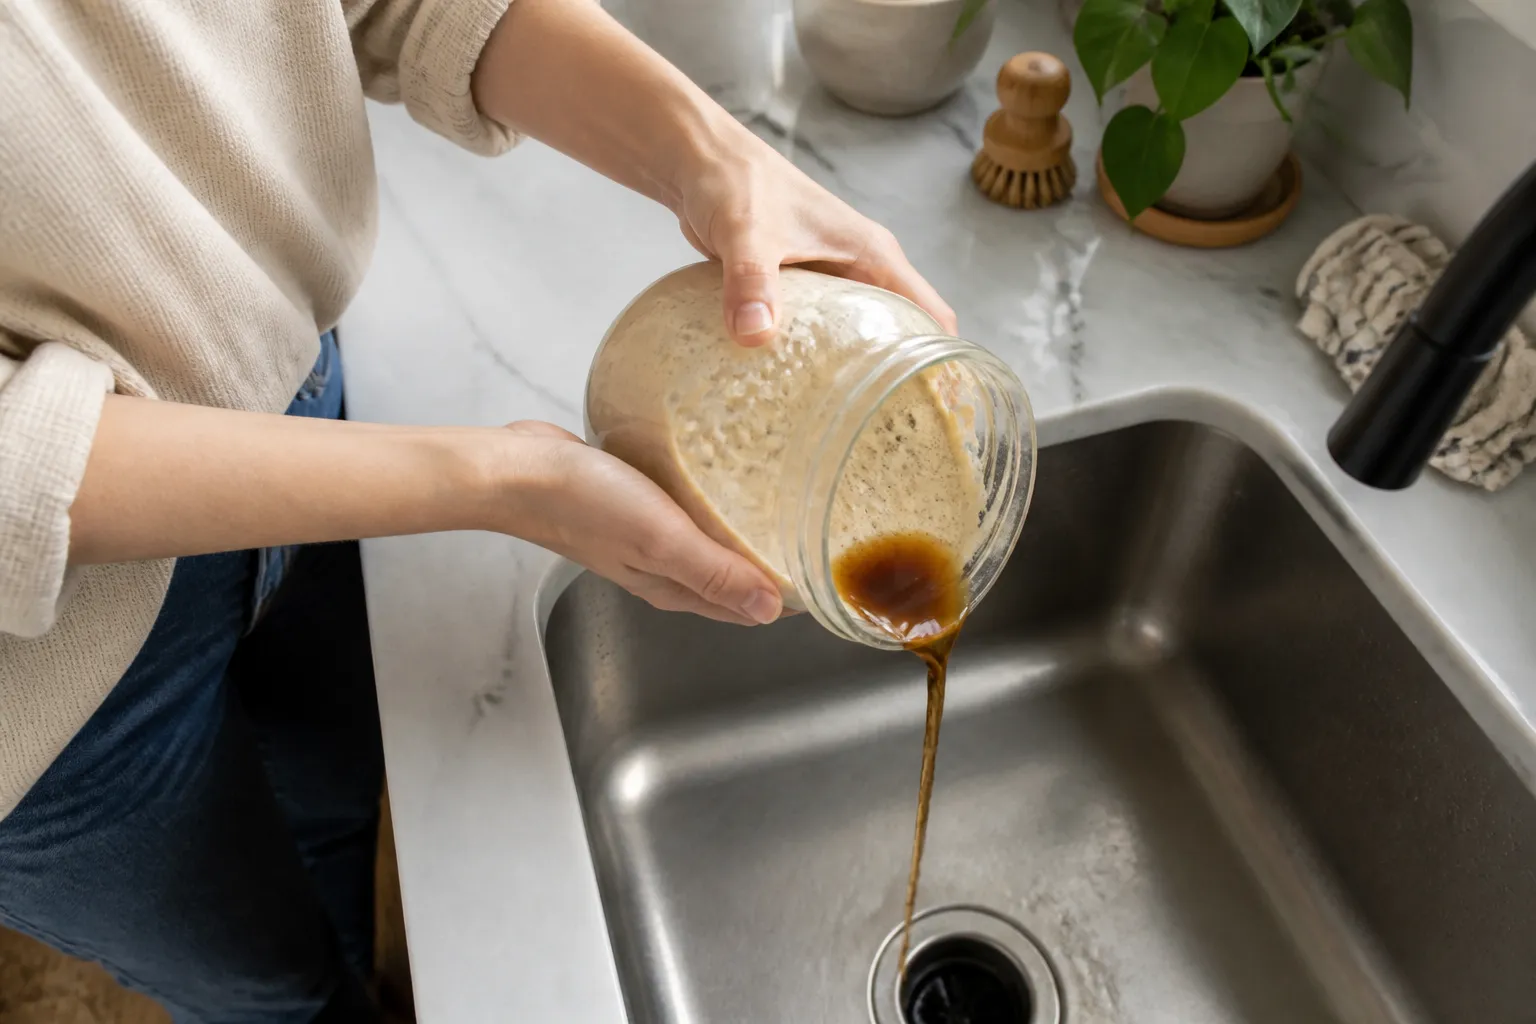
- Handle the hooch. Tip out the bulk of it if it’s dark or reeking; if it’s pale, stir it back in — either way it’ll add tang.
- Scale way back. Set aside about 1-2 tablespoons (roughly 25g) of the existing starter into a clean jar. That’s plenty to kick off a new feeding.
- Feed 1:1:1 by weight. Match starter, water, and flour in equal amounts — say 25g starter, 25g warm filtered water, 25g strong flour (bread or whole wheat). Water heated to around 80-85°F (27-29°C) gets the yeast moving quicker.
- Hold it around 75-80°F (24-27°C). The top of the fridge, an oven with only the light bulb running, or a proofing box will all do the job. Snap a rubber band around the jar right after feeding so you can actually watch the rise happen.
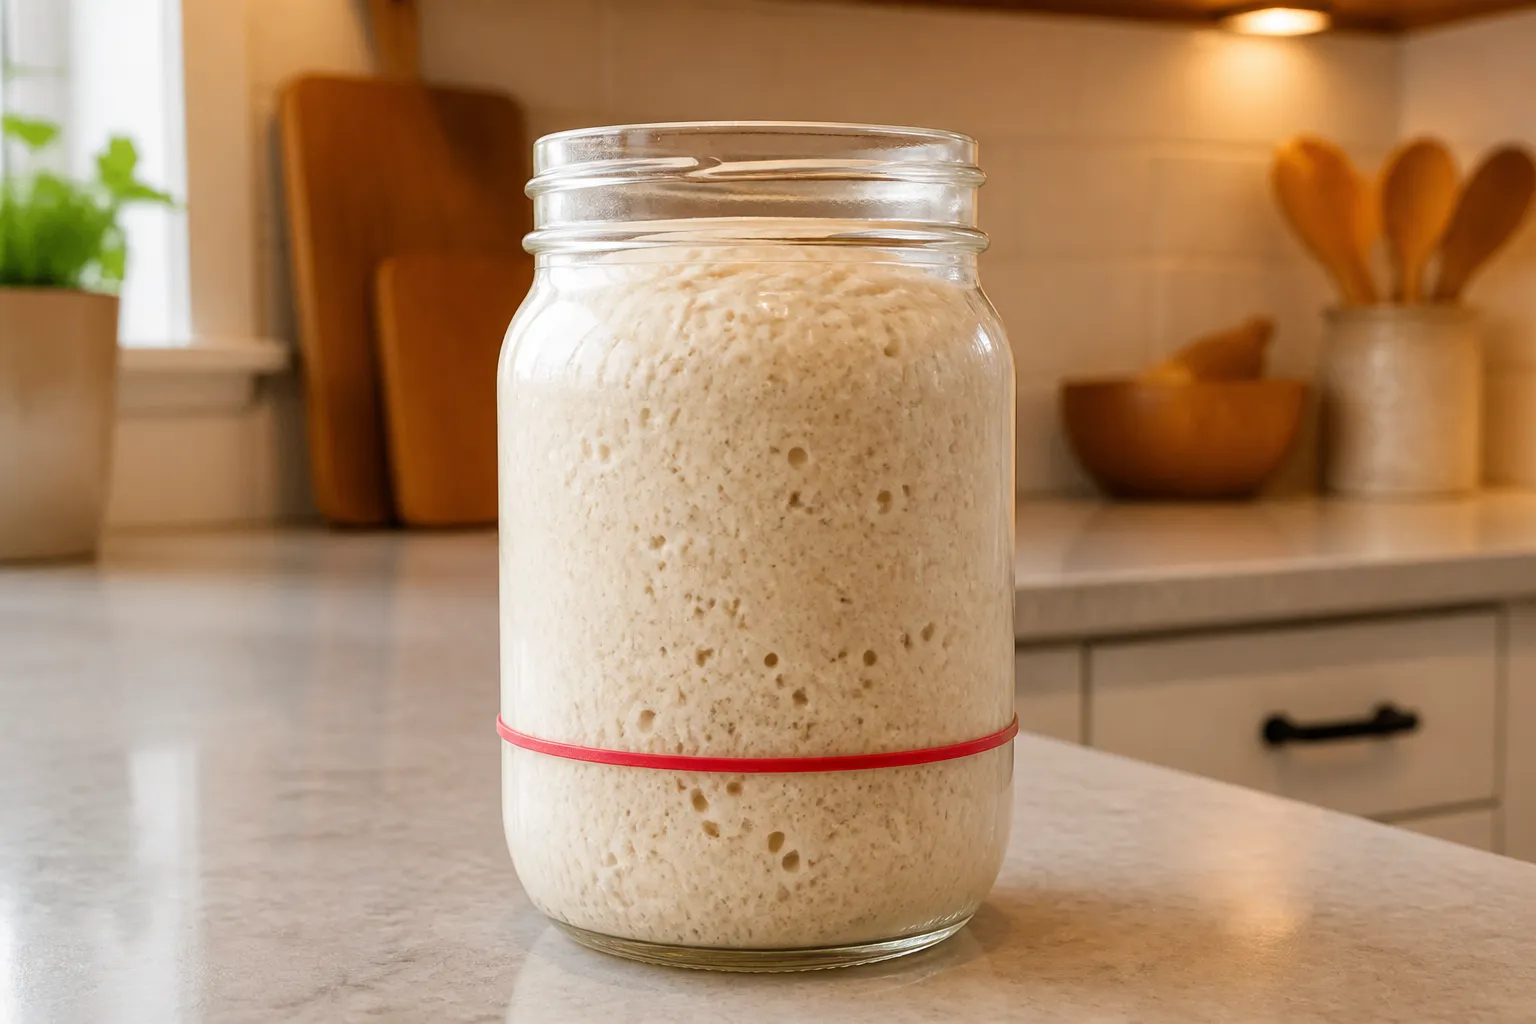
- Feed every 12 hours at that same 1:1:1 ratio until it doubles consistently between feedings and looks bubbly all the way through. Give it 3-7 days for this — a starter that’s been neglected longer may need more time.
Match Your Symptom to a Fix
Even following the revival steps to the letter, you can still run into snags. Find your specific issue below.
The starter I pulled from the fridge has black liquid and reeks of acetone.
That’s just hooch from a very hungry starter — the black tint comes from extreme starvation, and the acetone smell shows up once the yeast has burned through its available carbs. Drain off the dark liquid before the first feeding and continue with the revival steps above.
Nothing’s bubbling and it won’t rise even after feeding.
The culture’s weak and needs steady feedings to build back up — the microbes need time to repopulate. Stick strictly to a 12-hour feeding rhythm somewhere warm. Working a tablespoon of whole wheat or rye flour into each feeding can speed things along: whole grains bring more wild yeast to the party and offer easier nutrients than white flour alone, so a lot of bakers notice a real shift within 1-3 days of adding that rye or whole wheat portion.
What’s the process for reviving dried, flaky starter?
Cover the flakes with just enough warm — not hot — water to dissolve them into a paste, inside a clean jar. Give it a few hours so the flakes soften completely and the dormant microbes wake up. From there, start the same 1:1:1 feeding cycle from the revival steps above, feeding every 12 hours until it’s active again.
It rises some but stays heavy and never turns light or bubbly.
Usually points to a flour problem or a temperature problem — all-purpose flour on its own, or a room under 75°F, will both drag the culture down. Blend in whole wheat or rye flour for a handful of feedings, and double-check your feeding spot is genuinely sitting in the 75-80°F window, not just “somewhere around room temp.”
It’s bubbly, smells right, but still won’t double consistently.
Bubbles aren’t proof of strength. A starter can be active on the surface without yet having the muscle for a full rise. Feed every 8-12 hours for a solid run of days rather than sporadically — strength builds through consistency, not by stretching out the gaps between feedings.
Keep This From Happening Again
- Leaving town for over a week? Feed the starter until it’s very lively, then get it into the fridge right after that feeding — the cold slows things down and buys you extra time.
- Baking often? Leave it on the counter and feed it daily.
- Baking now and then? Keep it in the fridge and feed it once a week.
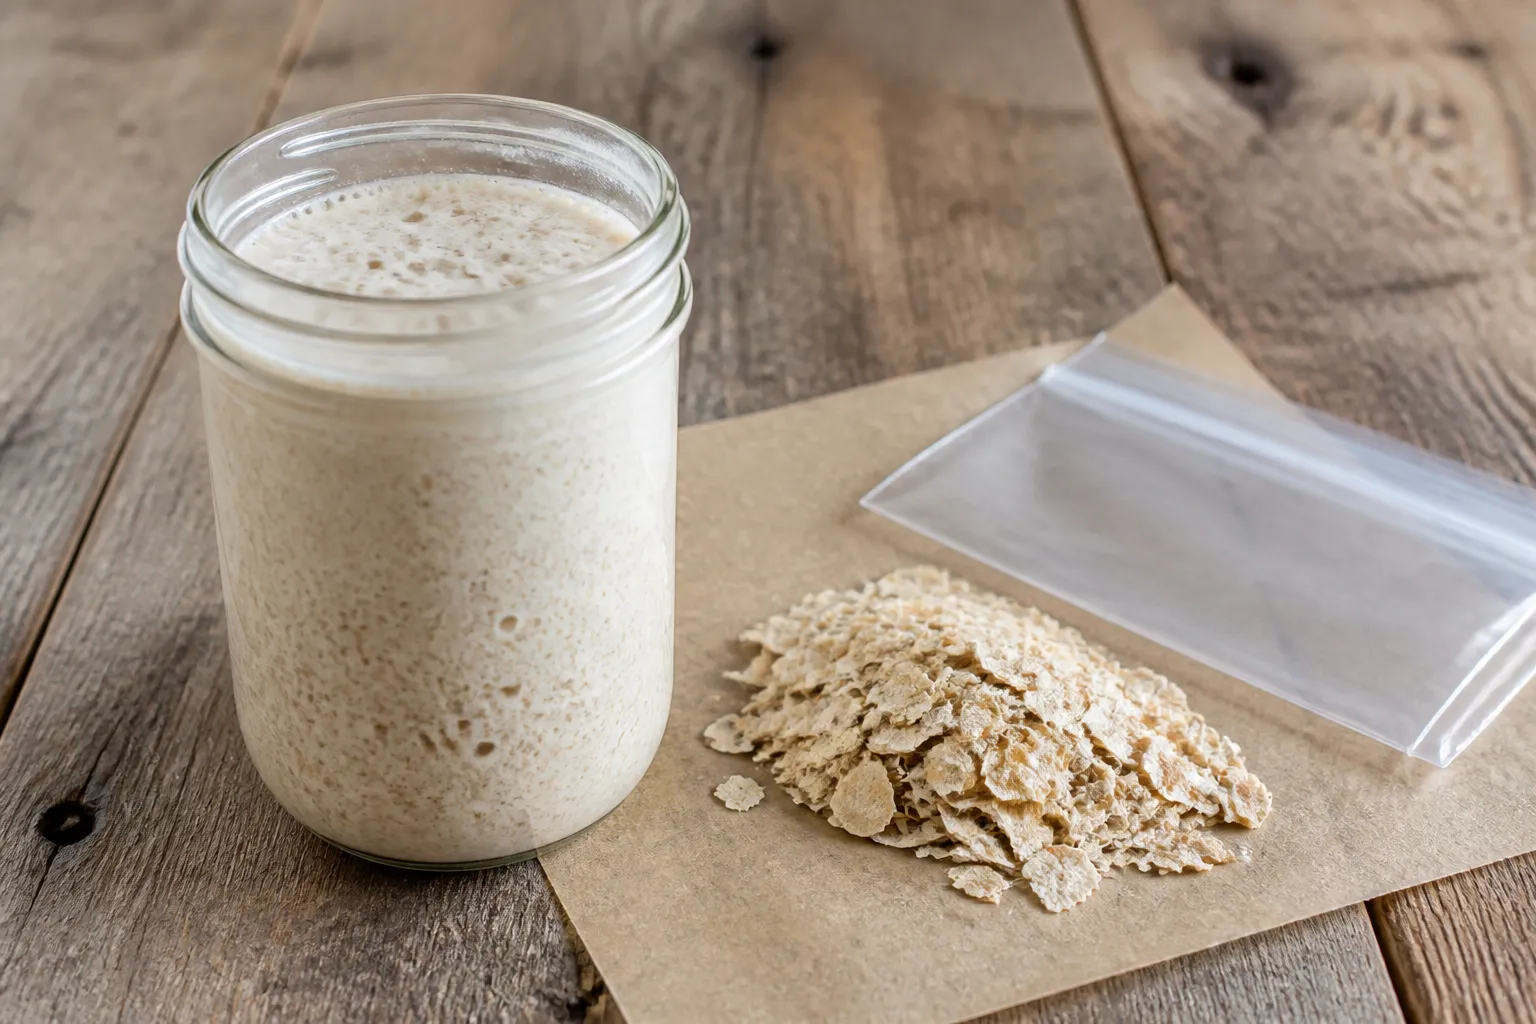
- Want a true safety net? Dry out a backup batch: smear a thin layer of active starter across parchment paper, air-dry it fully until it snaps, then seal the flakes in an airtight container.
Bottom Line
Starters are tougher than they look. What seems “dead” is almost always just resting, and the checklist above should tell you which situation you’re in within a minute or so. Bookmark this page — next time your jar looks scary, come back here and run the list instead of spiraling.
Running into a symptom that isn’t covered here? Leave it in the comments and I’ll get it added.
Stop Guessing Your Starter’s Temperature During Revival
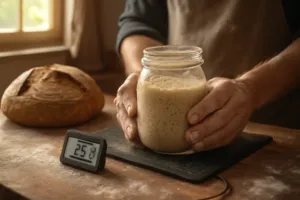
When you’re trying to coax a sleepy starter back to life, temperature matters more than almost anything else — yet most home bakers just park the jar on the counter and hope. A dedicated thermometer takes the guesswork out of it, telling you plainly whether your starter’s actually warm enough to ferment or whether you’re feeding a cold jar that’ll just sit there doing nothing for days.
What works
- Measures the real temperature inside the starter itself (not the room), so you can tell whether fermentation is genuinely underway or your jar is just sitting cold and sluggish.
- Flags exactly when your revival feedings hit their peak, so you know the right moment to feed again instead of waiting days and doubting yourself.
- Kills the “dead or just dormant?” panic by handing you real data — no bubbles but a reading of 68°F just means it needs warmth, not a funeral.
What doesn’t
- Can’t bring back a starter that’s been genuinely abandoned in the fridge for months without a single feeding — temperature alone won’t resurrect one that’s truly gone.
- The probe needs a bit of time to settle in the jar, so if you’re the type who checks every ten minutes, expect to be opening and closing that lid a lot.
I nearly threw out what I thought was a dead starter until I realized it was just sitting at 62°F in my kitchen—the moment I moved it to a warmer spot and watched the thermometer tick up, activity came roaring back. Sourdough Starter Thermometer
Frequently Asked Questions
How do I know if my starter is dead or just dormant?
Look for hooch (dark film on top), a sharp acetone or vinegar smell, and flatness after time in the fridge—these signs mean it’s salvageable, just hungry. Discard it only if you see visible mold, pink or orange streaking, or a rotten sewage-like odor instead of the usual sour funk.
What’s the first step to revive a neglected starter?
Set the starter out at room temperature for a couple hours before feeding. Then scale back to about 1-2 tablespoons (roughly 25g) of existing starter in a clean jar and feed it 1:1:1 by weight with warm filtered water around 80-85°F and strong flour.
How often should I feed a reviving starter?
Feed every 12 hours at a 1:1:1 ratio by weight until it doubles consistently between feedings and looks bubbly all the way through. Give it 3-7 days for this—starters neglected longer may need more time to recover.
Can whole wheat flour speed up starter revival?
Yes. Working a tablespoon of whole wheat or rye flour into each feeding brings more wild yeast and easier nutrients than white flour alone, so many bakers notice a real shift within 1-3 days of adding that rye or whole wheat portion.
About This Article

Written by Sam Whitaker. Sam Whitaker has been baking sourdough for over a decade, including three years baking commercially, and now works out of a home kitchen in the Pacific Northwest. Sam's eleven-year-old starter, Harold, is the foundation for every recipe and troubleshooting guide on Sourdough Rising — real bread tested over and over until it works. More about this site.
Scope and limits. Sam is a home baker with no formal culinary training. Follow current food safety guidance for storage and handling, particularly with enriched or filled doughs.
Verify this against a primary source
Specifics change, and your situation may differ from the one described here. These are the authorities worth checking directly:
- USDA FoodData Central — flour and ingredient composition data
- FoodSafety.gov — safe handling and storage