No recipe card has ever warned you about this: what happens to your starter jar sitting on the counter while you’re on a plane, in a rental car, or three time zones away from your kitchen. My own introduction to this gap in the instructions came on a two-week trip early on, when I came back to a starter drowned in gray hooch and needing four full days of feeding before I trusted it near a mixing bowl again. Since then — through baking conferences, family vacations, and one particularly long stretch traveling for work — I’ve settled on three dependable ways to keep a sourdough culture alive while you’re away, without sacrificing the starter I’ve now kept going for more than a decade. Which method makes sense for you comes down almost entirely to one variable: how many days you’ll actually be gone.
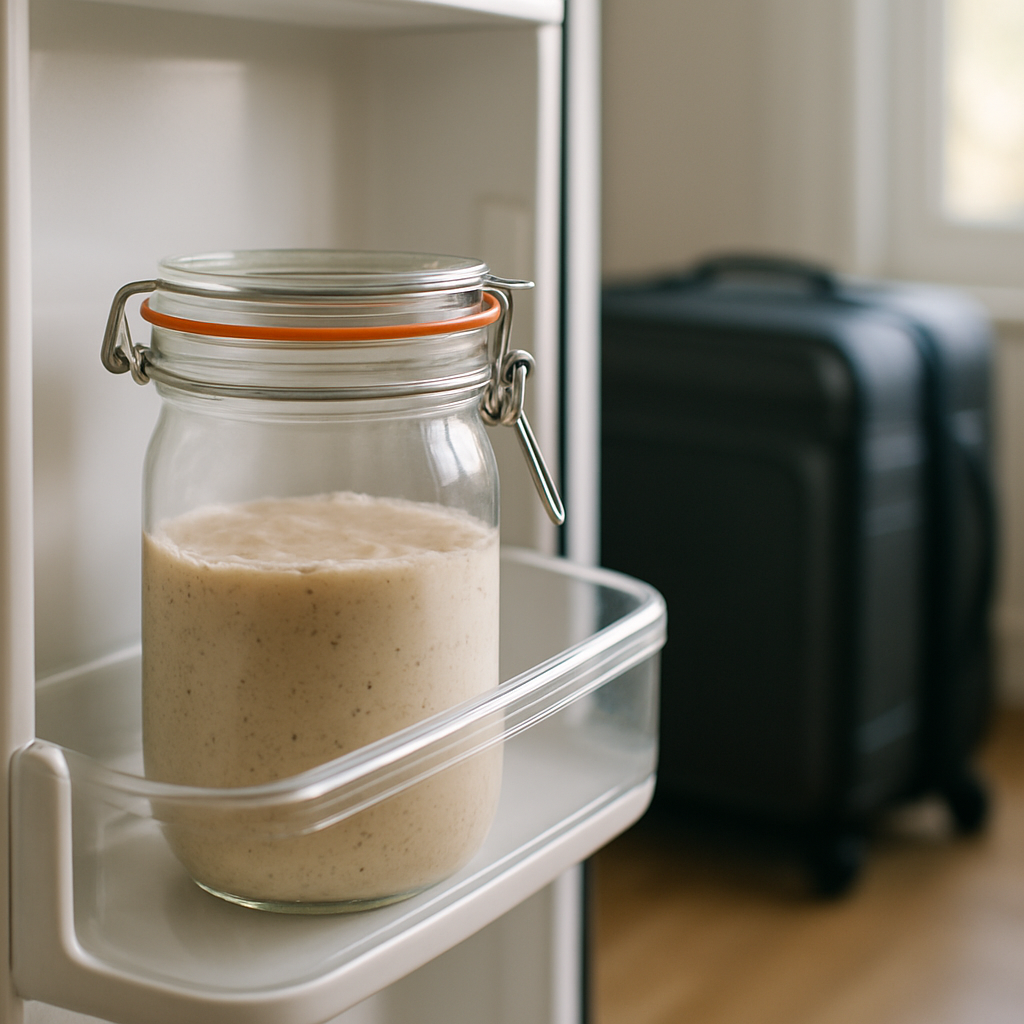
There’s nothing dramatic about protecting a starter while you’re out of town, and you don’t need any gadgets to do it. What you actually need is honesty about how long your trip runs and a plan you’ll stick to when you’re jet-lagged and unpacking. Back when I was pulling large weekend batches for neighbors and friends and my starter was the one thing I couldn’t afford to ruin, I figured out that the “best” method is whichever one you’ll realistically follow.
| Trip Length | Method | Pre-Departure Prep | Storage Duration |
|---|---|---|---|
| 3 days or less | Fridge method | Feed morning of departure, let reach peak (4–6 hours room temp) | Refrigerate at or just after peak |
| 5–10 days | Refrigerated dormancy | Feed 24 hours before departure, complete one rise-and-fall cycle at room temp | Refrigerate after cycle completes |
| Longer than 2 weeks | Stiff dough method | Mix 50g starter + 50g water + 100g flour, knead 30 seconds, rest 2–3 hours room temp | Refrigerate for 3–4 weeks |
Gone Three Days or Less? Just Let the Fridge Handle It
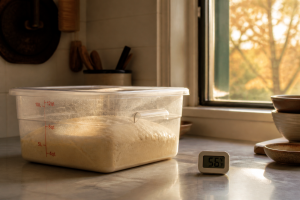
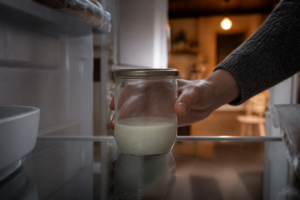
For a trip of three days or under, your starter barely needs babysitting. Give it a normal feed the morning of departure, let it climb to peak (usually 4 to 6 hours at room temperature, give or take your kitchen’s warmth), and slide it into the fridge right around that peak or a little after. Cold brings fermentation to a near-standstill — your culture will effectively hibernate around 38°F.
The moment I’m home, I take the jar out of the cold and let it warm to room temperature for roughly 30 minutes before doing anything else. Skipping that step matters — feed a still-cold starter and you’ll be waiting extra hours for signs of life, since the yeast and bacteria are groggy at that temperature. Once it’s warmed up, I feed using my usual ratio, equal parts starter, water, and flour by weight (a 100% hydration feed), and it’s back to full strength in another 4 to 6 hours.
If you’re heading out for more than a week and don’t have a trusted neighbor to feed your starter, the easiest backup plan I’ve found is to dry some down before you leave — or just keep a dehydrated spare on hand. The My Rustic Roots San Francisco Sourdough Starter, Beginer Friendly, 12g is a solid option to stash in a drawer for exactly this kind of situation, since it rehydrates reliably and gives you a true San Francisco culture to fall back on if your main starter doesn’t survive the trip. I’ve lost a starter to a long vacation before, and having a dry backup waiting on the shelf means you’re never starting completely from scratch.
Short trips are practically impossible to mess up this way, because your starter isn’t burning through reserves for very long — it’s just napping.
Away for a Week? Try Refrigerated Dormancy
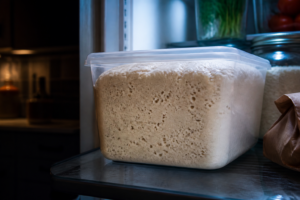
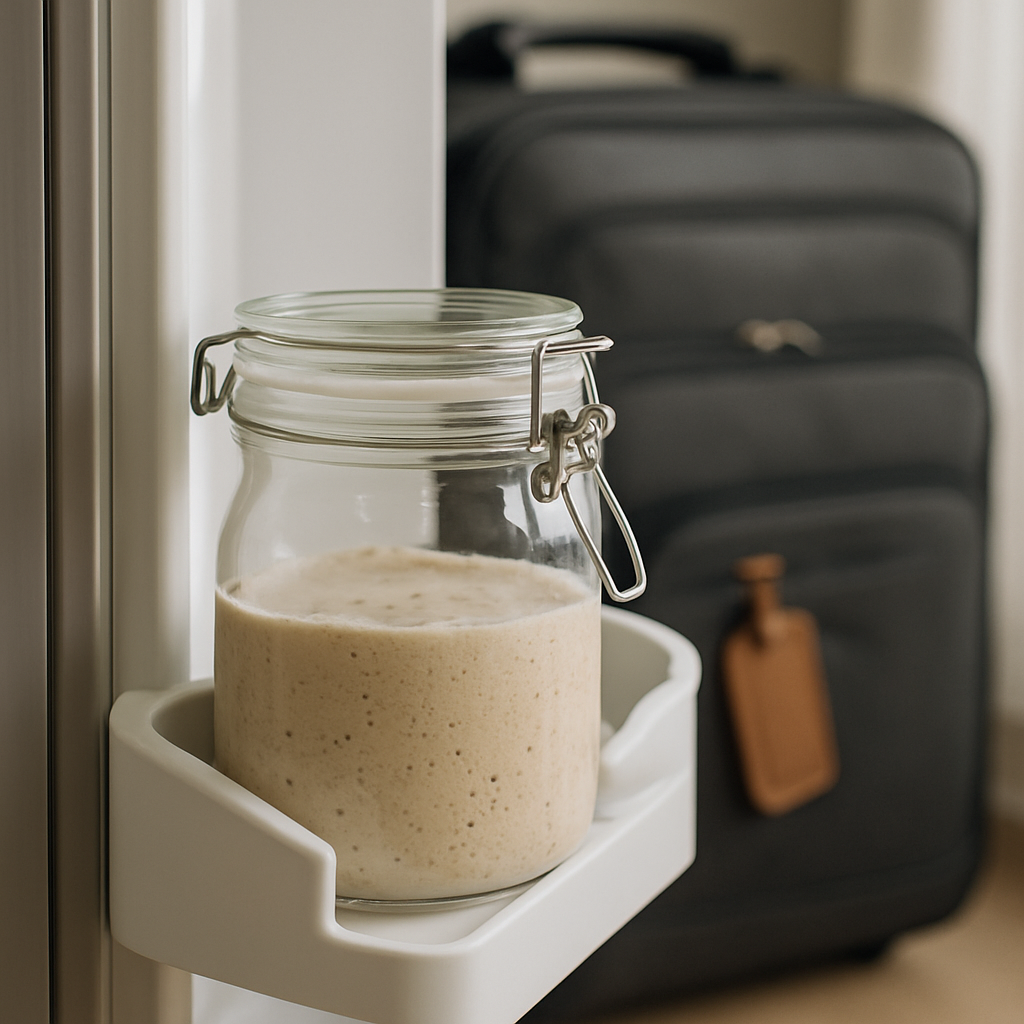
For trips landing somewhere between five and ten days, I lean on what I call refrigerated dormancy. Feed the starter a full 24 hours before you leave — flying out Saturday morning means feeding Friday morning. Let it complete one whole rise-and-fall cycle at room temperature before it goes into the fridge.
Here’s the logic behind that 24-hour gap: feed a starter and refrigerate it immediately, and it’s only just started fermenting — it hasn’t settled into anything. Letting it run through a complete cycle first means the microbial population has consumed its initial food source and is sitting in steady balance right as the cold hits. That makes it far tougher during storage.
Coming back from a week-long trip, I typically find a thin brown pool of hooch — that’s the liquid byproduct of the yeast and bacteria — floating on top. That’s completely expected, even a good sign that fermentation was chugging along, so don’t panic at the sight of it. Mix it back in, feed once, let it sit 4 to 6 hours, then feed a second time before you bake. That second round is what convinces me the culture is fully back online.
I’ve walked back into the kitchen after ten days away to a starter that looked like it had given up, and two feeds later it baked beautifully. Refrigeration really is that powerful — cold quite literally pauses fermentation’s clock.
Long Trips: Switch to a Stiff Dough
Once you’re gone longer than two weeks, I switch to the stiff dough method — the same trick professional bakeries use to hold backup cultures in reserve. It builds a denser, slower-fermenting environment that can keep your starter going in the fridge for 3 to 4 weeks.
Once you’ve got your drying and storage routine dialed in, it’s also worth thinking about what you’d reach for if you needed to rebuild from a culture with real depth and history. The Mature Sourdough Starter Culture – 100+ Years Old Dehydrated Sourdough Starter Kit for Delicious Homemade Sourdough Bread – All-Natural and Healthy – Beginner Friendly, Fast reactivation and Expert Support brings a genuinely aged culture to the table, which means you’re not waiting weeks for flavor complexity to develop the way you would with something brand new. The included expert support is a nice touch if you’re coming back from a long trip a little rusty and want some guidance on the reactivation process.
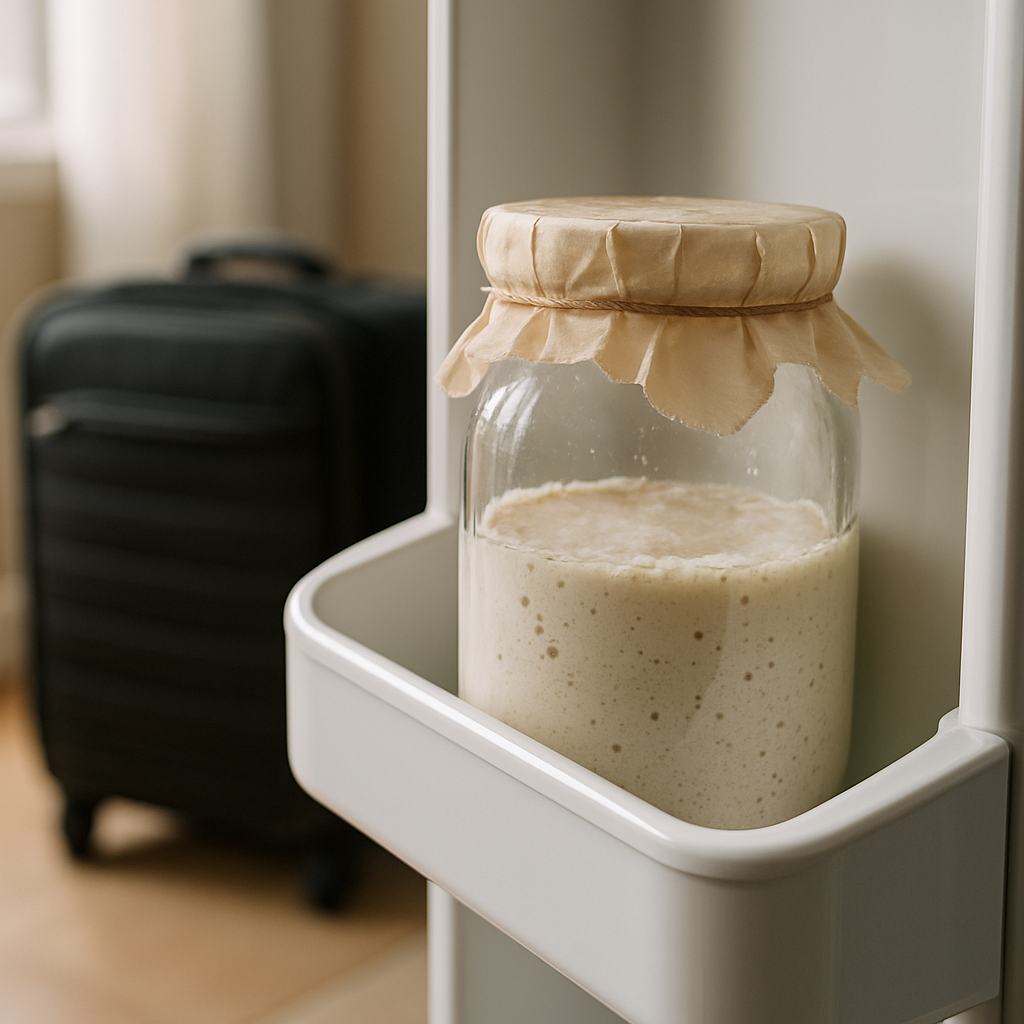
Here’s my process: take 50 grams of active starter (fed and near peak) and combine it with 50 grams of water and 100 grams of flour. That gives you a 50% hydration dough — noticeably stiffer than the 100% hydration feed I normally maintain. Knead just enough to work the flour in, about 30 seconds, let it rest at room temperature for 2 to 3 hours, then refrigerate.
What makes the stiff dough effective? Less water in the mix means fermentation crawls. The yeast simply has less liquid to travel through, and the denser structure slows down how quickly the microbes burn through food and generate acid. I put this to the test before a month away for work, and my starter came home pale and sluggish-looking but still very much alive — two feeds later, it was baking-ready.
Once home, I switch the stiff culture back to my regular liquid feed (equal parts by weight) and give it time. The first feeding can take 6 to 8 hours before you see real activity, since the culture is climbing out of a long cold sleep. The second feeding, another 6 to 8 hours out, is usually much livelier. By the third round, I feel good baking with it.
One Method I’d Skip (Even Though I Get the Appeal)
Occasionally someone asks about drying their starter out — spreading it thin on parchment, letting it dehydrate completely as a backup, then bringing it back to life once they’re home. It can be done; I’ve revived a dried starter myself. But honestly, for most home bakers it’s more hassle than it’s worth. Reconstituting a dried culture is a gamble — sometimes it snaps back with no trouble, other times you’re nursing it along for a week before it stabilizes. Given the effort involved, I’ll take the stiff dough approach every time.
What I’ve Learned Fixing Starters After the Fact
Over eleven-plus years of baking, plus a few years running big weekend batches for other people, I’ve come home to starters in just about every state imaginable. Here’s what each situation actually means:
- A gray or brown pool of hooch: Completely normal. Whether you stir it in or pour it off, either works fine — it just means the microbes have been slowly fermenting away.
- A tough dried crust on top: Usually points to a container that wasn’t sealed properly. Harmless — just scrape it off and move on.
- A sharp, sour or nail-polish-remover smell: Expected after a long cold stretch. It smells far worse than the actual damage.
- No bubbles once you’re home: Resist the urge to toss it. Feed it and give it 12 hours before writing it off — I’ve brought back starters that looked completely lifeless.
The one time I genuinely lost a starter was on that very first trip, and it was entirely because I left without feeding it first. Learn from that one so you don’t repeat it.
Keeping a sourdough starter alive while you travel really is one of the more forgiving problems in this hobby. You’re working with a culture humans have kept fermenting for thousands of years — it wants to survive. Match your method to how long you’ll be gone: the fridge method for a quick trip, refrigerated dormancy for about a week, and stiff dough for anything longer, and you’ll walk back into a kitchen with a starter ready to go. Choose whichever fits your itinerary, give it one solid feed before you head out the door, and let the cold do the rest.
Test this out before your next trip — I’d bet you come home to a starter in far better shape than you expected.
Frequently Asked Questions
How do I keep my starter alive for a three day trip?
Feed your starter normally the morning you leave, let it climb to peak (usually 4 to 6 hours at room temperature), then refrigerate it. Cold brings fermentation to near-standstill around 38°F. When you return, let it warm to room temperature for roughly 30 minutes, then feed with your usual ratio of equal parts starter, water, and flour by weight, and it’ll be back to full strength in another 4 to 6 hours.
What’s the stiff dough method for long trips?
For trips longer than two weeks, combine 50 grams of active starter with 50 grams of water and 100 grams of flour, creating a 50% hydration dough. Knead briefly, rest 2 to 3 hours at room temperature, then refrigerate. This stiff dough can keep your starter alive for 3 to 4 weeks. Once home, switch back to your regular liquid feed and allow 6 to 8 hours before seeing real activity.
Should I feed my starter before refrigerating for a week away?
Yes. Feed your starter a full 24 hours before departure—so if flying out Saturday morning, feed Friday morning. Let it complete one whole rise-and-fall cycle at room temperature before refrigerating. This ensures the microbial population has consumed its initial food and reached steady balance, making it far tougher during storage than if you refrigerated it immediately after feeding.
What does hooch on top of my starter mean after traveling?
A thin brown pool of hooch—the liquid byproduct of yeast and bacteria—is completely normal and a good sign that fermentation was happening. You can either stir it back in or pour it off. Either works fine. Mix it in, feed once, let it sit 4 to 6 hours, then feed a second time before baking.
About This Article

Written by Sam Whitaker. Sam Whitaker has been baking sourdough for over a decade, including three years baking commercially, and now works out of a home kitchen in the Pacific Northwest. Sam's eleven-year-old starter, Harold, is the foundation for every recipe and troubleshooting guide on Sourdough Rising — real bread tested over and over until it works. More about this site.
Scope and limits. Sam is a home baker with no formal culinary training. Follow current food safety guidance for storage and handling, particularly with enriched or filled doughs.
Verify this against a primary source
Specifics change, and your situation may differ from the one described here. These are the authorities worth checking directly:
- USDA FoodData Central — flour and ingredient composition data
- FoodSafety.gov — safe handling and storage