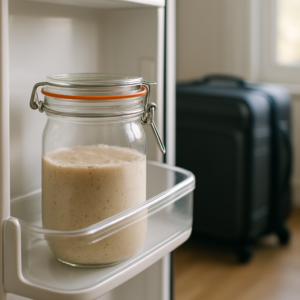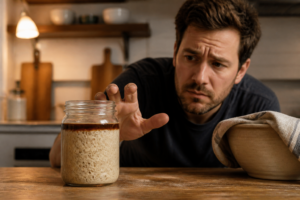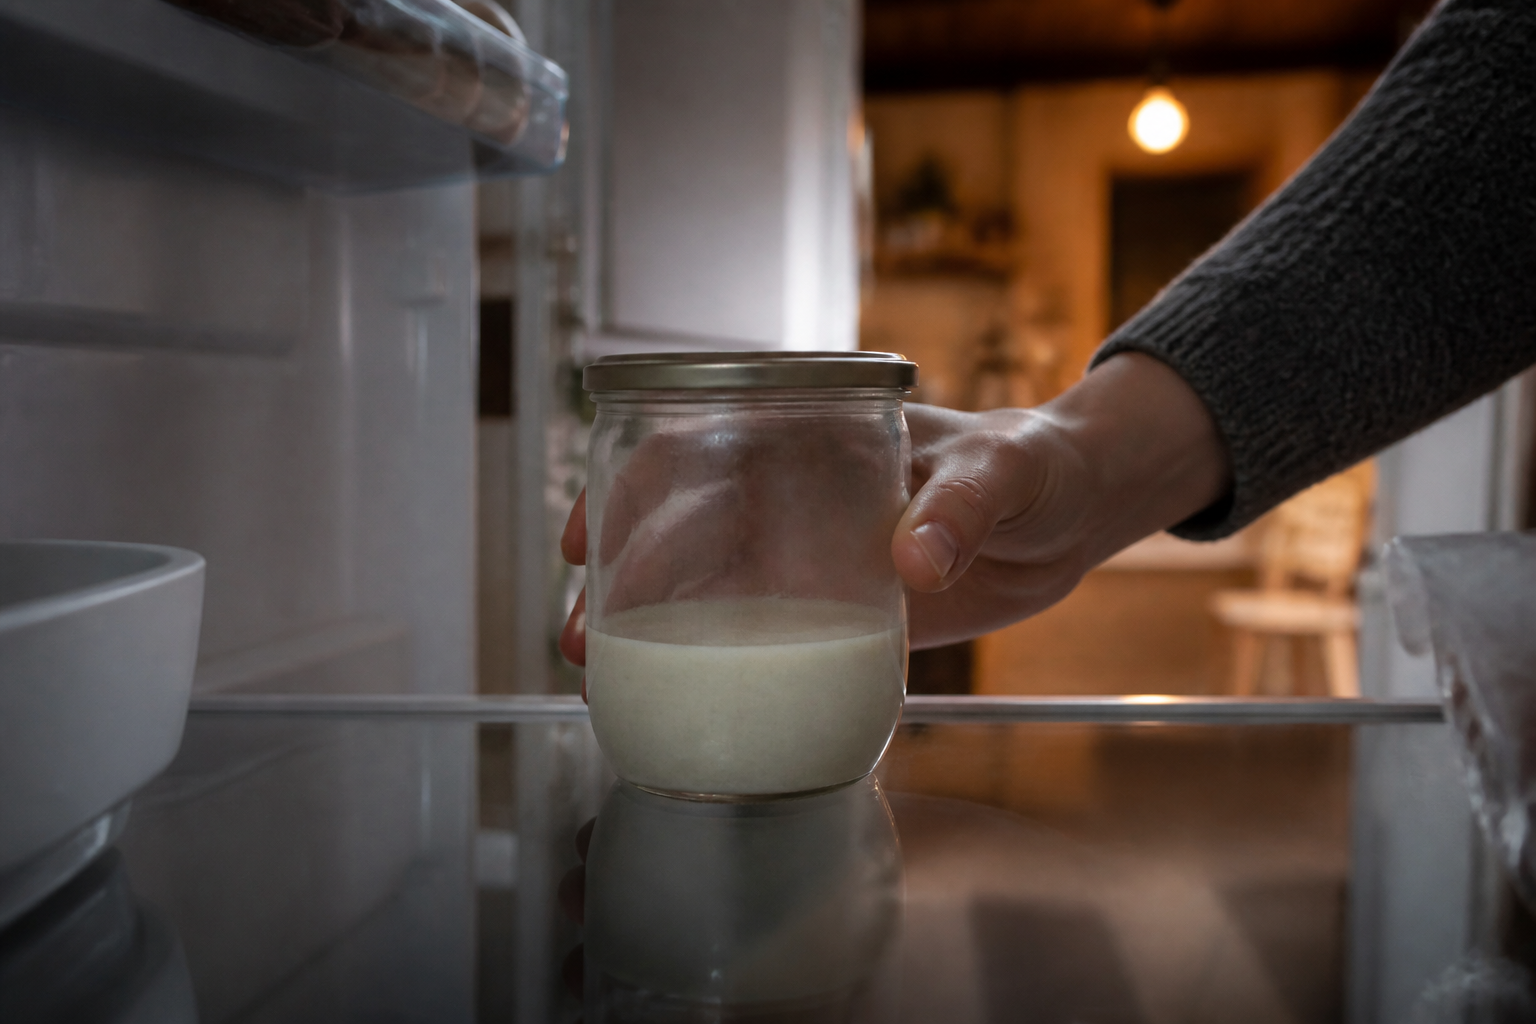
A cold snap rolled through my kitchen one February, dropping the room to something like 60 degrees for the better part of a week, and that’s the exact stretch of time I let slip by without checking on Harold, my starter. Three weeks passed before I finally lifted the lid, and what greeted me looked nothing like a living culture. The surface had gone dark and crusted over. A thin puddle of liquid sat on top, smelling faintly of nail polish remover. No rise. No bubbles. Nothing that resembled activity of any kind. My gut reaction was that I’d killed it. Eleven years into baking sourdough at home, plus a few of those years running weekend batches for neighbors out of my own kitchen, I should have known better than to jump to that conclusion so fast. But in the moment, staring at what looked more like flour cement than a living culture, doubt won out anyway. My first move was to dump it and start fresh—except something told me to hold off. What if Harold wasn’t gone, just shut down for the season? What if there was still a way back? Chasing that question down taught me one of the more useful lessons in this hobby: telling a dormant starter apart from a genuinely dead one can spare you a lot of wasted flour, wasted time, and unnecessary heartbreak.
| Sign | Dormant Starter | Dead Starter |
|---|---|---|
| Surface activity | Small bubbles within 24–48 hours of feeding | Completely flat after a week of feedings |
| Liquid layer | Dark hooch with acetone smell | No hooch present |
| Mold growth | Harmless white or gray yeast colonies | Fuzzy mold in pink, orange, or black patches |
| Response to feeding | Shows activity even if slow at first | Zero activity no matter how many feedings |
Dormant vs. Dead: What’s Really Happening Inside That Jar
Before we get into reviving anything, it helps to understand what’s actually going on inside that jar after weeks of neglect. A dormant starter hasn’t died at all—the yeast and bacteria are simply idling. They’ve slowed their activity way down, holding onto whatever energy they’ve got left, and waiting for you to show up with food. Think of it the way a bear settles into a den for the winter rather than dying off.
A genuinely dead starter is a different story—it stays lifeless no matter how many times you try to coax it back. Here’s the reassuring part: across eleven years of doing this, I can count on one hand the times I’ve encountered a starter that was truly dead. Short of contaminating it with something outright toxic, it’s remarkably hard to actually kill a sourdough culture.
So how do you tell which one you’ve got on your hands? Watch for these clues:
- A dormant starter typically has a layer of dark liquid on top—that’s hooch, the acetone-scented alcohol byproduct the bacteria produce. Seeing it is actually reassuring, not alarming.
- Expect a harsh smell—think gym socks or rubbing alcohol. That’s par for the course, not a warning sign.
- Once you start feeding a dormant starter, it should show some sign of activity somewhere between 24 and 48 hours, even if it takes several more days of consistent feedings before it’s back to full strength.
- A truly dead starter stays flat—zero activity even after a week’s worth of feedings—and might start growing fuzzy mold in pink, orange, or black patches, which is nothing like the harmless white or gray yeast colonies you actually want to see.
Bringing a Dormant Starter Back: The Steps I Actually Followed
Once I decided this jar was worth saving, I blocked off three full days and committed to paying it close attention. Here’s the exact process I followed, and what I’d suggest if you’re staring down the same situation:
Day One: Getting That First Feeding Right
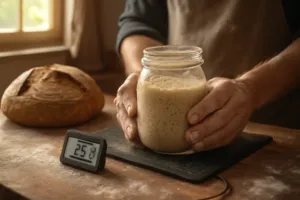
I scooped my crusty jar of starter off the shelf and discarded roughly half of it, since most of that portion wasn’t going to contribute much anyway. Then I fed what remained equal parts unbleached all-purpose flour and filtered water—a 1:1:1 ratio by weight, meaning one part starter to one part flour to one part water. I kept the feeding small on purpose so I wouldn’t shock the sleepy culture: about 50 grams each of flour and water against roughly 50 grams of the old starter.
I draped a cloth loosely over the jar, left it at room temperature—somewhere around 70°F—and then just let it sit.
Day Two: Checking for Signs of Life
Come morning, I spotted them—small bubbles forming across the surface. Nothing dramatic, no big rise, but definitely activity. That was the moment I knew Harold hadn’t died; he was just stirring awake. I fed him again, sticking with the same equal-parts ratio of starter, flour, and water.
The smell hadn’t mellowed at all—still sharp and off-putting—but that’s exactly what you should expect. That funky odor is a sign the bacteria are hard at work rebuilding their colony and breaking down the fresh flour you’ve supplied.
Day Three and Onward: Picking Up Speed
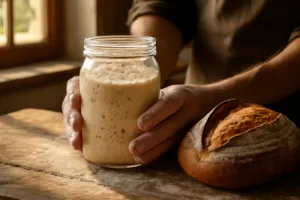
By the third day, the activity had really picked up. It was rising noticeably, doubling between feedings, and the smell had already started to mellow. That’s when I felt confident I was out of the woods. I kept up daily feedings at the same ratio until it was consistently doubling within 4 to 8 hours—the exact timing depended on how warm my kitchen was running that day.
Once it settled into that reliable, bubbly rhythm, I put it to work within the week. That first comeback loaf came out a touch underwhelming—less oven spring, a denser crumb than usual—but it was still delicious, and honestly, it tasted like a small victory.
The Small Choices That Actually Made a Difference
Looking back on the whole ordeal, a handful of decisions stand out as the ones that really mattered, and they’re worth calling out:
- I stuck with filtered water. Chlorine in tap water can slow fermentation down, and a struggling culture needs every bit of help it can get. I’ve relied on filtered water for years and stand by it completely.
- I let it sit at room temperature. Warmth speeds along the whole revival process. If your kitchen runs cold, try tucking the jar somewhere a bit warmer—an oven with just the light on, or the top of the fridge, both work.
- I reached for unbleached flour. The nutrients in unbleached flour are simply easier for your starter’s microorganisms to access than what you’d get from bleached flour.
- I resisted the urge to give up. Honestly, this was the toughest part of the whole process. Patience is really the whole game when you’re bringing a dormant starter back.
The Jars That Actually Let Me See What Was Going On
Figuring out whether your starter is dormant or dead means you need to actually see what’s happening in there—not squint through cloudy glass or guess based on smell alone. Clear jars with measurement lines make the signs of life, or the absence of them, obvious enough that you can tell right away whether reviving your starter is even worth attempting.
What worked well
- Those printed measurement lines let you track rise and fall without cracking the lid open and peering in like you’re examining evidence—one glance tells you whether anything’s happening.
- You can actually watch the layers separate—hooch pooling on top, starter settling underneath—which gives you real information about where fermentation stands, not just proof that things look messy.
- Having two on hand means you can keep one starter chugging along while you test revival methods on the other, instead of blindly feeding your only culture out of panic.
Where they fall short
- The lids seal tightly enough to contain any mess, but they don’t let air move the way a cloth cover does during long room-temperature ferments—expect some condensation buildup.
- They lack the charm of a vintage mason jar sitting on your counter, and if looks matter to you, clear plastic tends to read more “science lab” than “artisan kitchen.”
I almost threw my starter away after three weeks because I couldn’t see past the condensation on my old jar—I thought the darkness meant death. 2 Pack Premium Pro Sourdough Starter Jar Kit
Frequently Asked Questions
How can I tell if my starter is dormant or actually dead?
A dormant starter shows small bubbles within 24 to 48 hours of feeding, even if activity is slow at first. A truly dead starter stays completely flat after a week of feedings and may develop fuzzy mold in pink, orange, or black patches. Hooch—that dark liquid with an acetone smell—is actually a good sign your starter is dormant, not dead.
What ratio should I use to revive a dormant starter?
Use a 1:1:1 ratio by weight of starter, flour, and water. Sam recommends keeping that first feeding small—about 50 grams each of flour and water against roughly 50 grams of old starter—to avoid shocking the sleepy culture back to life.
How long does it take to revive a dormant sourdough starter?
Sam’s revival took three full days of attention. Small bubbles appeared by day two, activity really picked up by day three, and the starter was doubling between feedings within 4 to 8 hours. He kept daily feedings going until it reached that reliable rhythm, then used it within the week.
Should I use filtered or tap water to revive my starter?
Use filtered water. Chlorine in tap water can slow fermentation down, and a struggling culture needs every advantage. Sam has relied on filtered water for years and stands by it completely for revival situations.
About This Article

Written by Sam Whitaker. Sam Whitaker has been baking sourdough for over a decade, including three years baking commercially, and now works out of a home kitchen in the Pacific Northwest. Sam's eleven-year-old starter, Harold, is the foundation for every recipe and troubleshooting guide on Sourdough Rising — real bread tested over and over until it works. More about this site.
Scope and limits. Sam is a home baker with no formal culinary training. Follow current food safety guidance for storage and handling, particularly with enriched or filled doughs.
Verify this against a primary source
Specifics change, and your situation may differ from the one described here. These are the authorities worth checking directly:
- USDA FoodData Central — flour and ingredient composition data
- FoodSafety.gov — safe handling and storage