This post contains affiliate links. As an Amazon Associate, I earn from qualifying purchases at no extra cost to you.
My Kitchen Was Killing My Starter
Last winter, my sourdough starter turned into a sluggish, barely-bubbling mess. I live in a drafty older home, and my kitchen sits at around 64°F from November through March. No matter what I tried — longer bulk ferments, more frequent feedings, warmer water — my dough just refused to rise properly. That’s when I started researching seedling heat mat sourdough fermentation as a possible solution, and it genuinely changed how I bake.
The inconsistency was maddening. Some loaves came out beautifully open and tangy. Others were dense, gummy, and flat. I couldn’t figure out what I was doing differently until I started logging temperatures. Turns out, I wasn’t doing anything differently — the ambient temperature was the variable. A 4°F swing between afternoon and midnight was quietly wrecking my fermentation timeline every single time.
I needed a way to hold a stable, warm environment for both my starter and my bulk ferment. Buying a proofing box felt like a big commitment for something I wasn’t sure would solve the problem. So I started looking at cheaper, more flexible options first.
Why I Chose the VIVOSUN Seedling Heat Mat
A few sourdough forums pointed me toward seedling heat mats as a budget-friendly temperature solution. Gardeners use them to keep soil warm during germination — but fermentation and germination both need gentle, consistent bottom heat. The logic made sense to me immediately.
After reading through dozens of reviews, I kept landing on the same product: the VIVOSUN 10″x 20.75″ Seedling Heat Mat and Digital Thermostat Combo Set. What sold me was the included digital thermostat. Most heat mats run at a fixed temperature around 10°F above ambient. That’s fine for seedlings. For sourdough, though, I needed precision — ideally holding my dough between 75°F and 80°F regardless of what the room was doing.
The combo set gave me both the mat and a controller in one purchase. Buying them separately would have cost more. It’s also UL and MET certified, which mattered to me since I planned to leave it running overnight. Safety certifications aren’t glamorous, but they’re worth noting.
I also looked at dedicated proofing boxes in the $80–$150 range. Ultimately, the VIVOSUN combo came in well under that, and the flexible mat format meant I could use it under a large bowl, a smaller jar for my starter, or even a covered sheet pan. That versatility tipped the decision.
First Impressions Out of the Box
The package arrived quickly and was straightforward to unpack. There are two components: the heat mat itself and the digital thermostat controller. Both feel reasonably well-made for the price point — nothing premium, but nothing flimsy either.
The mat is roughly 10″ x 20.75″, which is a standard seedling tray size. It’s waterproof and wipes clean easily, which I appreciated immediately. The surface feels like a thick, rubberized material. It doesn’t have any strong chemical smell, which I’d read could be an issue with cheaper alternatives.
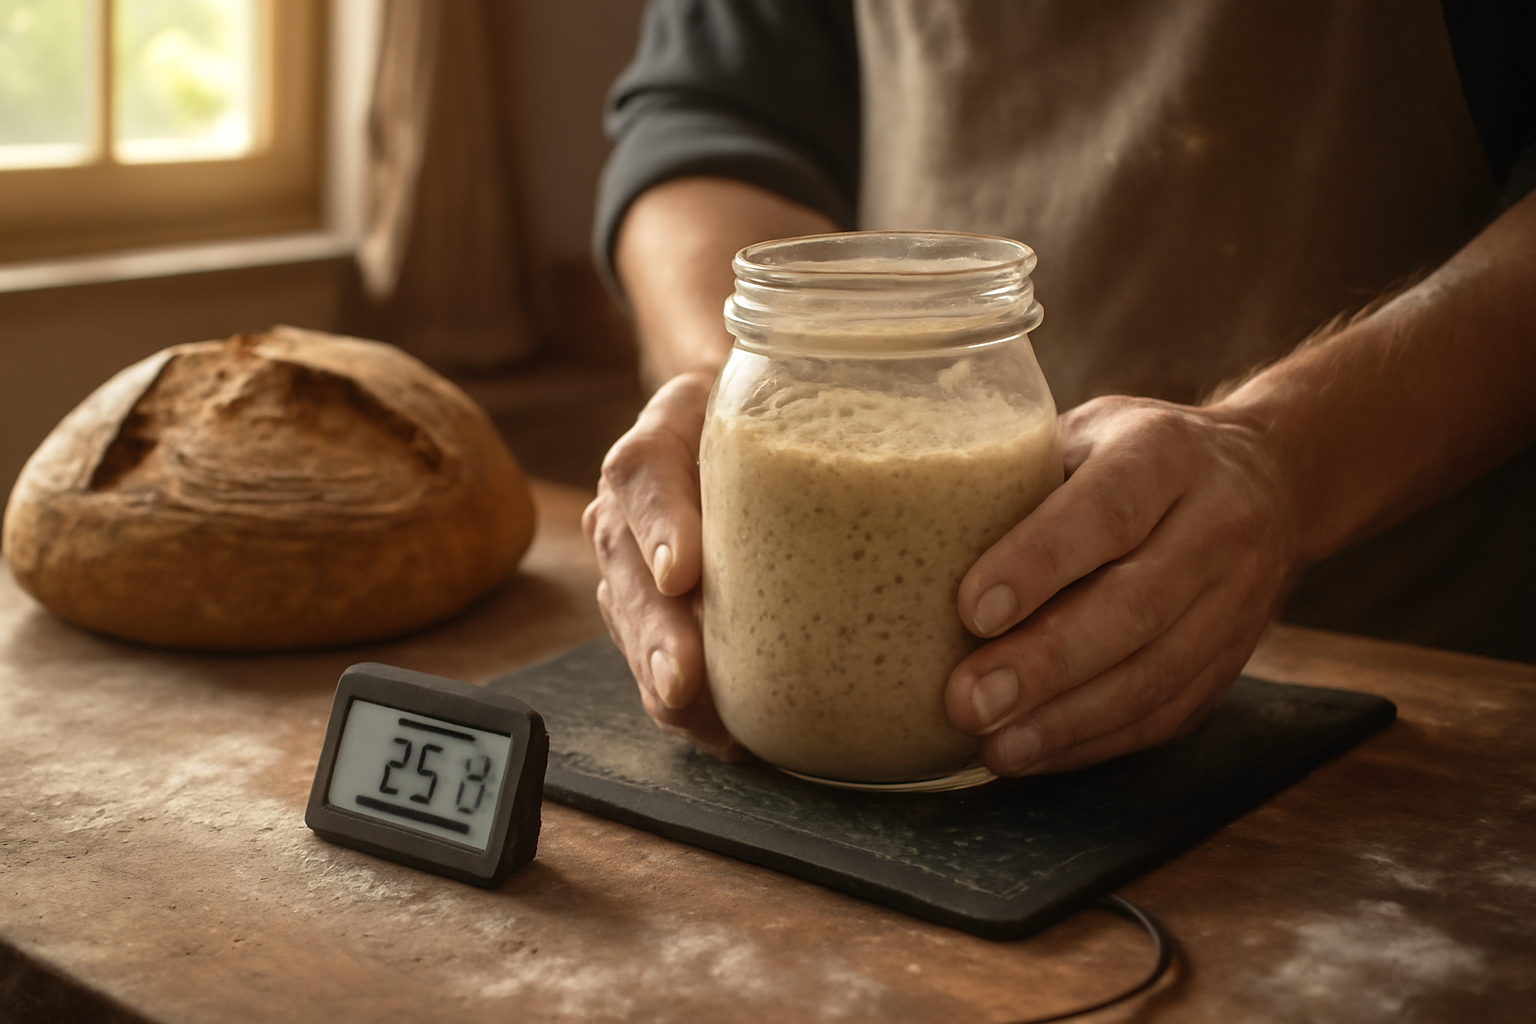
The thermostat controller is a small black box with a digital display and two simple buttons. A probe on a thin wire plugs into the side. You set your target temperature, plug the mat into the controller, and the controller plugs into the wall. Setup took about three minutes. The display reads in Fahrenheit by default, which saved me the step of converting.
My one first-impression hesitation: the probe wire is fairly short. Placing the probe accurately inside a covered proofing container required a bit of creative positioning. It works, but a longer probe wire would have been more convenient.
My Sourdough Testing Protocol
I tested the VIVOSUN 10″x 20.75″ Seedling Heat Mat and Digital Thermostat Combo Set over eight consecutive weeks through the heart of winter. My kitchen averaged between 63°F and 67°F during this period. Here’s exactly how I used it.
Starter Maintenance
First, I placed my starter jar directly on the mat with the thermostat set to 76°F. The probe sat loosely on the mat surface beside the jar. Within about 20 minutes, the jar felt noticeably warmer to the touch. My starter, which had been peaking at around 8–9 hours in the cold kitchen, started peaking consistently at 5–6 hours. That single change made scheduling feeds around my workday dramatically easier.
Bulk Fermentation
For bulk ferments, I placed my covered dough container on the mat and set the thermostat to 78°F. I tucked the probe under the edge of the container lid to monitor the air temperature inside rather than the mat surface temperature. This gave me a more accurate read on what the dough was actually experiencing.
I baked 16 loaves during the test period. For comparison, I also baked four loaves without the mat on warmer afternoons, giving me a rough baseline to compare against.
What Actually Changed in My Bakes
Honestly? The results surprised me with how quickly they showed up. By the second bake, I could already see a difference in dough behavior during bulk fermentation.
Timeline and Consistency
Before the mat, my bulk ferment was taking 10–14 hours in winter. With the mat holding the dough at 78°F, that dropped to 4.5–5.5 hours — consistent, predictable, and matching the timelines in most sourdough recipes. This was the biggest practical win. I could finally plan bakes around a real schedule instead of guessing.
The dough itself felt different, too. It developed more gas, had better structure at the end of bulk, and shaped more smoothly. The finished loaves showed improved oven spring and a more open crumb in most cases.
Starter Activity
My starter became noticeably more vigorous and predictable. Previously, it would sometimes fail to double even after eight hours in a cold kitchen. On the mat, it reliably doubled — and sometimes tripled — within five to six hours. That reliability matters a lot when you’re deciding whether your starter is ready to leaven a loaf.
A Moment of Doubt
Around week three, I had a loaf that over-fermented badly. The crumb was gummy, the structure collapsed in the oven, and I briefly blamed the mat. After thinking it through, I realized I’d set the thermostat to 80°F that day instead of my usual 78°F and then left the dough for the same duration. Two degrees and the same timing — that was enough to push it over the edge. The mat wasn’t the problem. It was working exactly as intended, and I hadn’t adjusted my process to account for the warmer environment. It was a useful reminder that temperature control cuts both ways.
The Downsides Worth Knowing
No product review is complete without an honest look at the limitations. Here’s what genuinely bothered me during testing.
- Bottom heat only: The mat heats from below. It doesn’t warm the air around your dough. In a very cold kitchen, the top of a tall dough container can still be cooler than the bottom. Covering your container with a towel or plastic wrap helps significantly, but it’s worth knowing.
- Short probe wire: As mentioned earlier, the thermostat probe wire is short. Positioning it accurately inside a covered container requires some improvising.
- Mat size limits your container options: At 10″ x 20.75″, the mat works well for a standard banneton-sized container or a medium mixing bowl. A very large or wide fermentation tub might not sit squarely on the mat, creating uneven heat distribution.
- It’s not a dedicated proofing box: You don’t get enclosed, even ambient heat. If you’re proofing shaped loaves in a cold kitchen overnight, you’d need to build a DIY enclosure — like placing the mat in a cooler or large box — to get more uniform results.
- Learning curve on temperature settings: Because the mat heats the bottom of your container, the dough mass itself may run slightly cooler than the thermostat reading suggests. I recommend using an instant-read thermometer to calibrate during your first few uses.
None of these are dealbreakers for me. However, they’re real enough that you should go in with accurate expectations.
Final Verdict: Seedling Heat Mat Sourdough Fermentation on a Budget
After eight weeks of consistent testing, I’m genuinely glad I bought the VIVOSUN 10″x 20.75″ Seedling Heat Mat and Digital Thermostat Combo Set. For cold-kitchen bakers struggling with inconsistent fermentation timelines, this is one of the most cost-effective fixes available. Using a seedling heat mat for sourdough fermentation isn’t a perfect substitute for a dedicated proofing box — but for most home bakers baking in winter, it’s more than good enough.
Buy This If You:
- Bake in a consistently cold kitchen (below 68°F)
- Want more predictable bulk fermentation times
- Are looking for a budget-friendly alternative to a proofing box
- Want to improve your starter’s activity and peak timing
- Appreciate the flexibility of a multipurpose tool you can also use in the garden
Skip This If You:
- Bake in a kitchen that already stays above 72°F year-round
- Need precise, fully enclosed ambient proofing for shaped loaves
- Want a plug-and-play solution with zero setup learning curve
What About the Standalone Thermostat Option?
If you already own a basic heat mat without temperature control, the VIVOSUN Digital Heat Mat Thermostat Controller is worth a look. It controls up to 1,000W of heating devices and covers a range of 40–108°F. Essentially, it’s the thermostat from the combo set sold separately. Buying it on its own makes sense if you want to pair it with a mat you already have, or if you’d prefer a larger mat format for bigger fermentation vessels. For most people starting from scratch, though, the combo set is the better value.
Either way, adding temperature control to your sourdough workflow — whether through this setup or another — is one of the highest-impact changes a cold-kitchen baker can make. My winter baking went from frustrating guesswork to something I actually look forward to, and that alone makes the investment worthwhile.
“`