Pick the wrong path for your very first starter and you can burn two weeks feeding a jar of flour paste that was never going to wake up. That’s the real cost here — sourdough itself isn’t the hard part; it’s that most guides online are written for people who already know what “normal” looks like. You’ve probably watched a pile of videos and read through half the internet, eager to build the starter that’ll carry your baking for good. And yet, almost everyone trips over the same handful of snags while picking out and setting up that first jar. I’ve watched it happen to people close to me, and I stumbled through more than one of these myself back when I started out. Since then, after walking dozens of frustrated bakers through fixing their own starters, I keep seeing the identical mistakes surface again and again. Here’s the good part: once you know these traps are coming, you can step around every one of them and have your starter thriving from the very first feeding.
Pitfall #1: Picking a Starter Recipe That’s Overengineered
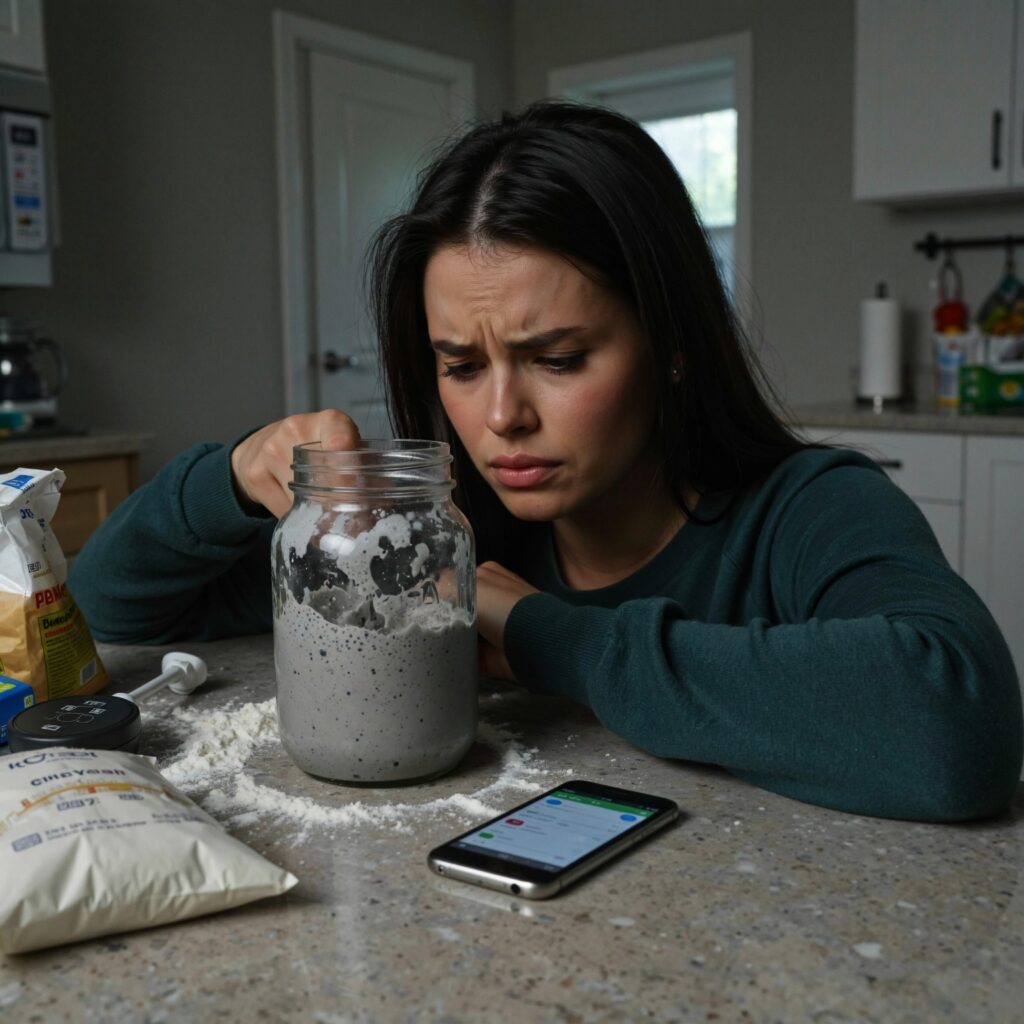
My friend Sarah got it into her head that she was going to bake sourdough. She poured hours into research online and landed on a recipe promising a “supercharged” starter in only three days. It called for a mix of several flour types, exact temperature windows, and a feeding schedule that shifted every 12 hours. All of it sounded impressive enough that she jumped straight in.
What Went Wrong
Sarah stuck to that recipe to the letter. She combined whole wheat, rye, and all-purpose flours, rigged up a thermometer to track her kitchen’s temperature, and even set phone alarms so she’d feed the starter at the precise moments listed. Five days in, though, what she had was a depressing gray sludge — no bubbles anywhere, and a smell that turned her kitchen into something like a locker room.
Here’s the real issue: that recipe was written with experienced bakers in mind, people who already understood the subtleties of fermentation. It assumed you’d know what certain smells were telling you, how to compensate for temperature swings, and when the instructions were worth ignoring. For someone brand new to this, it was a lot more confusion than guidance.
The Solution
Sarah rang me up completely frustrated, and I told her to ditch the whole overbuilt setup and restart with the plainest recipe possible: equal weights of flour and water, fed once daily. Nothing more — no specialty flours, no thermometer duty, no shifting schedule.
She began again using nothing but all-purpose flour and filtered water, feeding it once a day around the same hour each time. Inside a week she had a lively, bubbling starter with the smell sourdough is supposed to have — tangy, yeasty, nothing like the funk from before. If you’d like more direction on picking your own starter, take a look at our review of Starter Sourdough: The Step-by-Step Guide, which lays out solid beginner-friendly steps.
The Lesson
Keep it plain at the start. Your first starter has no business being elaborate. Once you’ve got a real feel for how a starter behaves, feel free to play with different flours or feeding rhythms. But for round one, choose the simplest method you can locate. Plain all-purpose flour and water will do the job every time. You can always dress it up once you’ve got some confidence under your belt.
Pitfall #2: Attempting a Starter Mid-Winter

My mom’s place is a drafty old farmhouse up in New York, and she chose January as her starting point for sourdough. Her kitchen sat around 62°F, and even though she fed the thing faithfully every single day, two weeks passed with nothing but a flat, motionless paste showing zero signs of life.
What Went Wrong
The recipe she used assumed a room hovering around 70-75°F. At 62°F, the wild yeast and bacteria were crawling along at nearly a standstill — not dead, just essentially dormant. Day after day she’d check for bubbles, find none, and start doubting herself. She was close to abandoning the whole project.
In truth, the starter was doing exactly what it should — it just needed warmth and patience it wasn’t getting. The chill in her kitchen was throttling the whole process, and she had no idea that was the culprit. She figured she’d simply messed it up.
The Solution
I told her to relocate the jar to the warmest corner of her house — the top of her fridge, where the compressor throws off a little heat — and wrap it in a kitchen towel to hold that warmth in. Three days later, bubbles showed up. A week in, the starter was doubling and smelling exactly like it should.
Another trick that worked well for her: a seedling heat mat, the type gardeners use to sprout seeds indoors. Setting the jar on the mat held it steady at 75-80°F, and that turned out to be the real fix. Her starter came alive and stayed active right through the coldest stretch of winter.
The Lesson
Temperature has way more influence than most new bakers give it credit for. A cold kitchen means a slower-forming starter, plain and simple. Don’t throw in the towel if the first few days show nothing — warmth might be all it’s missing. Try relocating the jar somewhere warm: the fridge top, near a heat vent, or onto a seed-starting mat. Aim for 70-80°F while you’re getting a new starter off the ground.
Pitfall #3: Feeding It the Wrong Kind of Water
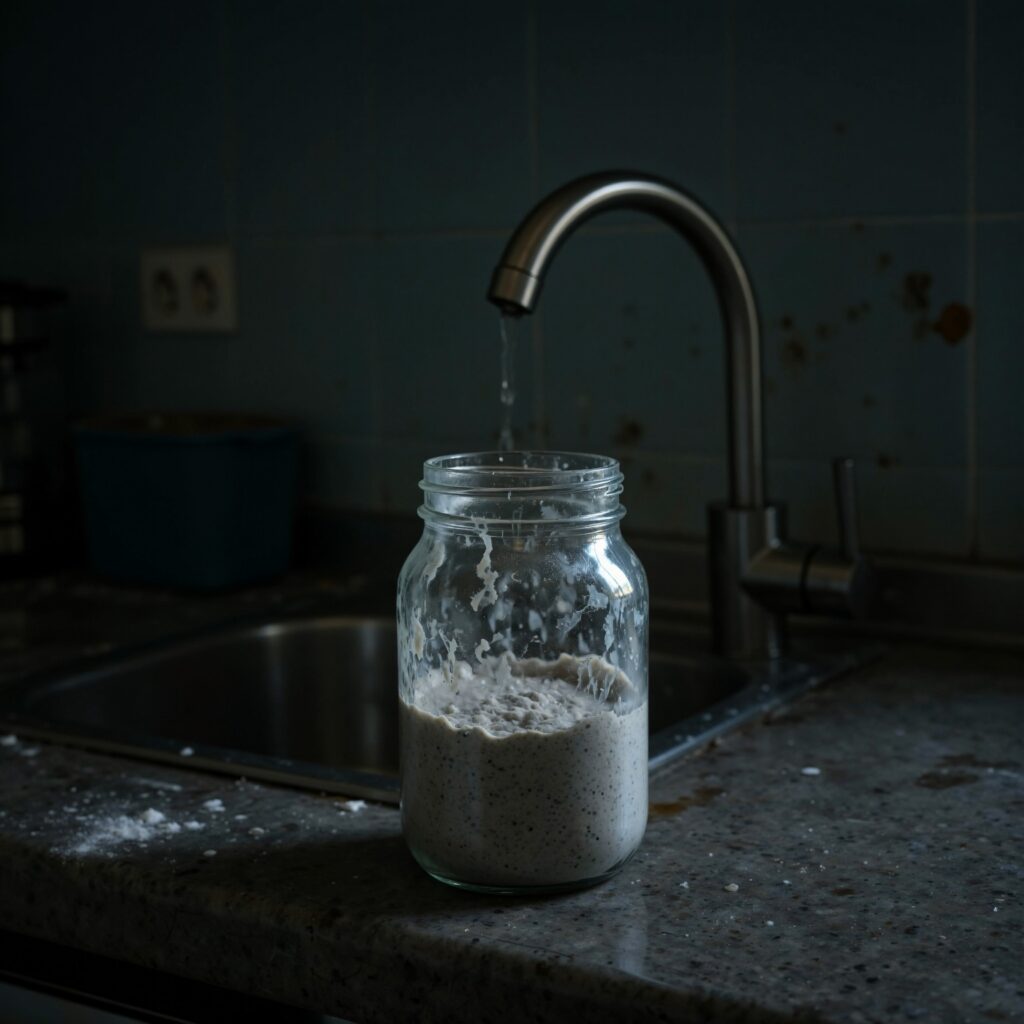
My cousin Mark lives somewhere with heavily chlorinated tap water, and he used it straight from the faucet to build his starter. Two weeks later, all he had to show for it was a lifeless gray paste. He experimented with different flours, different schedules, different temperatures — nothing budged.
What Went Wrong
Chlorine exists in tap water specifically to kill off bacteria, and that doesn’t discriminate — it takes out the beneficial bacteria your starter depends on right along with everything else. Every feeding with that chlorinated water was quietly poisoning the very microorganisms Mark was trying to grow. The starter never had a chance to establish, since the wild yeast and bacteria were dying faster than they could reproduce.
He had no clue this was the problem, since the recipe he followed simply said “water” without any qualifier, so he assumed tap water would be fine.
The Solution
I told him to switch over to filtered or bottled water, and he started pulling water from his fridge’s built-in filter dispenser. Within three days of the switch, his starter finally showed signs of life — bubbles, rise, and that unmistakable sourdough tang.
Some bakers get by just leaving tap water out overnight in an open container so the chlorine can dissipate. Still, filtered water remains the most dependable fix.
The Lesson
Water quality is not a minor detail. Heavily chlorinated tap water can keep your starter from ever getting going. Reach for filtered water, bottled water, or let tap water sit uncovered overnight so the chlorine evaporates off. It’s a small thing that’s easy to overlook, yet it can decide whether your starter lives or dies. For guidance on picking the right vessel for your starter, check our guide on Essential Sourdough Starter Containers.
Pitfall #4: Misreading the Feeding Schedule (And Quitting Too Soon)
My neighbor Jennifer dove into her starter full of enthusiasm, feeding it daily for a week straight. When barely anything happened, she assumed it had failed, so she bumped feedings to twice a day, then three times a day. By the two-week mark, she was worn out and staring at a soupy mess in her jar.
What Went Wrong
Jennifer hadn’t grasped that a brand-new starter needs a stretch of time to build up its microbial population. Barely any activity — or none at all — in those early days is completely normal; the yeast and bacteria are just quietly multiplying in the background. But Jennifer read “no bubbles” as “broken,” and started overfeeding as a result.
Overfeeding just dilutes the microbial population before it’s had any real chance to take hold. It’s like building a sandcastle while the tide keeps erasing it — every extra feeding was essentially resetting her progress.
She also missed the whole concept of discarding. Without removing any starter before adding more flour and water, her jar kept swelling, and eventually she had a huge quantity of inactive starter that was just burning through flour for nothing.
The Solution
I walked her through the basics: keep the amount small (something like 50 grams flour and 50 grams water), feed once daily, and toss half the starter before every feeding. That keeps things manageable and makes sure the microorganisms have enough to eat.
Patience is the whole game here. A starter can take anywhere from 7 to 14 days to become fully active, and that’s entirely typical. Some see activity by day 3, others not until day 10 — both are fine. What matters is sticking with a consistent feeding rhythm and giving it the time it needs.
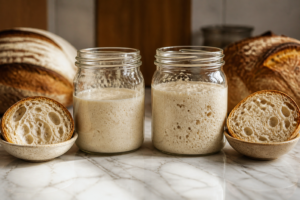
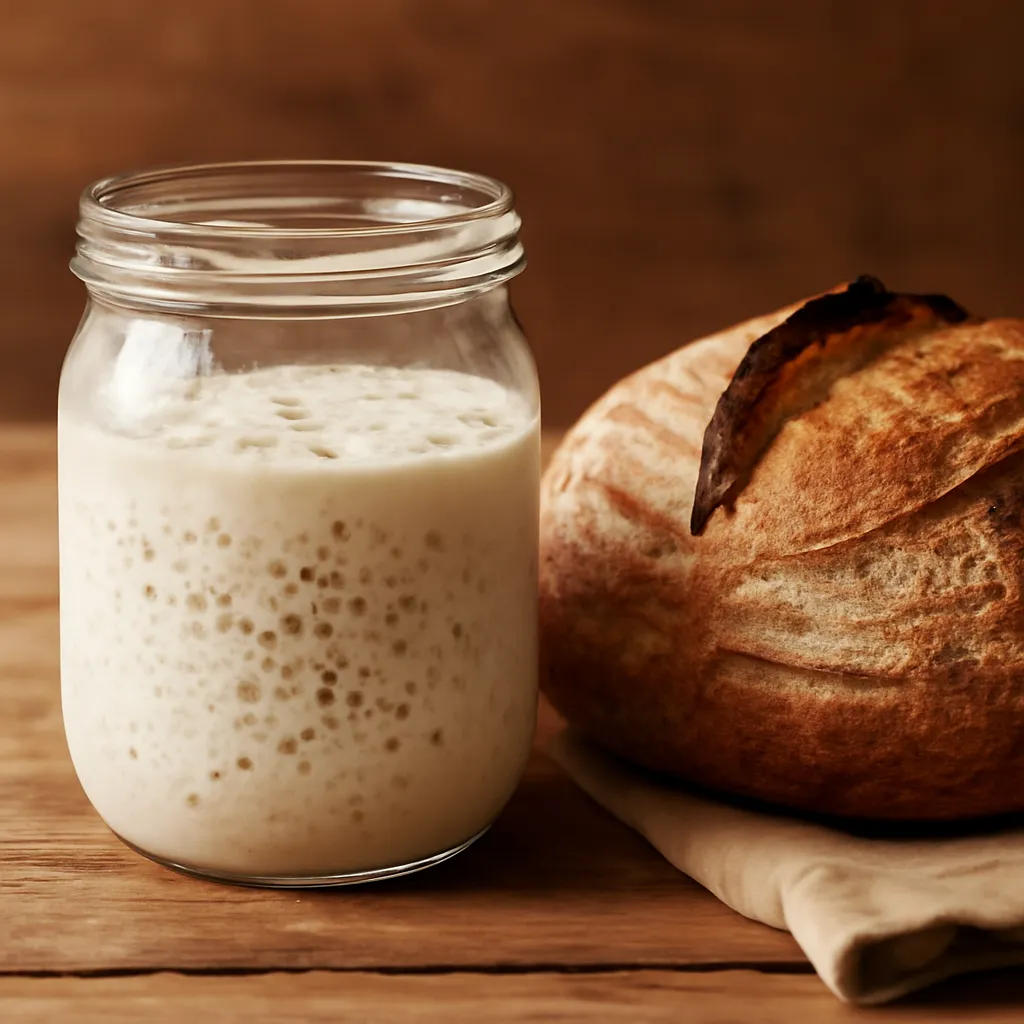
I also walked her through spotting a healthy, active starter: predictable rising and falling after each feeding, bubbles distributed throughout, and a tangy, yeasty aroma — never anything like rot or chemicals.
The Lesson
Patience and consistency win here. A brand-new starter needs time to build itself up, and you might not see much action for the entire first week. Feed once daily, discard half before feeding, and trust that the process is working even when it looks quiet. Resist overfeeding, and don’t switch up your schedule out of frustration. Being consistent matters far more than feeding often in these early days.
Pitfall #5: Running Several Starters Simultaneously (And Losing Track)
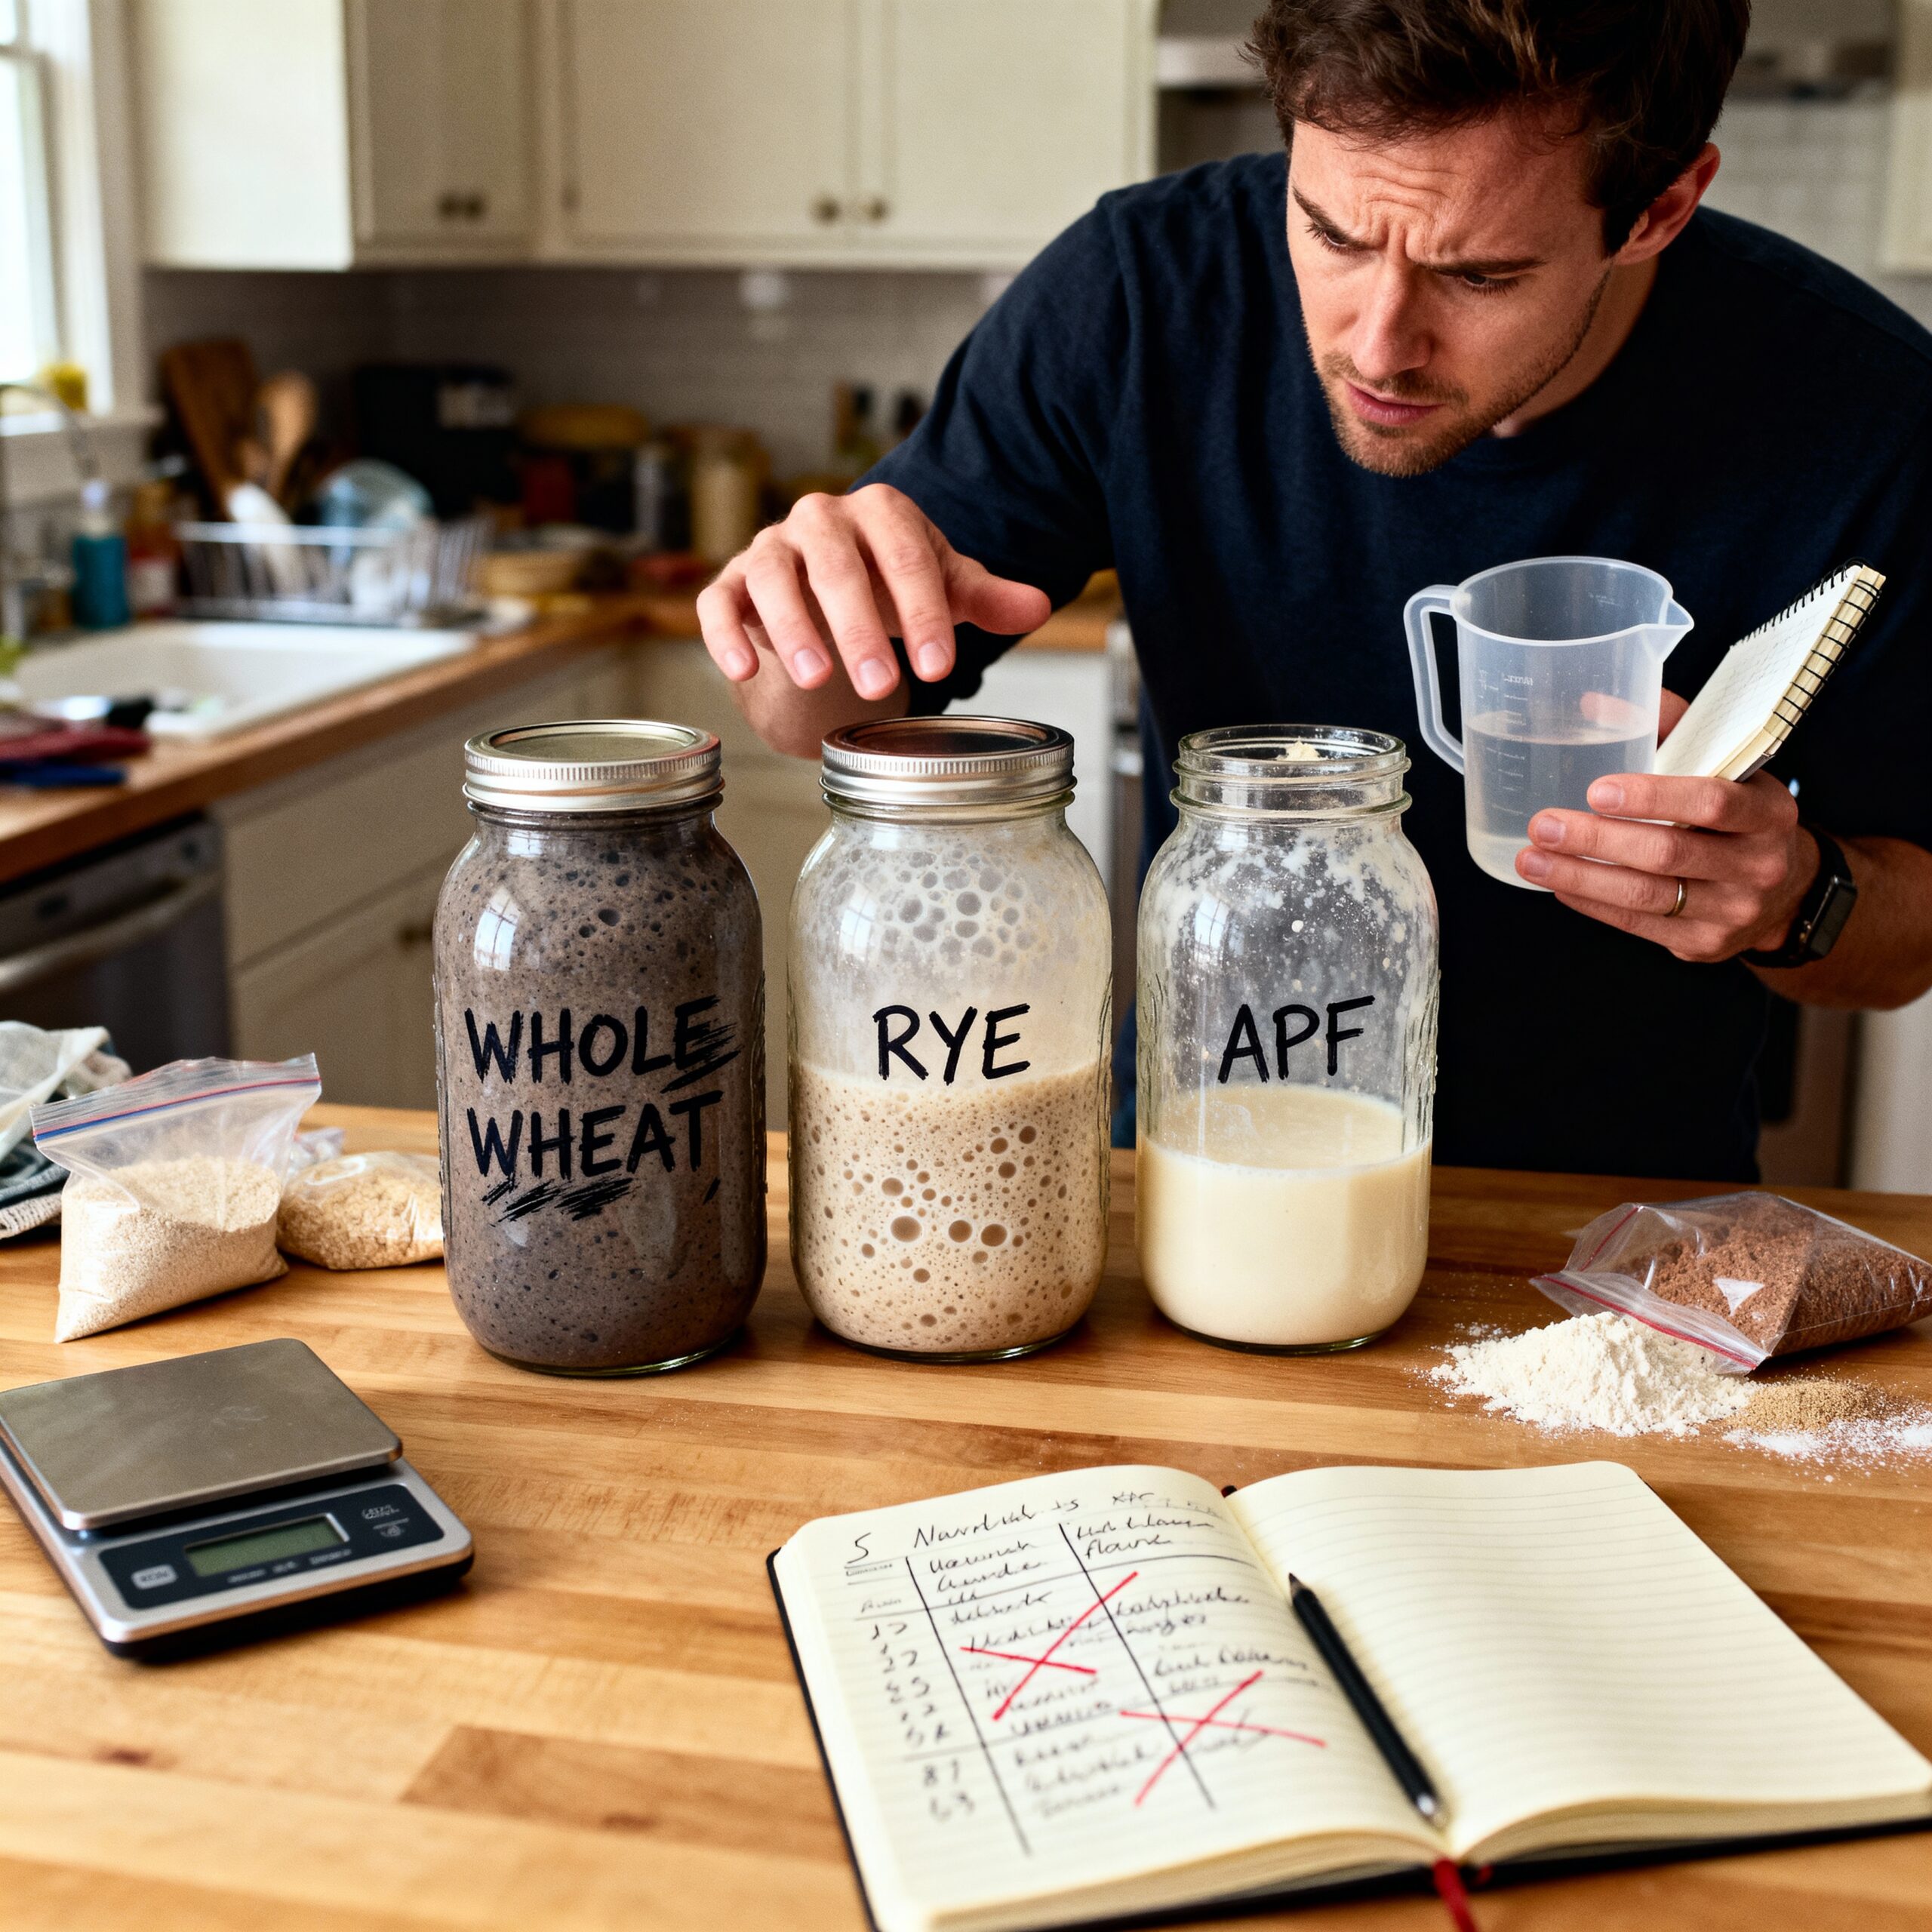
My friend Alex got so hyped about sourdough that he launched three starters at once, wanting to compare methods side by side — one whole wheat, one rye, one all-purpose. He labeled every jar carefully and built out a whole tracking system for good measure.
What Went Wrong
A week in, Alex had lost the thread entirely. He couldn’t recall which jar he’d fed last, which one was actually showing signs of life, or which flour was performing best. Three jars sat on his counter, each on its own timeline, and he kept mixing up their schedules — at one point feeding the same starter twice while completely forgetting another.
The core issue was simply too much happening at once. He was trying to absorb too many variables simultaneously, which meant he couldn’t really observe any single starter closely, since he was splitting his attention across three experiments. He also couldn’t tell which problems came from his technique versus which were just ordinary beginner hiccups.
The Solution
I told him to keep just one — the all-purpose flour starter, since it’s the least complicated — and toss the other two. Start over with a single jar, learn its rhythms, and once that’s comfortable, branch out into different flours later.
He restarted with one starter, and suddenly things made sense. He could track the day-to-day changes, get a feel for the feeding rhythm, and recognize when it was ready to bake with. Having one successful starter under his belt gave him enough understanding to eventually try other flours.
The Lesson
Stick with a single starter at first. Get comfortable with the fundamentals through one jar before branching into different methods or flour types. Juggling multiple starters at once just breeds confusion and makes it harder to tell what’s typical from what’s actually a problem. Once you’ve gotten one starter fully established, you’ll have the knowledge to start experimenting with variations.
Bonus Pitfall: Copying Advice Meant for a Totally Different Climate
My sister-in-law lives in humid Florida but followed a starter recipe written by a blogger based in dry Arizona. The hydration levels and feeding schedule in that recipe were dialed in perfectly for Arizona’s dry air — and completely mismatched for Florida’s humidity.
What Went Wrong
Flour behaves differently with moisture depending on where you live — Arizona’s flour and Florida’s flour don’t absorb water the same way. The formula that worked beautifully out west turned out stiff and dry in Florida’s humid air. The wild yeast couldn’t move freely through that thick paste, and activity stalled out.
She kept following the recipe to the letter, assuming she was the one making mistakes, when really the recipe simply wasn’t built for her climate.
The Solution
I told her to nudge the hydration up slightly — just a bit more water to offset the humidity difference. Once she made that small tweak, her starter took right off. A minor adjustment, but it hinged on understanding that recipes sometimes need reshaping to fit your own environment.
The Lesson
Treat recipes as starting points, not gospel. In an especially humid or especially dry climate, you may need to nudge the hydration one way or the other. Don’t hesitate to adjust based on what you’re actually seeing. If the starter looks too dry, add a splash more water; if it looks too loose, add a bit more flour. Trust what your own eyes are telling you.
Recommended Filtered Water Options
If your tap water is loaded with chlorine and your starter is struggling because of it, here are two filtered water options worth considering:
1. Hskyhan Alkaline Water Filter Pitcher
The Hskyhan Alkaline Water Filter Pitcher does a solid job stripping chlorine and other contaminants out of tap water. This 3.5-liter pitcher runs a 7-stage filtration process that clears out chlorine, fluoride, lead, and other unwanted substances, and it ships with two filters good for several months of use.
What stands out to me is the built-in LED timer that tracks how much life the filter has left, so you’re reminded when a swap is due. It fits easily inside most fridges, it’s BPA-free, and it’s built for daily use. Water from this pitcher works great for feeding sourdough starters.
2. Alkanatur Alkaline Hydrogen Water Filter Pitcher
The Alkanatur Alkaline Hydrogen Water Filter Pitcher is another solid pick for sourdough bakers. It strips out fluoride, chlorine, microplastics, PFAs, and lead, running the water through an activated coconut charcoal carbon filter. It also doubles as a water ionizer, producing a pH of 9.5 and adding beneficial magnesium along the way.
This pitcher does an especially good job removing chlorine, which is the piece that matters most for a healthy starter. The alkaline water it produces may carry some general health perks too, but for sourdough purposes, chlorine removal is really the point.
Final Thoughts
Getting a sourdough starter going is equal parts science and instinct, but above all else, it demands patience and steady habits. The most common beginner error is either rushing the process or bailing on it too early. Keep in mind: every seasoned sourdough baker out there started right where you are now, and most of them ran into these exact same snags.
Keep your method simple. Use filtered water. Give it time. Feed on a steady schedule. Get one starter working before you branch out. And don’t hesitate to reach out for help when you’re stuck — the sourdough community is remarkably generous, full of people who’ve been in your exact spot before.
Ready to start your sourdough journey? Pick out the simplest recipe you can track down, tuck your starter somewhere warm, and give it a solid two weeks to get established. Trust the process and you’ll be pulling great loaves out of your oven before long! Once your starter’s up and running, you’ll want the right gear to match — check out our picks for Best Dutch Ovens for Sourdough Bread and Sourdough Proofing Baskets (Bannetons) to round out your setup.
| Pitfall | Problem | Solution |
|---|---|---|
| Overengineered recipe | Multiple flour types, exact temps, shifting schedule confuses beginners | Equal weights flour and water, once daily, all-purpose flour only |
| Cold kitchen | 62°F slows wild yeast and bacteria to standstill | Relocate jar to 70–80°F (fridge top, heat vent, or seed mat) |
| Chlorinated tap water | Chlorine kills beneficial bacteria starter needs | Use filtered water, bottled water, or let tap water sit uncovered overnight |
| Overfeeding and quitting early | No bubbles by day 7 leads to 2–3 daily feedings, dilutes microbial population | Feed once daily, discard half before feeding, wait 7–14 days for activity |
| Multiple starters simultaneously | Can’t track which jar is which, miss individual starter’s rhythms | Keep one all-purpose starter, master it first, branch out later |
The Dried Starter Culture That Finally Gave Me Something Reliable to Work With
If you’re starting with nothing — no friend’s discard to borrow, no successful wild capture of your own — a dependable dried starter culture cuts out the guesswork and skips past weeks of failed fermentation attempts. I found this out the hard way after my own first three DIY captures went absolutely nowhere.
What works
- It gives you a baseline you can genuinely trust — no more second-guessing whether your starter’s alive or just sitting there looking pitiful week after week.
- Activation is predictable, typically showing signs of life within 24–48 hours, which gets you baking sooner rather than stuck troubleshooting indefinitely.
- It’s built from a known combination of wild yeasts and bacteria, so your starter performs consistently from the get-go instead of throwing unpredictable curveballs.
What doesn’t
- It doesn’t carry the same satisfaction as catching your own wild starter — there’s a nagging sense of not having done it purely “from nature.”
- You’ll still need to feed and tend to it properly once it’s active — the culture hands you a solid foundation, not a free pass to neglect it.
I nearly gave up on sourdough entirely after my second failed wild capture, but switching to a quality dried culture showed me what an actually vigorous starter was supposed to smell and behave like. French Sourdough Starter Dried Culture
Frequently Asked Questions
What’s the simplest starter recipe for beginners?
Use equal weights of flour and water, fed once daily. Plain all-purpose flour and filtered water will do the job every time. Nothing more — no specialty flours, no temperature tracking, no shifting schedule. This plain approach works reliably while you’re learning how a starter behaves.
Why did my starter fail when I used tap water?
Chlorine in tap water kills the beneficial bacteria your starter depends on. Every feeding with chlorinated water quietly poisoned the microorganisms you were trying to grow. Switch to filtered water, bottled water, or let tap water sit uncovered overnight so chlorine evaporates. Water quality decides whether your starter lives or dies.
How warm should my kitchen be for a new starter?
Aim for 70–80°F while you’re getting a new starter off the ground. At 62°F, wild yeast and bacteria crawl along at nearly a standstill. Try relocating the jar to the warmest corner of your house — the fridge top, near a heat vent, or onto a seed-starting mat — and wrap it in a kitchen towel to hold warmth in.
How long does a starter actually take to become active?
A starter can take anywhere from 7 to 14 days to become fully active, and that’s entirely typical. Some see activity by day 3, others not until day 10 — both are fine. Feed once daily, discard half before feeding, and trust the process even when it looks quiet. Patience and consistency win here.
Should I start multiple starters at once as a beginner?
No. Stick with a single starter at first using all-purpose flour, since it’s the least complicated. Get comfortable with the fundamentals through one jar before branching into different methods or flour types. Juggling multiple starters just breeds confusion about what’s typical versus what’s actually a problem.
About This Article

Written by Sam Whitaker. Sam Whitaker has been baking sourdough for over a decade, including three years baking commercially, and now works out of a home kitchen in the Pacific Northwest. Sam's eleven-year-old starter, Harold, is the foundation for every recipe and troubleshooting guide on Sourdough Rising — real bread tested over and over until it works. More about this site.
Scope and limits. Sam is a home baker with no formal culinary training. Follow current food safety guidance for storage and handling, particularly with enriched or filled doughs.
Verify this against a primary source
Specifics change, and your situation may differ from the one described here. These are the authorities worth checking directly:
- USDA FoodData Central — flour and ingredient composition data
- FoodSafety.gov — safe handling and storage