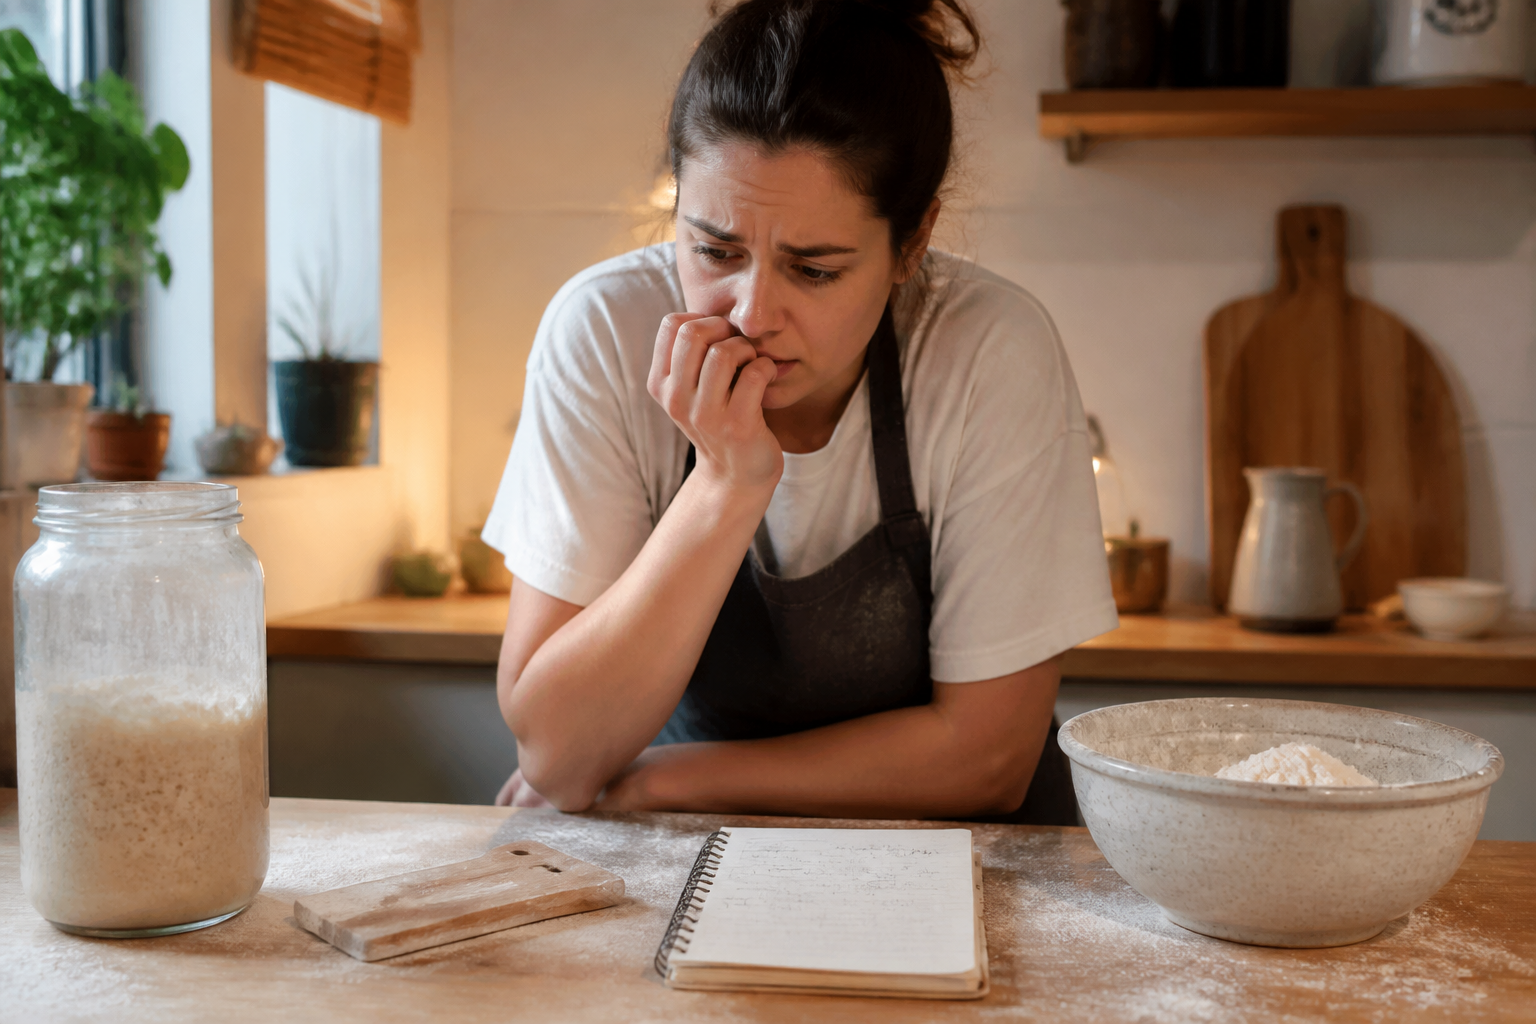
Your starter is bubbly. Your kitchen smells incredible. You’ve shaped your first boule at 2 a.m. and you’re genuinely convinced you’ve nailed it.
Then you open your Dutch oven at 450°F and find… a pancake.
Eleven years later, I’ve learned that flat loaves aren’t a failure—they’re feedback. Over three years running my home microbakery, I baked hundreds of loaves and made every mistake twice. These ten tips won’t turn you into a pro overnight, but they’ll stop you from repeating the costly errors that most beginners face.
1. Your Starter Doesn’t Need to Be Perfect to Bake With
Here’s the myth: your starter must double within 4–6 hours and smell like pineapple and wine before you use it.
In my experience, that’s nonsense. A mature starter doesn’t need to double. It needs to show consistent rise and fall patterns over several days. Your first loaf probably won’t use a “doubled” starter—it’ll use a starter that’s at its peak of activity. That’s different.
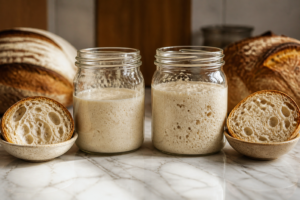
Specifically, your starter should have visible bubbles throughout (not just on top) and smell pleasantly sour, not like acetone or nail polish. If it’s been feeding regularly for 5–7 days, it’s probably ready. Stop waiting for perfection. Bake with it.
2. Hydration Percentage Matters More Than You Think
Most beginner recipes float around 75–80% hydration. That’s 750–800 grams of water per kilogram of flour.
The problem? If you’re mixing by hand or using a basic stand mixer, that dough is borderline unmanageable. Your hands stick to it. You can’t shape it cleanly. You end up degassing it trying to work with it, and your oven spring suffers as a result.
Start at 72–75% hydration instead. For a 500-gram flour base, that’s 360–375 grams of water. You’ll handle it better, shape it more confidently, and still get open crumb. Once you’ve baked 10 loaves and understand gluten development, raise it to 78%. You earn hydration through repetition, not wishful thinking.
3. Temperature Is Your Timer, Not the Clock
Your kitchen at 68°F is not the same as your kitchen at 78°F. Yet most recipes list fixed bulk fermentation times: “4 hours” or “overnight.”
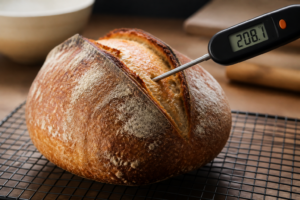
That’s useless on day one. What matters is dough temperature and visual cues. Mix your dough and take its temperature with an instant-read thermometer. You’re aiming for around 75–78°F after the autolyse and mix.
Then watch the dough, not the clock. During bulk fermentation, you’re looking for the dough to increase by roughly 50–75% in volume and show visible bubbles around the edges and surface. In summer, that might be 3.5 hours. In winter with a cold kitchen, it might be 6 hours. Trust the dough.
4. Shape Tension Is Everything
A flat loaf usually means one thing: weak surface tension during shaping.
When you pre-shape, you’re creating a tight ball that holds gas. When you final-shape, you’re building tension by dragging the dough toward yourself on an unfloured counter. This tension is what helps the dough spring up in the oven instead of spreading out like a pancake.
Practice this motion slowly: place your shaped dough seam-side down, use your hands to drag it toward you with slight pressure, then flip it into your banneton seam-side up. That gentle tension makes a visible difference. I’ve baked loaves back-to-back with identical dough, different shaping tension, and the tightly shaped one rose 30% higher.
5. Your Dutch Oven Temperature Matters as Much as Your Oven Temperature
Preheating your Dutch oven to 500°F sounds right. It’s not quite right—it’s actually too hot if you rush it.
Here’s what I do: I preheat my oven (and Dutch oven inside it) to 500°F for 45–60 minutes. Then I reduce the oven to 450°F, score the dough, drop it into the Dutch oven, and bake for 20 minutes covered. The Dutch oven is hot enough to trap steam, but the oven temperature is lower, so the crust doesn’t burn before the interior sets.
If you use a true commercial deck oven or a Mugnaini (as I did during my microbakery days), you don’t need a Dutch oven. Most home ovens aren’t that powerful, though. In my experience, the Dutch oven is the single biggest upgrade a beginner can make for about $40–80.
6. Cold Fermentation Improves Flavor and Handling
After final shaping, you have two choices: proof at room temperature for 2–4 hours, or refrigerate overnight (or up to 48 hours).
Most beginners do room-temperature proofing because they want bread the same day. That said, cold fermentation is easier and tastes better. In the fridge, the dough proofs slowly, develops more sour flavor, and becomes firmer—which means it’s easier to score and holds its shape better in the oven.
Try this: final-shape your dough in the evening, pop it in the fridge, and bake cold the next morning. You score it directly from the fridge (no poke test needed—it’s ready). Your loaves will have deeper flavor and more oven spring. As a result, most of my loaves now use cold fermentation by default.
7. The Poke Test Tells You When Your Dough Is Ready
After bulk fermentation, your dough needs a simple readiness check. This is the poke test.
Poke your dough with a floured finger about 1/2 inch deep. If the dent springs back completely and immediately, you’re underproofed—keep fermenting. If the dent springs back halfway, you’re approaching readiness. If the dent stays mostly set, you’re proofed.
The goal is a dough that springs back partially. You want some residual tension, not a fully relaxed dough. In my microbakery, I used this test on every single batch. It’s more reliable than any timer.
8. Scoring Does More Than Look Good
A shallow score (1/4 inch) is decorative. A proper score (1/2 inch at a 30–45° angle) controls how your loaf expands.
When you score your dough, you’re telling it where you want it to burst open. The oven spring—that rapid rise in the first 10–15 minutes—pushes along the score line, giving you “ear” (that little flap) and a more open crumb.
Use a sharp lame or razor blade, not a dull knife. Hold it at about 30 degrees and draw a slash across your dough in one confident motion. That single confident cut beats three hesitant ones.
9. Crumb Structure Reveals What Went Wrong
When your loaf cools (wait at least 30 minutes before slicing), cut it open and look at the crumb.
Large uneven holes usually mean overproofing or insufficient gluten development. Tight, dense crumb usually means underproofing. Large holes concentrated at the top? That’s often weak shaping tension. Gummy interior? You didn’t cool it long enough or bake it hot enough to gelatinize the starches.
Your loaf is feedback. Take a photo of every crumb for the first 20 loaves. You’ll see patterns emerge—your own patterns, specific to your kitchen and technique. That’s how you improve faster than any recipe can teach you.
10. Keep a Baking Log
This one sounds tedious. It’s not. Write down: date, flour type, hydration, bulk fermentation time, room temperature, fridge time, oven temperature, and your honest assessment of the result.
After 10 loaves, you’ll have real data. You’ll know how your kitchen behaves. You’ll know if your starter needs more or less time. You’ll know whether your oven runs hot or cold.
During my microbakery days, I logged every batch. When a customer asked why their home bakes looked different from mine, I could show them exactly where the difference was—usually room temperature or hydration. Specifically, I kept a simple Google Sheet with columns for each variable. It took 2 minutes per batch and saved hours of guessing.
The Real Lesson: Repetition Over Perfection
These ten tips won’t guarantee a perfect loaf on attempt one. However, they’ll stop you from wasting flour and time on fixes that don’t work.
What actually works is repetition. Bake 20 loaves. Then bake 20 more. Your hands learn. Your eyes learn. Your kitchen reveals its quirks, and you adjust for them.
One tool that genuinely speeds up this learning curve is a reliable scale. Most beginner mistakes vanish the moment you stop measuring flour by cups and start weighing in grams. I’ve recommended the Hario V60 scale to dozens of home bakers, but honestly, any basic kitchen scale under $30 works fine—as long as it reads to 1 gram and has a tare button.
Frequently Asked Questions
What hydration percentage should sourdough beginners start with?
Start at 72–75% hydration instead of the typical 75–80%. For a 500-gram flour base, that’s 360–375 grams of water. You’ll handle the dough better, shape it more confidently, and still get open crumb. Once you’ve baked 10 loaves and understand gluten development, you can raise it to 78%.
How do I know when my sourdough starter is ready to bake?
A mature starter doesn’t need to double. It needs to show consistent rise and fall patterns over several days, have visible bubbles throughout (not just on top), and smell pleasantly sour, not like acetone or nail polish. If it’s been feeding regularly for 5–7 days, it’s probably ready to use.
What temperature should my Dutch oven be for baking sourdough?
Preheat your oven and Dutch oven to 500°F for 45–60 minutes. Then reduce the oven to 450°F, score the dough, drop it into the Dutch oven, and bake for 20 minutes covered. The Dutch oven is hot enough to trap steam, but the lower oven temperature prevents the crust from burning before the interior sets.
How deep should I score my sourdough loaf?
A proper score is 1/2 inch deep at a 30–45° angle. This controls how your loaf expands during oven spring. Use a sharp lame or razor blade, hold it at about 30 degrees, and draw a slash across your dough in one confident motion rather than multiple hesitant cuts.
Start baking. Keep notes. Trust the dough. Build tension. Watch temperature.
That’s what I wish someone had told me on day one.
About This Article

Written by Sam Whitaker. Sam Whitaker has been baking sourdough for over a decade, including three years baking commercially, and now works out of a home kitchen in the Pacific Northwest. Sam's eleven-year-old starter, Harold, is the foundation for every recipe and troubleshooting guide on Sourdough Rising — real bread tested over and over until it works. More about this site.
Scope and limits. Sam is a home baker with no formal culinary training. Follow current food safety guidance for storage and handling, particularly with enriched or filled doughs.
Verify this against a primary source
Specifics change, and your situation may differ from the one described here. These are the authorities worth checking directly:
- USDA FoodData Central — flour and ingredient composition data
- FoodSafety.gov — safe handling and storage