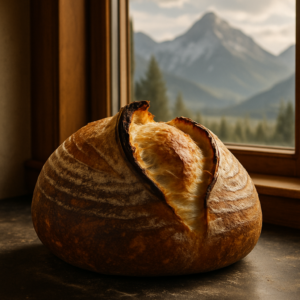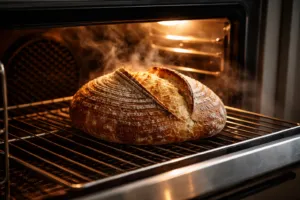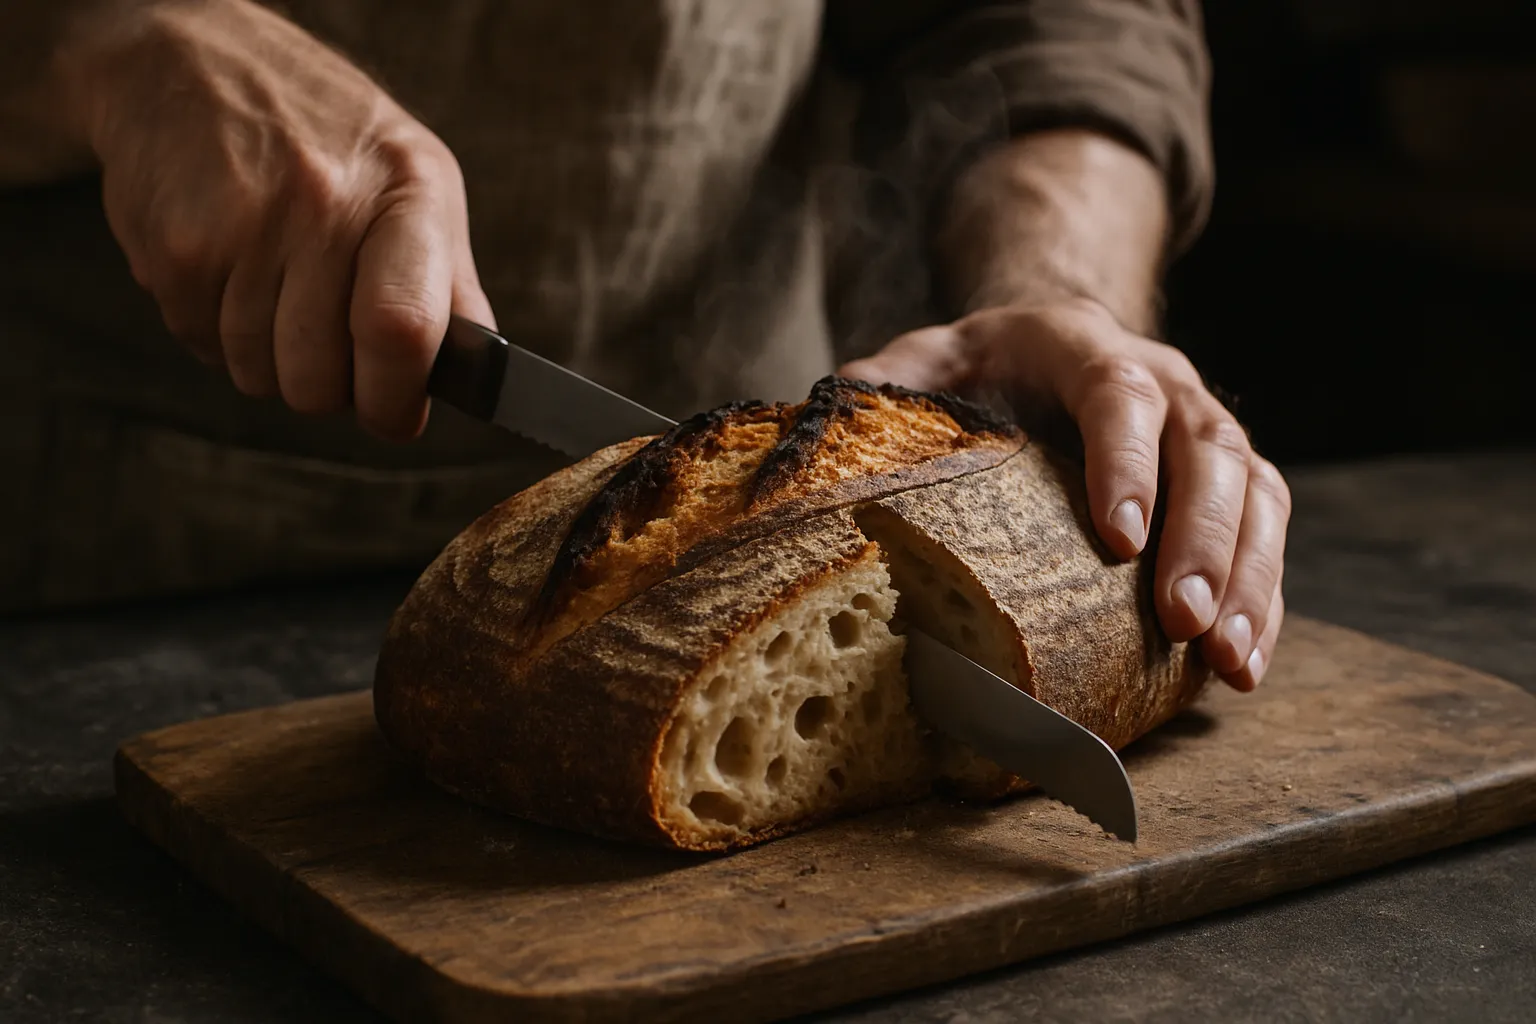
My bench knife is already dragging across the top of the dough, laying down that one confident slash, and steam is still curling off the crust as I ease the loaf out of the Dutch oven — ears standing up proud, crackle audible under my fingers. This was bake number three that particular Tuesday, and the boule looked like something worth photographing. Then I cut into it. One bite in, and my jaw actually clenched from the sourness. My husband, ever diplomatic, offered up “interesting.” My daughter set hers back down on the plate without finishing it. I’d produced something gorgeous on the outside and borderline undrinkable-vinegar on the inside — a stunning-looking failure. That’s the bake that pushed me off guesswork and into actually studying what makes sourdough taste sour in the first place, and how much say I really have over that flavor.
| Variable | Warmer Fermentation (75–82°F) | Cooler/Cold Fermentation |
|---|---|---|
| Dominant Acid | Lactic acid | Acetic acid |
| Flavor Profile | Soft, yogurt-ish tang | Vinegary, sharp bite |
| Cold Retard Time | Shorter | 12–36 hours |
| Result | Milder, grain-forward | Heavier, more noticeable tang |
The Real Reason Sourdough Turns Sour: Breaking Down the Science
Truth is, tang in sourdough isn’t a single ingredient or a single reaction — it’s the output of two distinct acids your fermentation produces. Lactic acid is the gentler one, giving that soft, yogurt-ish tang most people enjoy without thinking twice. Acetic acid is the harsher cousin — vinegary, sharp, the one responsible for that jaw-tightening bite. Both are always present in your starter and dough; what changes the flavor is simply which one is winning.
You actually have real influence over which acid dominates, through a set of variables you can dial in yourself: how warm your dough ferments, how much water it holds, how long you let it rise, which flours you’re feeding it, and how you’re caring for your starter. Once that clicked for me, baking stopped feeling like rolling dice — every bake turned into something I could actually direct on purpose.
Let’s break down how to actually put each of these controls to work.
Dialing In Sourdough Flavor: The Fermentation Variables That Matter
Temperature: The Lever With the Biggest Payoff
Nothing shifts sourness more dramatically than temperature. Fermenting on the warmer side — somewhere around 75–82°F — tips the scales toward lactic acid bacteria, giving you a softer, more grain-forward flavor. Drop the temperature, especially through a long cold stretch in the fridge, and everything slows way down while acetic acid production ramps up, delivering that heavier, more noticeable tang.
Got a loaf that’s punching too sour? Cut back on the cold proof time or nudge your bulk fermentation temperature up a bit. Not sour enough for your taste? Extend the cold retard — stretching it anywhere from 12 hours to a full 36 hours in the refrigerator can deepen the flavor considerably.
This is precisely where having a dedicated proofing setup pays off. For years I was at the mercy of whatever my kitchen felt like doing — 65°F in the dead of winter, climbing to 80°F by mid-summer. Getting actual, reliable temperature control changed the entire game for me.
Hydration: Wetter or Stiffer Dough Changes the Flavor
Wetter doughs — 75% hydration and up — tend to lean into lactic acid production, giving you something milder and creamier tasting. Tighter, lower-hydration doughs push things toward acetic acid and a sharper sour note. That’s a big reason classic San Francisco-style loaves, famous for their bite, are usually built with lower hydration and fermented somewhere cool.
Chasing more tang? Pull your hydration down a touch and let your cold ferment run longer. Want to soften things up? Push your water percentage higher and keep your fermentation on the warmer side.
Bulk Fermentation Timing and Its Effect on Sourness
Push bulk fermentation too far and sourness spikes fast, along with a loss of structure. Cut it short, and you’ll get almost no tang at all — plus a dense, gummy interior. The goal is catching that peak window without sailing past it. What I watch for is roughly a 50–75% rise in volume, a rounded dome on top, and visible bubbles throughout when I do the stretch-and-pull check.
Keeping careful track of your timing is crucial here. I use a simple digital timer so I’m not relying on memory when I’m juggling life and a loaf at the same time. The Digital Kitchen Timer with Magnetic Loud Alarm is great for this — it’s loud enough that I actually hear it from the other room, and it sticks right to the fridge. If you’re baking multiple loaves or running overlapping timers, the Mwellewm 12-Pack Digital Kitchen Timers are a fun and affordable way to keep everything organized without losing your mind.
How Your Starter Itself Shapes Sourness
A starter that’s just been fed is lively but not particularly acidic yet. Let it go hungry longer between feedings and it turns mature and noticeably more sour, passing that acidity straight into your dough. Getting sour loaves too often? Try baking with your starter right at peak — domed, bubbly, at its most active — instead of letting it slide past that point. Craving more tang? Use a starter that’s just past peak, or up the percentage of whole grain flour in your feeding schedule, since both whole wheat and rye speed up bacterial activity.
The Timer That Finally Fixed My Over-Fermentation Problem
Managing sourness really comes down to managing time, and I found out the hard way that eyeballing bulk fermentation — or trusting my phone’s timer app — just didn’t hold up. I needed something dependable enough to flag the exact moment my dough hit peak, before things tipped over into that jaw-aching sour zone.
What’s working well
- It clamps onto my Dutch oven or banneton with a magnetic back and just stays there through the whole bulk rise, so I’m not hunting for a separate gadget with dough all over my hands.
- The alarm is genuinely loud enough to catch me from the other end of the kitchen — no more straining to hear a faint beep and accidentally letting fermentation run 30 extra minutes.
- The display is uncomplicated enough to glance at without hunting for my glasses, and the controls are simple enough that I’m not stuck fiddling with settings mid-bake.
Where it falls short
- That magnetic mount is fantastic on metal surfaces, but glass and ceramic mixing bowls won’t hold it, so you end up placing it nearby instead of right on the vessel.
- Battery life is nothing special if you’re baking as often as I do — I’m swapping batteries every 2-3 months during my busiest baking stretches.
I almost returned mine after the first week because the button felt cheap, but then I realized I was actually *finishing* loaves on time instead of guessing, and my sourness problem pretty much evaporated. If you’re struggling with unpredictable fermentation times, grab a Digital Kitchen Timer with Magnetic Loud Alarm.
Frequently Asked Questions
How do I make sourdough less sour?
Reduce sourness by fermenting warmer (around 75–82°F), increasing hydration to 75% or higher, and baking with your starter right at peak instead of past it. Shorter cold proof times also help. Wetter doughs and warmer fermentation both favor lactic acid, which gives a softer, milder tang.
How long should I cold retard sourdough for sourness?
Extend the cold retard anywhere from 12 hours to a full 36 hours in the refrigerator to deepen sour flavor. Longer cold fermentation ramps up acetic acid production, delivering that heavier, more noticeable tang you’re after.
Does lower hydration make sourdough more sour?
Yes. Tighter, lower-hydration doughs push fermentation toward acetic acid and a sharper sour note, while wetter doughs at 75% hydration and up lean into lactic acid production for milder, creamier flavor. This is why classic San Francisco-style loaves are typically built with lower hydration.
What’s the right bulk fermentation time for sourdough?
Watch for roughly a 50–75% rise in volume, a rounded dome on top, and visible bubbles throughout when you do the stretch-and-pull check. Push bulk fermentation too far and sourness spikes fast with loss of structure; cut it short and you get almost no tang plus a dense interior.
About This Article

Written by Sam Whitaker. Sam Whitaker has been baking sourdough for over a decade, including three years baking commercially, and now works out of a home kitchen in the Pacific Northwest. Sam's eleven-year-old starter, Harold, is the foundation for every recipe and troubleshooting guide on Sourdough Rising — real bread tested over and over until it works. More about this site.
Scope and limits. Sam is a home baker with no formal culinary training. Follow current food safety guidance for storage and handling, particularly with enriched or filled doughs.
Verify this against a primary source
Specifics change, and your situation may differ from the one described here. These are the authorities worth checking directly:
- USDA FoodData Central — flour and ingredient composition data
- FoodSafety.gov — safe handling and storage