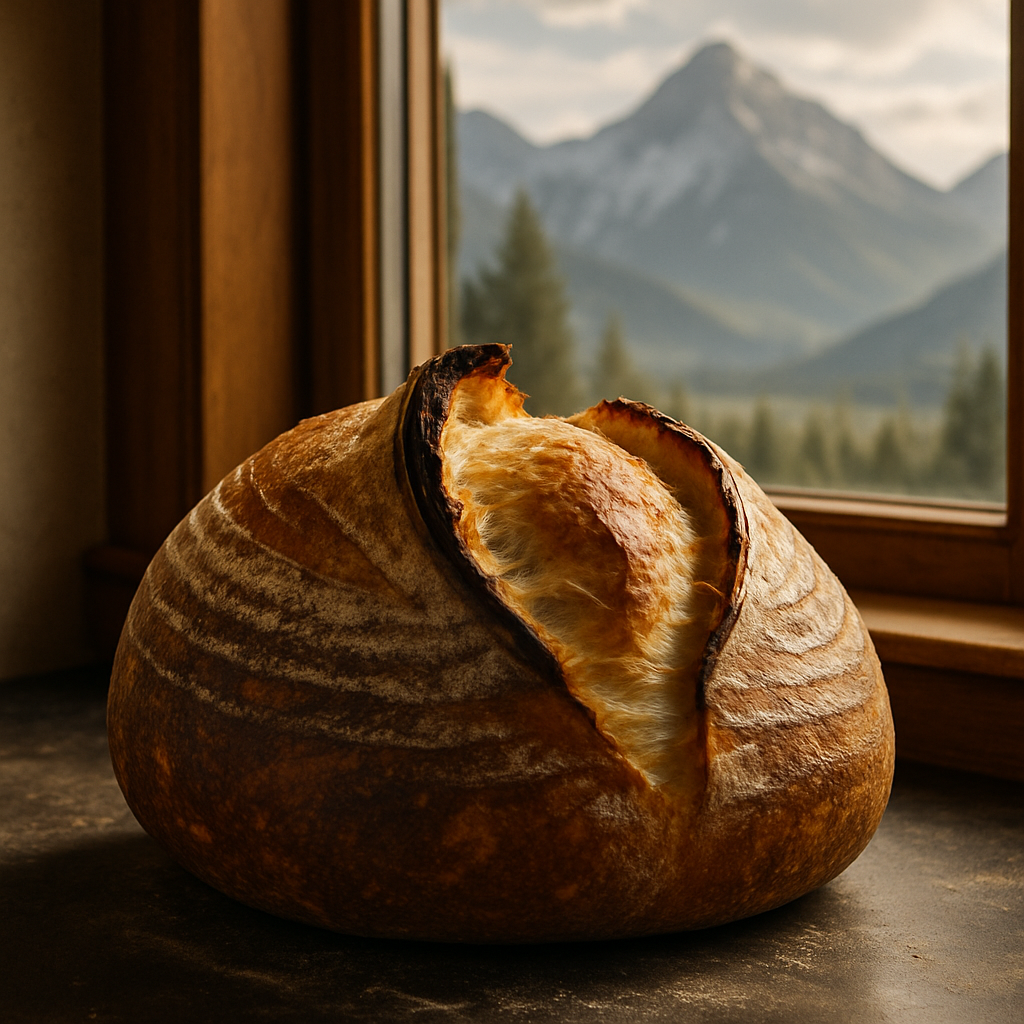
A loaf that rises beautifully at sea level can turn into a collapsed puddle at 6,000 feet with the exact same recipe. Altitude changes fermentation in ways that catch a lot of transplanted bakers off guard.
Understanding Why High Altitude Affects Sourdough
Lower atmospheric pressure at elevation means gas bubbles in your dough expand faster and escape more easily. Fermentation also runs faster because there’s simply less resistance holding the structure together, which means your usual timing windows shrink significantly.
Adjusting Fermentation Timing
At 5,000+ feet, expect bulk fermentation to finish 25-40% faster than a sea-level recipe suggests. Watch the dough, not the clock — the visual cues (a 50-75% rise, visible surface bubbles, a slight jiggle) matter more than ever since your usual timeframes won’t hold.
Lowering your kitchen’s ambient proofing temperature slightly, or moving to a cooler spot, can help slow things back down to a manageable pace if fermentation is racing away from you.
Hydration and Dough Handling Changes
Lower humidity at altitude — common in many high-elevation regions — pulls moisture out of dough faster during mixing and shaping. I add 3-5% more water than my sea-level recipe calls for, and cover dough more aggressively between steps to prevent a dry skin from forming.
Oven Temperature and Baking Adjustments
Water boils at a lower temperature at altitude, which affects how steam behaves in your oven during the crucial early bake. I increase oven temperature by 15-25°F above sea-level recommendations and extend steam time slightly to compensate for faster moisture loss.
Your Starter Behaves Differently Too
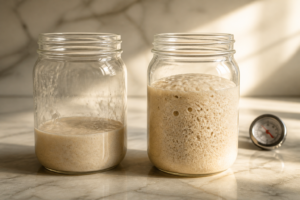
It’s not just the dough — your starter ferments faster at altitude for the same lower-pressure reasons. If you moved from sea level, expect your starter to need feeding more frequently, sometimes twice a day where once was enough before. Watch for it peaking faster and falling faster; that’s normal, not a sign something’s wrong with the culture itself.
Adjusting by Elevation Band
- 3,000-5,000 feet: minor adjustments — shorten bulk fermentation by roughly 15%, add 5g extra water per 500g flour
- 5,000-7,000 feet: moderate adjustments — shorten bulk fermentation by 25-30%, add 15-20g extra water, increase oven temp by 15°F
- 7,000+ feet: significant adjustments — shorten bulk fermentation by up to 40%, add 20-25g extra water, increase oven temp by 20-25°F, and expect to fine-tune further by trial
Troubleshooting Common Problems
- Dough collapsing before baking: you’re likely over-proofing — shorten bulk fermentation by 30-45 minutes
- Pale, underbaked crust despite long bake times: increase oven temperature rather than bake time
- Dense, gummy crumb: often under-proofed because the baker followed sea-level timing instead of watching the dough
A Real Example
A reader at 5,280 feet wrote in after cutting her bulk fermentation from 5 hours to 3.5 hours and adding 20g extra water to her usual recipe — her collapsed, dense loaves turned into consistently well-risen bread within two bakes. The fix is almost always shorter fermentation and slightly more hydration, not a completely different recipe.
Keep a Bake Log When You Move
If you’ve recently relocated to elevation, the fastest way to dial in your recipe is a simple bake log: note your bulk fermentation time, final dough temperature, and how the crumb and rise turned out for every bake. Altitude adjustments aren’t one-size-fits-all even within the same elevation band — your specific kitchen’s humidity, your oven’s real temperature, and your starter’s strength all interact with elevation differently. Three or four logged bakes usually gets you to a reliable recipe faster than following someone else’s altitude chart exactly.
What Doesn’t Actually Need to Change
It’s worth saying what altitude doesn’t affect: your starter’s feeding ratio, your salt percentage, and your basic shaping technique all stay the same regardless of elevation. Don’t over-correct by changing more than fermentation time, hydration, and oven temperature — the rest of your process should transfer directly.
Frequently Asked Questions
How much faster does bulk fermentation run at high altitude?
At 5,000+ feet, expect bulk fermentation to finish 25-40% faster than sea-level recipes suggest. Watch for visual cues like a 50-75% rise, visible surface bubbles, and a slight jiggle rather than relying on your usual timing. Lower atmospheric pressure causes gas bubbles to expand and escape more quickly.
How much extra water should I add for high altitude baking?
Add 3-5% more water than your sea-level recipe calls for to compensate for faster moisture loss. At 5,000-7,000 feet, add 15-20g extra water; at 7,000+ feet, add 20-25g extra water per 500g flour. Cover dough aggressively between steps to prevent a dry skin from forming.
Should I increase my oven temperature at high altitude?
Yes, increase oven temperature by 15-25°F above sea-level recommendations. At 5,000-7,000 feet, increase by 15°F; at 7,000+ feet, increase by 20-25°F. Water boils at lower temperatures at altitude, affecting steam behavior during the crucial early bake.
Does my sourdough starter need more frequent feeding at altitude?
Yes, your starter ferments faster at altitude due to lower atmospheric pressure. Expect it to need feeding more frequently, sometimes twice a day where once was enough before. Watch for it peaking and falling faster — this is normal and doesn’t mean something’s wrong with the culture.
About This Article

Written by Sam Whitaker. Sam Whitaker has been baking sourdough for over a decade, including three years baking commercially, and now works out of a home kitchen in the Pacific Northwest. Sam's eleven-year-old starter, Harold, is the foundation for every recipe and troubleshooting guide on Sourdough Rising — real bread tested over and over until it works. More about this site.
Scope and limits. Sam is a home baker with no formal culinary training. Follow current food safety guidance for storage and handling, particularly with enriched or filled doughs.
Verify this against a primary source
Specifics change, and your situation may differ from the one described here. These are the authorities worth checking directly:
- USDA FoodData Central — flour and ingredient composition data
- FoodSafety.gov — safe handling and storage