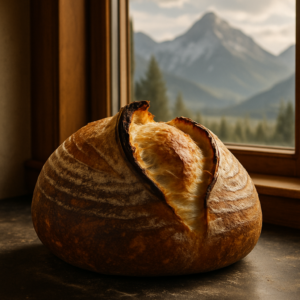
My oven is a secondhand Wolf range with a cast-iron combo cooker I’ve used for years, and there’s one particular spot on my counter — right under the window, just past the coffee maker — where I always land a loaf fresh out of the pot. One Sunday afternoon, I pulled a boule out of that combo cooker and just stood there staring at it, because it was hands-down the prettiest thing I’d baked in months. Deep mahogany color, blisters scattered across the top in exactly the right places, and when I flipped it and knocked on the bottom, it gave that hollow thump every sourdough baker chases. I actually did a little dance right there by the stove. My dog lifted his head like something had gone wrong. I carried the loaf to that spot by the window, draped a clean kitchen towel over it because that seemed like the kind of thing a “real” baker would do, and wandered off to catch an hour of TV. When I came back and cut into it, the crust had gone soft. Not slightly softened — soft like a sandwich loaf, no crackle left at all. I stood there with the knife in my hand trying to figure out what I’d done, half-joking to myself that my dog’s worried look had somehow cursed the bake. If you’ve typed “sourdough crust soft after cooling” into a search bar while feeling that exact confusion, keep reading — this one’s for you.
| Cooling Method | Effect on Crust | Steam Movement |
|---|---|---|
| Flat surface (countertop, cutting board) | Crust turns soft and chewy | Condenses underneath, reabsorbed into crust |
| Towel draped over loaf | Crust turns limp | Trapped in mini steam chamber, pushed back into crust |
| Cooling rack with airflow | Crust stays crisp | Vents downward, escapes before reabsorption |
| Fully exposed to open air | Crispness preserved | Travels upward and disperses freely |
The Real Reason a Crisp Crust Turns Chewy Once It Cools
In plain terms, it comes down to moisture, and more specifically, moisture you’re accidentally sealing in without noticing. Here’s the mechanism: a sourdough loaf fresh from the oven is holding a huge amount of steam inside it. That steam has to travel somewhere as the bread cools. If it’s sitting on a flat surface, tucked under a towel, or stuck somewhere with poor air movement, that trapped vapor pushes back outward and gets reabsorbed straight into the crust. Whatever was shattering and crackling minutes earlier basically gets re-steamed from the inside. It sounds like an overreaction to describe it that way, but it really is that direct a cause and effect.
Sourdough crust behaves nothing like the crust on most everyday bread. Because it’s typically baked at very high heat inside a covered Dutch oven, it forms a thin, almost glass-like shell — gorgeous to look at and eat, but genuinely fragile the second moisture starts working against it. That fragility is part of the charm of sourdough, honestly, but it also means the minutes right after baking demand a bit more thought than tossing the loaf on a counter and walking away.
Common Cooling and Baking Mistakes That Wreck a Crisp Crust
Setting the Loaf Directly on a Flat Surface
This is precisely where I went wrong that Sunday. Placing a hot loaf straight onto a cutting board, a plate, or the countertop seals off any airflow underneath the bread. With no exit route below, the steam condenses right there and gets pulled back into the crust. Even a handful of minutes resting flat is enough to start undoing all that crispness.
Draping a Towel Over a Still-Hot Loaf
A towel thrown over a warm loaf basically builds a mini steam chamber. I genuinely believed I was keeping my bread from drying out. In reality, I was manufacturing the exact environment that turns a crackly crust limp. Let the loaf sit fully exposed to open air while it cools — no covering whatsoever. Once it’s dropped to room temperature, storing it is fine, but that initial one-to-two-hour cooling window needs open air, full stop.
Pulling the Loaf Before It’s Fully Baked
When there’s excess moisture still sitting in the crumb at the moment the loaf leaves the oven, no cooling trick on earth will rescue that crust. A fully baked sourdough loaf should sit around 205 to 210 degrees Fahrenheit internally. That number sounds extreme, but it’s accurate — trust it. A loaf pulled too soon ends up with a gummy interior and pushes out far more steam as it cools, meaning even more moisture working against your crust from underneath.
Skipping Enough Uncovered Bake Time
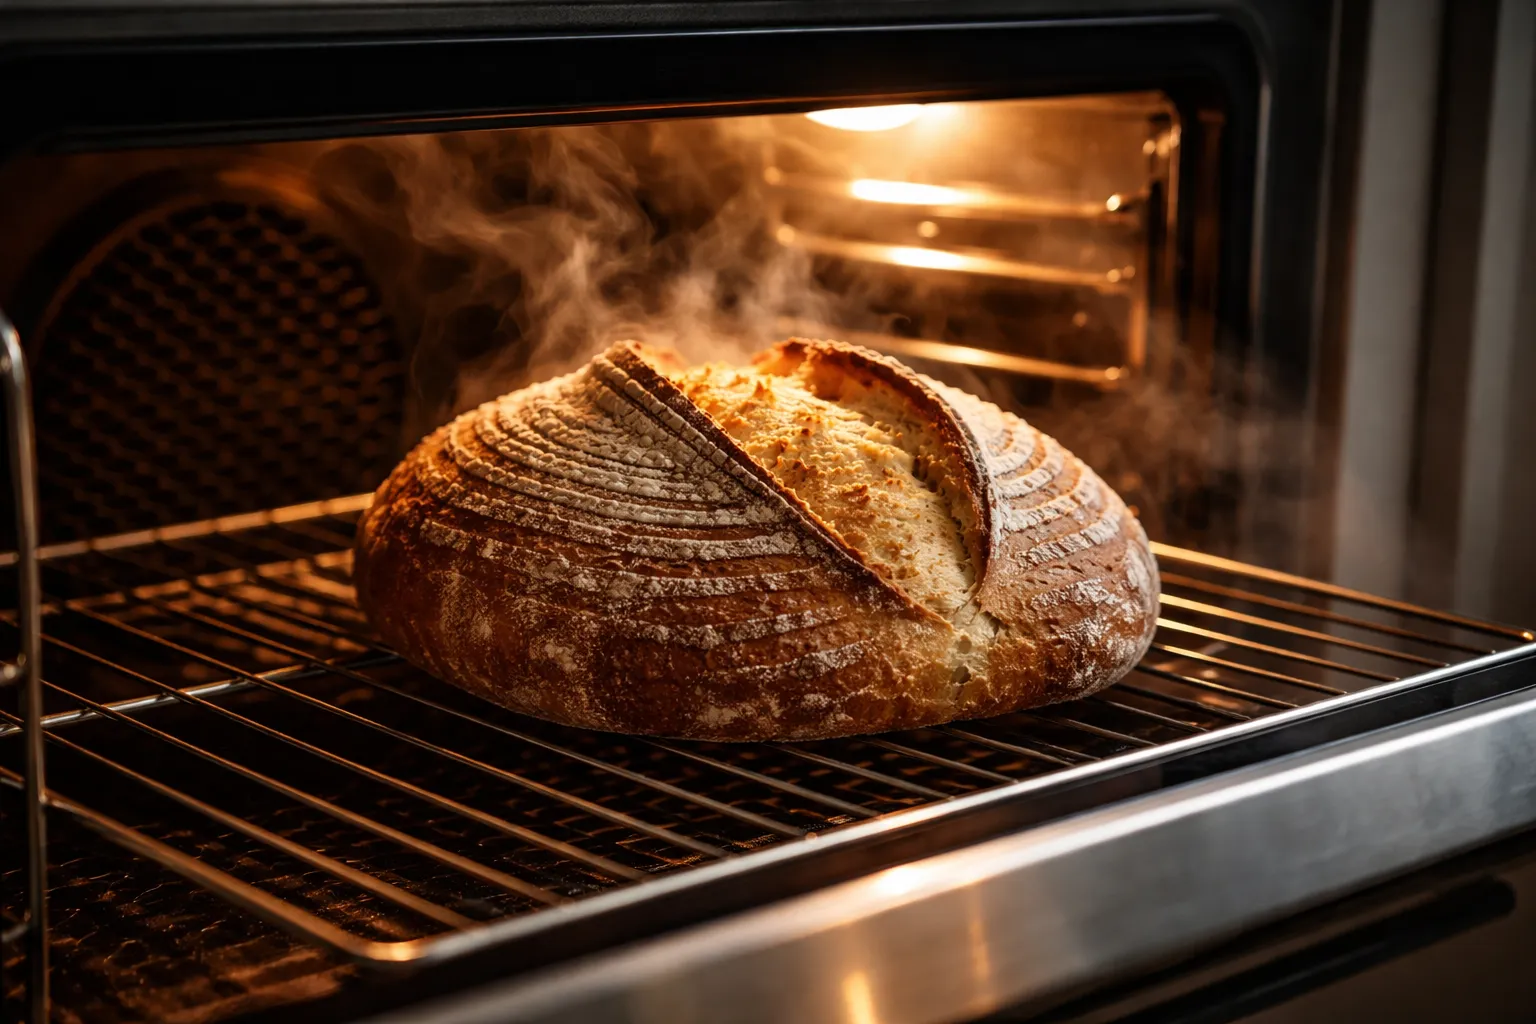
Most sourdough recipes call for roughly the first 20 minutes baked covered, then the rest of the bake uncovered. That uncovered stretch isn’t only there for browning — it’s driving off surface moisture and firming up the crust itself. Pull the loaf early, or bake in an oven that runs a bit cool and never quite finishes the job, and the crust simply won’t have built enough structure to hold up once the internal steam starts pushing around later.
The Tools That Actually Keep a Crust Crackling
Here’s the reassuring part: none of this requires learning some new elaborate technique. It’s mostly a matter of using the right equipment plus a bit of patience — something I only figured out after enough disappointing, soft-crusted loaves of my own.
A Cooling Rack Built to Keep Your Crust From Going Soft
Here’s what a lot of bakers miss: rest that gorgeous mahogany loaf flat on the counter, or wrap it up while it’s still cooling, and steam gets locked underneath, turning that crisp shell soft and chewy in under an hour. What you actually need is air moving beneath the loaf — and it needs to start right away.
Where it earns its keep
- Its raised grid pattern leaves a gap of air underneath the loaf so steam vents downward rather than condensing back into the crust while everything cools.
- Measuring 10″ x 15″, it’s plenty large enough to fit a full-size boule or batard without any overhang, which would otherwise cool the bread unevenly and soften one side.
- Built from sturdy stainless steel, it holds its shape under a hot loaf instead of bowing — important, since a rack that sags creates low spots where steam can collect.
Where it comes up short
- The grid spacing is tight enough that finer decorative scoring can occasionally leave faint impressions on the loaf’s underside if you’re not paying attention — minor, but good to know going in.
- It does eat up counter space; there’s no discreet way to store it, and if you’re running two racks at once during that crucial cooling stretch, that footprint doubles.
I was skeptical the first time I used one—I thought I was overthinking it, that my towel method was fine—but the difference in crunch texture at the 45-minute mark was undeniable. 2PCS Cooling Racks for Cooking and Baking (10″ x 15″ Heavy Duty Stainless Steel)
Frequently Asked Questions
Why does my sourdough crust get soft after cooling?
Steam trapped inside the loaf during cooling gets reabsorbed into the crust, turning it soft and chewy. This happens when you place the bread on a flat surface, drape it with a towel, or cool it anywhere with poor air movement underneath. That trapped vapor needs to escape downward, not back into the crust.
Should I cover my sourdough loaf while it cools?
No. Let the loaf sit fully exposed to open air for the initial one-to-two-hour cooling window. A towel draped over a warm loaf creates a mini steam chamber that turns your crackly crust limp. Once the bread drops to room temperature, storing it is fine, but that cooling period needs no covering whatsoever.
What internal temperature should sourdough reach before cooling?
A fully baked sourdough loaf should reach around 205 to 210 degrees Fahrenheit internally. A loaf pulled too soon ends up with a gummy interior and pushes out far more steam as it cools, meaning excess moisture working against your crust from underneath.
How long should sourdough bake uncovered to keep crust crispy?
Most recipes call for roughly the first 20 minutes baked covered, then the rest of the bake uncovered. That uncovered stretch drives off surface moisture and firms up the crust itself, building enough structure to hold up once internal steam starts moving around during cooling.
About This Article

Written by Sam Whitaker. Sam Whitaker has been baking sourdough for over a decade, including three years baking commercially, and now works out of a home kitchen in the Pacific Northwest. Sam's eleven-year-old starter, Harold, is the foundation for every recipe and troubleshooting guide on Sourdough Rising — real bread tested over and over until it works. More about this site.
Scope and limits. Sam is a home baker with no formal culinary training. Follow current food safety guidance for storage and handling, particularly with enriched or filled doughs.
Verify this against a primary source
Specifics change, and your situation may differ from the one described here. These are the authorities worth checking directly:
- USDA FoodData Central — flour and ingredient composition data
- FoodSafety.gov — safe handling and storage