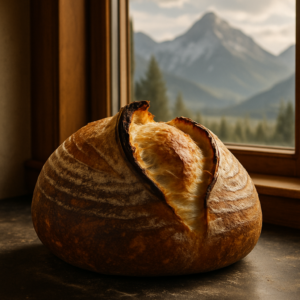
Here’s something that trips up almost every new sourdough baker: a flat, dense loaf with a sour bite usually has nothing to do with a weak starter — it’s almost always a proofing timing issue. I learned this the hard way years ago, pulling a loaf off my baking stone that had spread out like a pancake, no oven spring at all, with a gummy crumb and a smell that screamed “I went too far.” That loaf taught me more about over proofed vs under proofed sourdough than any recipe ever could. If a flattened, over-sour bake sounds familiar, stick around — I’m going to walk you through exactly how I now judge my dough with my hands, catching proofing mistakes long before they ever see the inside of an oven.
| Proofing State | Poke Test Result | Feel | Baked Loaf Appearance |
|---|---|---|---|
| Under-Proofed | Dent bounces back almost instantly, fully recovering within 1-2 seconds | Firm, like poking a stiff rubber ball | Big torn ear, dense gummy center, oversized ragged holes near top, compact base |
| Ideally Proofed | Dent rebounds slowly, filling in about halfway before stalling | Light and springy, gentle resistance, lively cushioned quality | Domed, proud loft, proper oven spring, good crumb structure |
| Over-Proofed | Dimple sits there as a crater, won’t fill back in | Soft and delicate, slightest touch could make it sag | Barely any rise, spreads instead of standing tall, wet or gummy interior, deflated appearance |
Why Getting the Proof Right Makes or Breaks Your Loaf
Proofing is the quiet, final act before baking — the stretch where your shaped dough sits and the wild yeast finishes its work behind the scenes. Nail it, and you’re rewarded with a loaf that domes proudly and crackles when you tap the crust. Miss it in either direction — rushed or dragged out too long — and you’re left diagnosing what went wrong. The catch is that no stopwatch can tell you when dough is ready. Room temperature, how vigorous your starter is, the protein level in your flour, even the moisture hanging in your kitchen air — all of it shifts the timeline. That’s exactly why training your hands to read the dough, instead of staring at a clock, is the biggest leap forward you can make as a home sourdough baker.
What Under-Proofed and Over-Proofed Dough Actually Feel Like
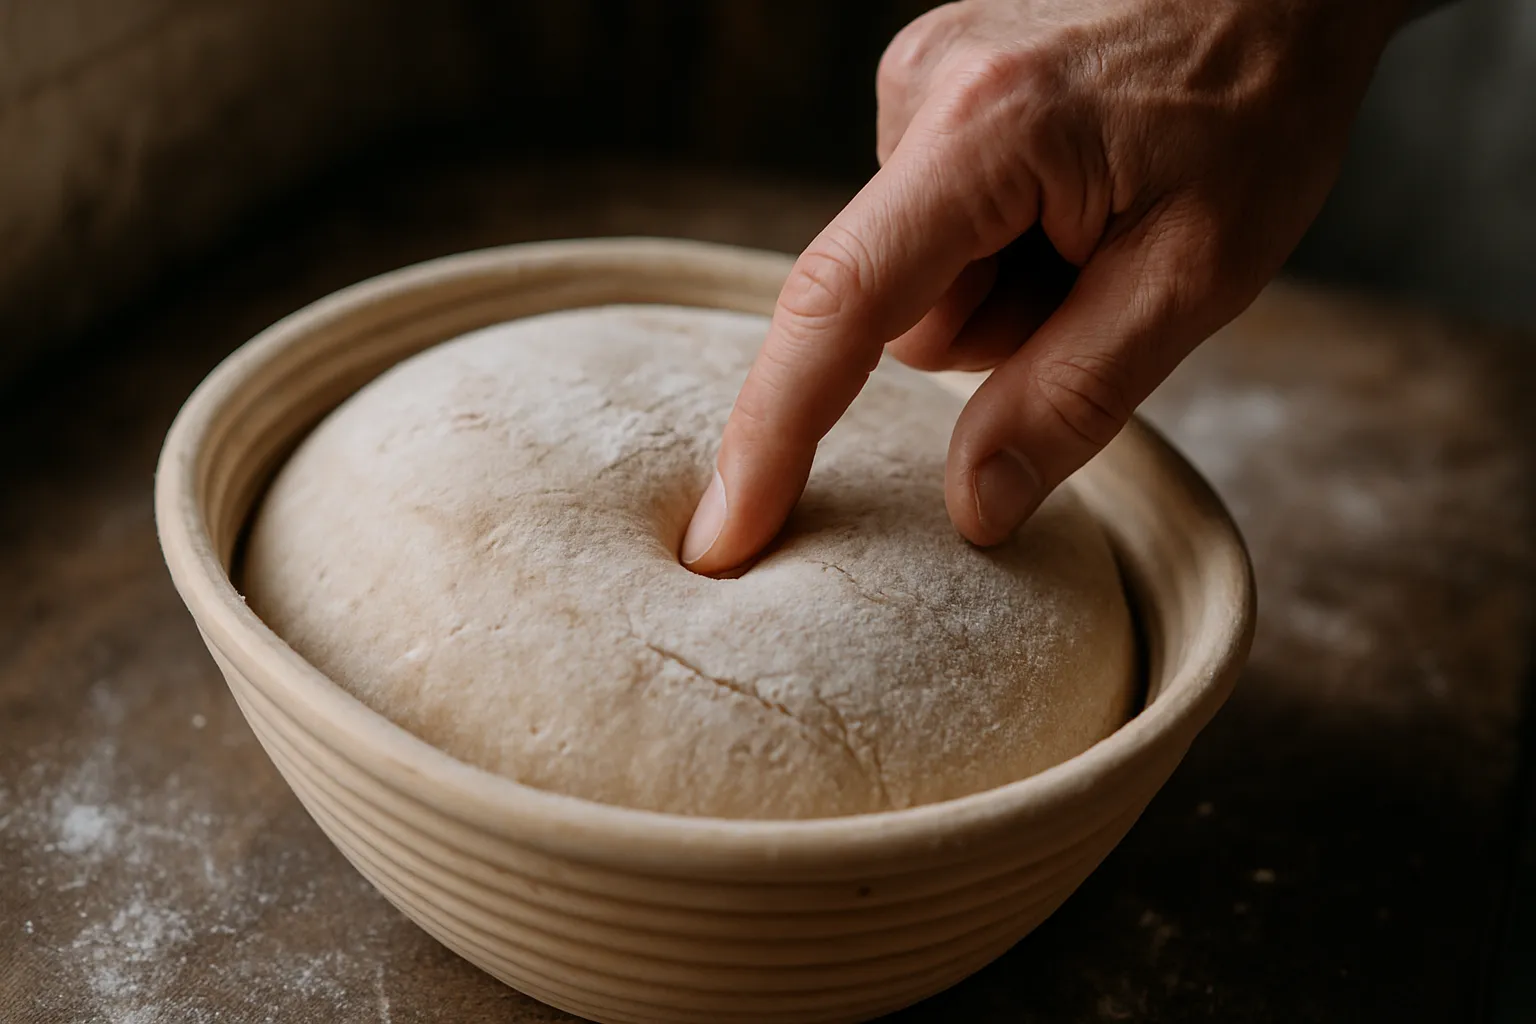
This is exactly where the poke test earns its keep. Press a floured fingertip roughly half an inch into the dough’s surface, then watch closely — the way it responds tells you everything you need to know.
Reading an Under-Proofed Dough With the Poke Test
When your finger leaves a dent that bounces back almost instantly — fully recovering within a second or two — you’re looking at under-proofed dough. That quick rebound means the gluten is still wound tight, plenty of structure but no relaxation yet. Push into it and it feels firm, almost like poking a stiff rubber ball. Bake it in this state and the crust hardens before the yeast has finished expanding the interior, so you end up with a big, torn ear instead of a smooth bloom, a dense and gummy center, and oversized ragged holes clustered near the top while the base stays compact. Flavor-wise, it tends to taste flatter and simpler too, since fermentation hasn’t run long enough to build up the tangy acids that give sourdough its character.
Reading an Over-Proofed Dough With the Poke Test
On the flip side, if your poke leaves a dimple that just sits there — a little crater that won’t fill back in — you’ve crossed into over-proofed territory. This dough feels soft, almost delicate, like the slightest touch could make it sag. Extended fermentation has worn out the gluten network, and the yeast has already burned through most of its available sugar. Bake it now and expect barely any rise in the oven, a loaf that spreads instead of standing tall, a wet or gummy interior, and a flavor that edges into unpleasantly sharp sourness. Instead of looking proud and lofted, the finished loaf tends to look deflated.
How Ideally Proofed Dough Feels Under Your Finger
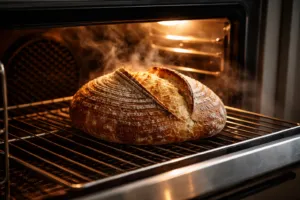
The ideal window lands squarely between those two extremes. Dough that’s proofed just right feels light and springy to the touch — pressing in meets gentle resistance, and the dent rebounds slowly, filling in about halfway before it stalls. It has a lively, cushioned quality but still holds its form with confidence. Give the proofing basket a little shake and you’ll notice a faint jiggle across the surface, with the dough sitting slightly domed and loose. That’s your cue — score it, slide it into the oven, and don’t second-guess yourself.
Beyond Touch: Other Clues Worth Checking
Your fingers do most of the diagnostic work, but don’t ignore your eyes and nose. Here’s what else I check alongside the poke test:
- Size increase: By the end of the final proof, your dough should look visibly bigger — roughly 50 to 75 percent larger than when you shaped it. Minimal growth means it needs more time; a dough pressing against the basket’s edges or losing its dome shape means you need to move quickly.
- Skin quality: Dough that’s proofed correctly has a taut, smooth surface with faint bubbles peeking through just under the skin. Once it’s over-proofed, that surface can turn wrinkled or dimpled, losing its tension entirely.
- Aroma: A well-timed proof gives off a pleasant tang mixed with a yeasty warmth — inviting, not overwhelming. Push past that point and the smell turns sharply sour, almost vinegary, as acetic acid builds up.
- Heft: Oddly enough, over-proofed dough can feel lighter than expected when you lift it — almost hollow in your hands. Dough that’s fermented well carries a satisfying density instead.
Is There a Way to Rescue Either Mistake?
Under-proofed dough is the easier fix — just buy it more time. Return it to a warm spot and check back every 20 to 30 minutes with the poke test. I usually park mine near the oven while it’s preheating, borrowing a bit of ambient warmth. If you cold-proofed overnight in the fridge and it still feels tight when you take it out, let it warm up at room temperature for 30 to 45 minutes before you score and bake.
Over-proofed dough is a tougher call, though not always hopeless. When it’s only slightly past its peak, bake it anyway — temper your expectations a bit, but it’ll still be perfectly edible. If it’s noticeably further gone, try what I call a rescue fold: gently reshape it, let it firm back up for 20 minutes, and get it into the oven right away. You won’t get back full structure, but you can often still pull out a respectable loaf. And when it’s truly wrecked — slack, sticky, barely holding together — turn it into focaccia instead. That high-hydration, pan-baked format handles over-fermented dough far more gracefully, and you still end up with something worth eating.
The Proofing Baskets That Made My Poke Test Reliable Again
Learning to judge proofing by feel only works if your dough is behaving itself — which means you need a banneton that keeps its shape reliably, without sticking or buckling. For months I battled cheap proofing baskets that warped under the weight of a fully proofed loaf, and I could never tell if my dough was truly ready or just sagging because the basket couldn’t hold it up.
Where It Delivers
- This basket stays rigid under a fully proofed loaf, no sagging or flexing, so when you run the poke test, you’re actually judging the dough’s condition rather than compensating for a weak basket.
- At 8.5 inches round, it fits a standard 1kg loaf just right — roomy enough that dough isn’t squeezed during bulk fermentation, yet tight enough to keep its shape through the final proof instead of spreading outward.
- You get two bannetons in the set, which means you can proof a pair of loaves side by side and compare how each one feels at various stages — a genuinely fast way to teach your hands the difference between under- and over-proofed dough.
Where It Falls Short
- Because the cane weave is tight, dough — particularly high-hydration dough — can stick to it during the first several bakes, before the basket builds up a proper flour seasoning.
- It runs smaller than many commercial-grade bannetons, so anyone regularly baking loaves past 1.5kg should size up; treat these as your standard-batch workhorses instead.
I actually questioned whether the tight weave was worth the hassle after my second bake got stuck, but a light dusting of rice flour before proofing solved it entirely. If you want bannetons that don’t lie to you about when your dough is truly ready, grab the DOYOLLA Bread Proofing Baskets Set of 2 (8.5 inch Round).
Frequently Asked Questions
How do I tell if my sourdough is under-proofed using the poke test?
Press a floured fingertip roughly half an inch into the dough’s surface. If the dent bounces back almost instantly—fully recovering within a second or two—your dough is under-proofed. It feels firm, like poking a stiff rubber ball. The gluten is still tight with plenty of structure but no relaxation yet.
What does over-proofed sourdough dough feel like when you poke it?
An over-proofed dough leaves a dimple that just sits there—a little crater that won’t fill back in. It feels soft and delicate, like the slightest touch could make it sag. Extended fermentation has worn out the gluten network, and the yeast has burned through most available sugar.
How should perfectly proofed sourdough dough feel to the touch?
Ideally proofed dough feels light and springy—pressing in meets gentle resistance, and the dent rebounds slowly, filling in about halfway before it stalls. It has a lively, cushioned quality but still holds its form with confidence. The dough should look roughly 50 to 75 percent larger than when shaped.
Can I rescue an under-proofed sourdough before baking?
Yes, under-proofed dough is easier to fix than over-proofed. Return it to a warm spot and check every 20 to 30 minutes with the poke test. If cold-proofed overnight in the fridge, let it warm up at room temperature for 30 to 45 minutes before scoring and baking.
About This Article

Written by Sam Whitaker. Sam Whitaker has been baking sourdough for over a decade, including three years baking commercially, and now works out of a home kitchen in the Pacific Northwest. Sam's eleven-year-old starter, Harold, is the foundation for every recipe and troubleshooting guide on Sourdough Rising — real bread tested over and over until it works. More about this site.
Scope and limits. Sam is a home baker with no formal culinary training. Follow current food safety guidance for storage and handling, particularly with enriched or filled doughs.
Verify this against a primary source
Specifics change, and your situation may differ from the one described here. These are the authorities worth checking directly:
- USDA FoodData Central — flour and ingredient composition data
- FoodSafety.gov — safe handling and storage