Eleven years of keeping the same starter alive taught me things no beginner guide ever mentioned. Here are the fifteen that actually changed how my bread turned out.
1. Use a Consistent Feeding Ratio and Stick With It
Switching between 1:1:1, 1:5:5, and whatever ratio a new recipe suggests keeps your starter’s behavior unpredictable. Pick one ratio and stay with it for weeks at a time.
| Flour Type | Nutrients | Effect on Starter |
|---|---|---|
| White flour | Stripped of bran and minerals | Slower culture |
| Whole wheat or rye (10-20%) | Bran, wild yeast, minerals | Faster, more vigorous |
2. Temperature Matters More Than Timing
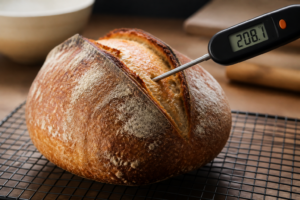
A starter fed on a fixed 12-hour schedule behaves completely differently in a 65°F kitchen versus a 78°F one. Watch the starter’s actual rise and fall, not the clock. I keep a small thermometer next to the jar year-round so I’m never guessing what’s actually driving a slow or fast rise.
3. Whole Grain Flour Is Your Starter’s Best Friend
Adding even 10-20% whole wheat or rye to your feeding mix gives your culture more nutrients than white flour alone, and speeds up a sluggish starter faster than almost anything else I’ve tried. The bran carries wild yeast and minerals that refined white flour has stripped out, which matters most when you’re trying to revive a weak or newly created culture.
4. The Float Test Is Useful but Not Definitive
A starter that floats is usually ready, but one that sinks isn’t automatically dead — sometimes it just needs another 30 minutes. I stopped relying on the float test alone years ago, and instead watch for visible bubbling throughout the jar and a doubling in volume, which together give a far more reliable picture than a single dollop dropped in water.
5. You Don’t Need to Feed Your Starter Every Day
If you’re not baking regularly, the fridge is your friend. Weekly feeding keeps a starter alive indefinitely with far less waste and effort than a daily counter routine.
6. Discard Is Not Waste — It’s an Ingredient
I treat discard as a flavor ingredient now, not scraps to toss. Pancakes, crackers, and pizza dough all benefit from the tang.
7. Your Starter Jar Matters More Than You Think
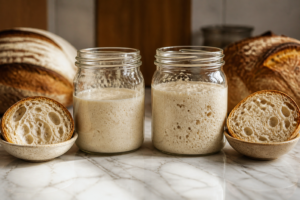
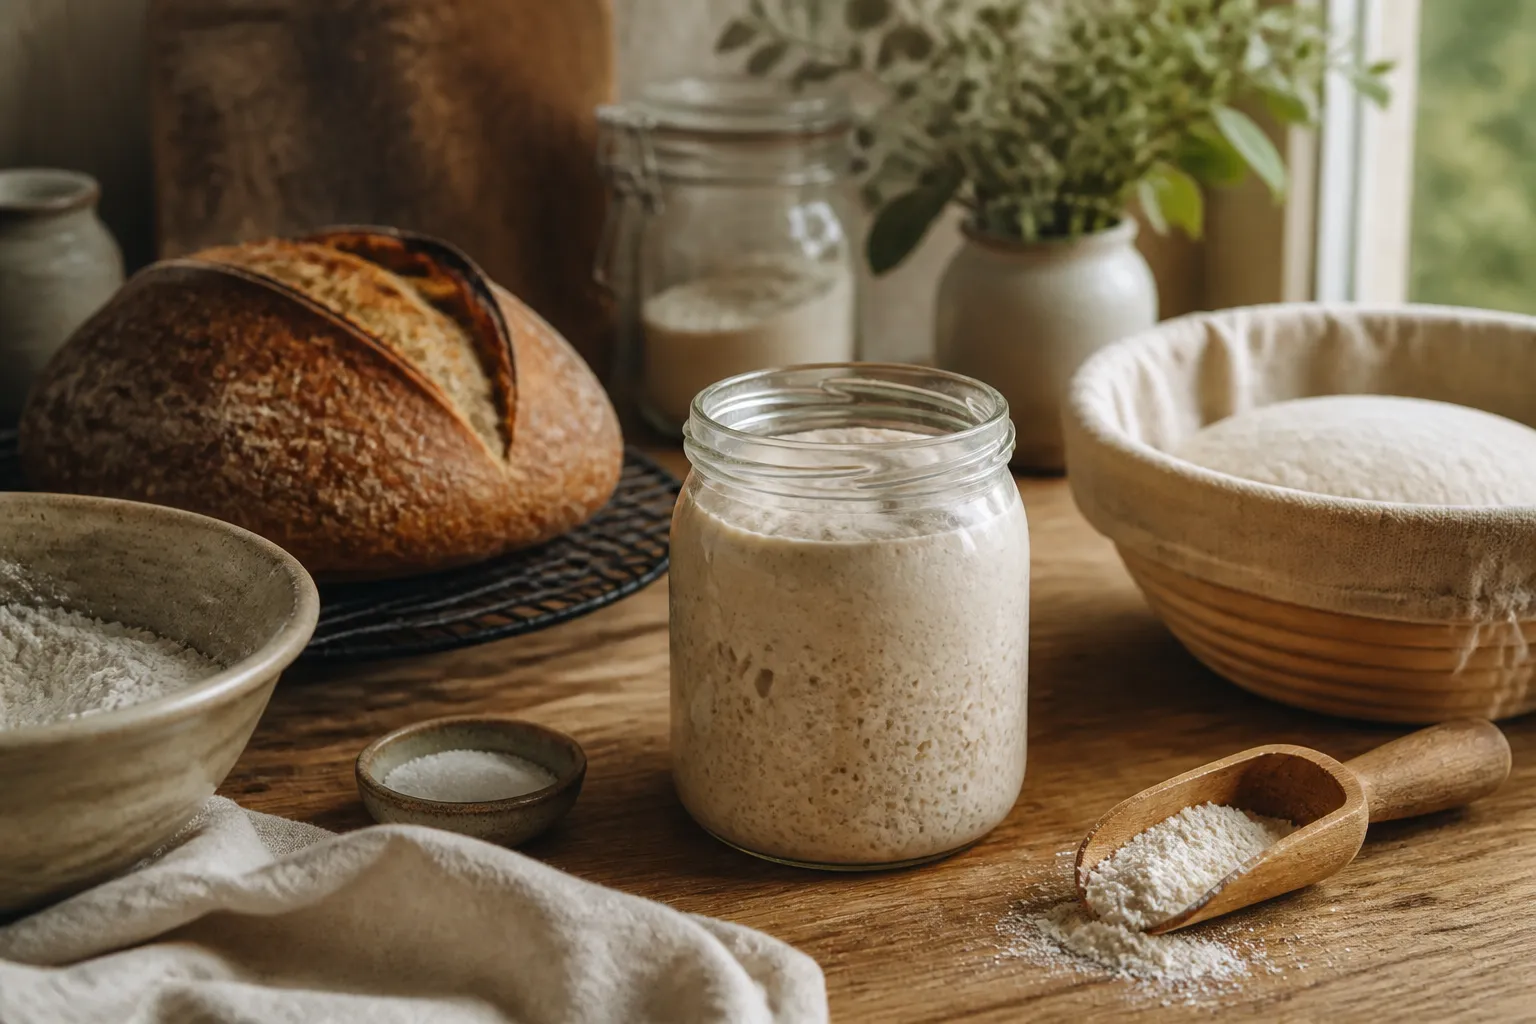
A jar with a wide mouth and clear sides makes it dramatically easier to see rise, fall, and bubble activity than a narrow opaque container ever will.
8. Mark the Level After Feeding
A rubber band around the jar right after feeding tells you exactly how much your starter has risen, at a glance, no guessing.
9. If It Smells Like Nail Polish, Don’t Panic
That sharp acetone smell means your starter’s hungry, not dead. Feed it and it usually bounces back within one or two cycles.
10. Keep a Dried Backup
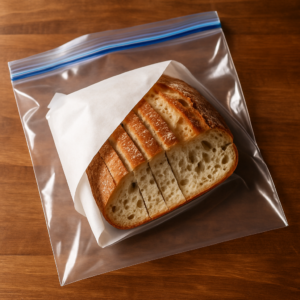
I dry a small batch of starter onto parchment paper every few months and store it in an airtight bag. It’s saved me twice after kitchen disasters — once a fridge failure, once a genuinely embarrassing case of just forgetting to feed it for six weeks during a move.
11. Water Quality Can Make or Break a New Starter
Heavily chlorinated tap water can slow or stall a young culture, since chlorine is specifically designed to kill microorganisms. Filtered or bottled water solves this in most cases, and once a starter is well established it becomes noticeably more tolerant of ordinary tap water.
12. A Young Starter Needs Patience, Not Intervention
The biggest mistake I see beginners make is switching flours, ratios, and containers every few days out of impatience. A new culture needs 2-3 weeks of boring consistency, not tinkering.
13. Starter Strength Varies Seasonally
My starter is noticeably more vigorous in summer than winter, even with identical feeding. I adjust my proofing times seasonally rather than fighting it.
14. The Best Time to Use Your Starter Is Just Past Peak
Using starter right at peak rise gives good results, but I’ve found just-past-peak — as it’s barely started to recede — gives the most reliable, predictable dough.
15. Your Starter Is Tougher Than You Think
Eleven years in, I’ve forgotten it in the fridge for over two months more than once. It always came back within a few feedings. Don’t be afraid to travel or take a break.
What I Use for Starter Maintenance
For the jar itself, I switched to one with a date-marked feeding band — knowing exactly how much time has passed since the last feeding, without guesswork, made my routine far more consistent.
The Only Rule That Matters
Consistency beats cleverness. A boring, repeatable routine will get you better bread faster than constantly chasing the newest technique.
Frequently Asked Questions
What feeding ratio should I use for my sourdough starter?
Pick one ratio—like 1:1:1 or 1:5:5—and stick with it for weeks at a time. Switching between ratios keeps your starter’s behavior unpredictable. Consistency matters far more than finding the perfect ratio.
How often do I need to feed my sourdough starter?
You don’t need to feed daily if you’re not baking regularly. Weekly feeding in the fridge keeps a starter alive indefinitely with far less waste and effort than a daily counter routine.
Can I use my starter if it sinks in the float test?
Yes. A starter that sinks isn’t automatically dead—sometimes it just needs another 30 minutes. Watch for visible bubbling throughout the jar and doubling in volume instead of relying on the float test alone.
Should I add whole wheat flour to my starter feedings?
Yes. Adding even 10-20% whole wheat or rye to your feeding mix gives your culture more nutrients than white flour alone and speeds up a sluggish starter. The bran carries wild yeast and minerals that refined white flour lacks.
If you’re setting up a starter station from zero, the Complete Sourdough Starter Kit with Banneton and Starter Jar bundles the jar, banneton, and a few other basics in one order.
About This Article

Written by Sam Whitaker. Sam Whitaker has been baking sourdough for over a decade, including three years baking commercially, and now works out of a home kitchen in the Pacific Northwest. Sam's eleven-year-old starter, Harold, is the foundation for every recipe and troubleshooting guide on Sourdough Rising — real bread tested over and over until it works. More about this site.
Scope and limits. Sam is a home baker with no formal culinary training. Follow current food safety guidance for storage and handling, particularly with enriched or filled doughs.
Verify this against a primary source
Specifics change, and your situation may differ from the one described here. These are the authorities worth checking directly:
- USDA FoodData Central — flour and ingredient composition data
- FoodSafety.gov — safe handling and storage