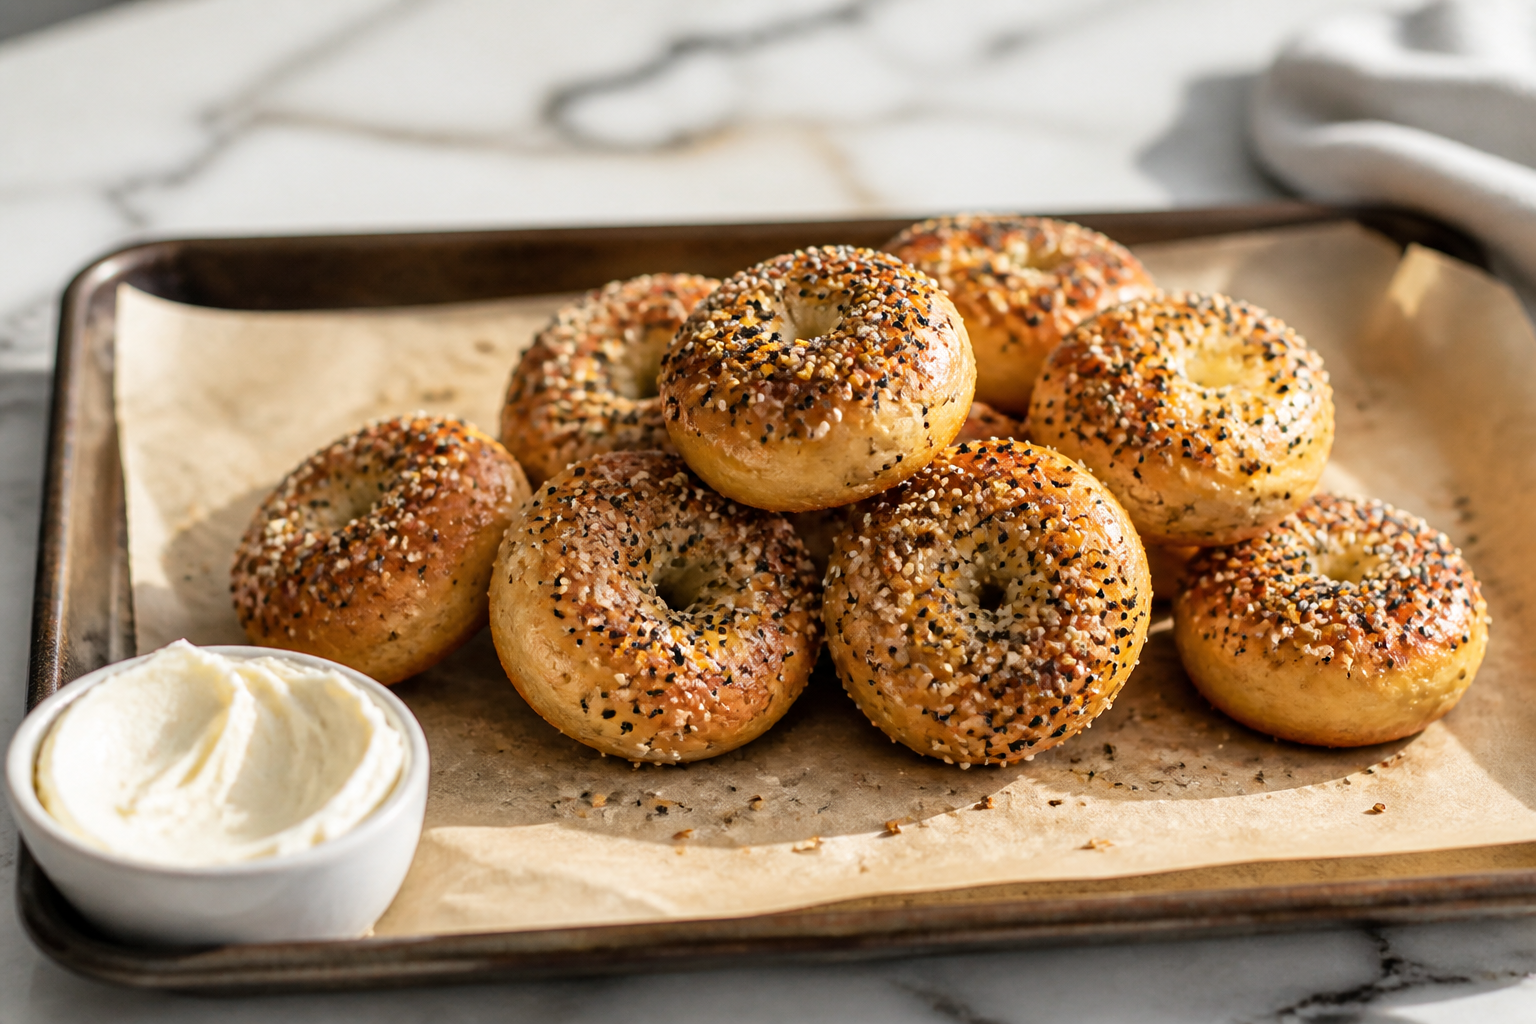
Right now I’ve got a bowl of gluey, unfed discard sitting on the counter and absolutely no interest in babysitting a full sourdough timeline today. No overnight bulk rise, no careful shaping — just a fast discard dough, a quick dunk in boiling water, and bite-sized bagels ready in roughly half an hour. My kids beg for these more than they beg for actual dinner, which should tell you exactly how addictive they are.
Why Your Discard Is Perfect for This
Real bagel chew comes from that quick pre-bake boil, not from hours of fermentation — so discard, even the flattest, most neglected jar straight out of the fridge, works beautifully here. It’s not doing any leavening work; a bit of baking powder handles the lift instead. What the discard brings to the table is flavor: that subtle sour note that separates a genuine bagel from a plain roll with a hole poked in the middle.
What Goes Into the Dough
- 200g sourdough discard (any hydration works, cold from the fridge is totally fine)
- 200g self-rising flour (swap in 200g all-purpose flour plus 1 teaspoon baking powder and 1/2 teaspoon salt if that’s what you’ve got)
- Everything bagel seasoning, for finishing
That’s the whole ingredient list. It’s basically a discard spin on the well-known “2-ingredient dough” method, trading out the usual yogurt or plain flour for what’s already fermenting in your fridge.
Here’s How It Comes Together
- Mix it up. Stir the discard and self-rising flour together in a bowl with a fork until you get a rough, shaggy mass, then dump it onto the counter and knead by hand for 2-3 minutes until it smooths out. It’ll feel noticeably stiffer than a typical bread dough — that’s exactly what you want.
- Portion and shape. Split the dough into 20-24 small pieces. Shape each into a ball, then roll it out into a short rope roughly 3 inches long and pinch the ends together to close it into a tiny bagel ring.
- Give them a quick boil. Get a pot of water to a gentle simmer (tossing in a teaspoon of baking soda is optional, but it’ll deepen the color and chew a bit). Drop the bagel bites in small batches, boiling 30 seconds per side, then lift them out with a slotted spoon onto a parchment-lined baking sheet.
- Season immediately. While they’re still damp from the water bath, shower them with everything bagel seasoning — the moisture is enough to make it stick, no egg wash required.
- Into the oven. Bake at 400°F (200°C) for 12-15 minutes, until they’re browned all over.
- Let them settle, then dig in. These are at their absolute best within an hour of coming out of the oven, when that crisp exterior and pillowy center are still warm and at their peak.
Common Mistakes to Avoid
Trying to skip the boiling step. Since the whole appeal here is speed, it’s tempting to just bake the shaped dough directly — but that boil is the difference between a real bagel texture and just a plain bread roll. Keep it in the process; it only tacks on about 5 extra minutes.
Ending up with dough that’s too slack. Discard hydration is never consistent from one baker to the next. If yours runs thin, work in extra flour a tablespoon at a time until the dough firms up enough to roll into ropes without gluing itself to your palms.
Tools That Make This Faster
A Danish dough whisk makes quick work of bringing the discard and flour together before you switch to kneading by hand, and a good heavy half-sheet pan keeps a full batch from warping in a hot oven, which matters since you’re baking a tray of small, thin pieces that brown fast.
Variations Worth Trying
Trade the everything seasoning for cinnamon sugar with a light honey drizzle once they’re baked for a sweet take, or work shredded cheddar straight into the dough before you shape it for a cheesy version. Either direction you go, the core method doesn’t change at all.
Start to finish takes roughly 30 minutes. Mixing and kneading takes a few minutes, shaping takes a few more, then you boil them about 5 minutes total and bake for 12-15 minutes at 400°F. They’re best eaten within an hour of coming out of the oven. Yes, absolutely. Cold discard from the fridge works beautifully, even if it’s gluey and unfed. The discard isn’t doing leavening work here — baking powder handles the lift instead. The discard brings flavor: that subtle sour note that makes a real bagel. Work in extra flour a tablespoon at a time until the dough firms up enough to roll into ropes without sticking to your palms. Discard hydration varies from baker to baker, so adjusting flour keeps the dough manageable for shaping. The boil is what creates real bagel texture — that chewy, dense crumb. Without it, you’d just have a plain bread roll. The boil only adds about 5 minutes, and it makes all the difference between a genuine bagel and ordinary dough.Frequently Asked Questions
How long does it take to make sourdough discard bagel bites?
Can I use cold discard straight from the fridge?
What should I do if my dough is too slack and sticky?
Why is boiling the bagel bites before baking essential?
About This Article

Written by Sam Whitaker. Sam Whitaker has been baking sourdough for over a decade, including three years baking commercially, and now works out of a home kitchen in the Pacific Northwest. Sam's eleven-year-old starter, Harold, is the foundation for every recipe and troubleshooting guide on Sourdough Rising — real bread tested over and over until it works. More about this site.
Scope and limits. Sam is a home baker with no formal culinary training. Follow current food safety guidance for storage and handling, particularly with enriched or filled doughs.
Verify this against a primary source
Specifics change, and your situation may differ from the one described here. These are the authorities worth checking directly:
- USDA FoodData Central — flour and ingredient composition data
- FoodSafety.gov — safe handling and storage