Nearly every home baker assumes sourdough discard needs to pull its weight as a leavener before it earns a spot in pizza dough — like it has to do the rising work or it doesn’t belong. That assumption is exactly what sank my first attempt, on a Friday night when my discard jar had reached an age I could only describe as toddler-adjacent, my husband was giving me the unmistakable “should we just call Domino’s?” look, and there was flour on my face that I promise I did not put there on purpose. That’s the night discard pizza dough hijacked my Fridays for good.
By that point I’d been baking sourdough for close to two years, and like any committed discard hoarder, my fridge held a small graveyard of half-used jars waiting for a purpose. Crackers, pancakes, muffins — check, check, check. Pizza felt different. I assumed it demanded days of planning, a preferment, a spreadsheet, maybe a food-science elective. I was completely off base, and figuring that out turned out to be both mortifying and kind of wonderful.
The Friday That Went Sideways First
Picture this: I’d already announced to my husband, with total confidence, that we were having homemade pizza. I’d watched a single YouTube video, felt instantly like an expert, and mixed up what I was sure would be gorgeous dough. What actually landed on my counter was paste — sticky, sad, structurally hopeless paste. Stretching it tore it apart. Rolling it just got laughed off. When I tried moving it to a pan, it collapsed on itself like it wanted to disappear.
Domino’s got our business that night. There were a few tears. Not a proud moment.
Here’s where it turns around, though: while working through my consolation pizza, I fell down a rabbit hole of reading about hydration ratios, discard versus active starter, and why letting dough rest isn’t a suggestion — it’s mandatory. I scribbled notes on the pizza box lid, because of course I did, and promised myself the following Friday would look completely different. It did.
Why This Dough Doesn’t Need an Overnight Wait to Taste Great
Here’s the part people miss: discard in this recipe isn’t there to lift anything. Its job is flavor — a whisper of tang and a layered complexity that gets people asking what your secret ingredient is. The actual lift comes from commercial yeast, so this whole dough can move from mixing bowl to hot oven in roughly two to three hours. No overnight sit required, no rearranging your weekend around a starter’s mood. Just pizza, on a Friday, like a normal functioning household.
Discard also makes the dough more extensible — a fancier way of saying it stretches without snapping back at you, which is precisely the problem that humbled me on that first failed attempt. Over time, the acids in discard soften the gluten network, so even on a shortened timeline, the dough behaves. It’s ready to become pizza. Let it.
One caveat worth flagging: stick to discard that’s been sitting in the fridge for no more than about a week. Discard that’s gone truly sour will push your dough toward a vinegary edge, and while a handful of people love that, it usually drowns out your toppings. Mildly tangy discard gets you that recognizable sourdough note without hijacking the whole pizza.
The Recipe: Same-Day Sourdough Discard Pizza Dough
What You’ll Need (enough for two 12-inch pizzas)
- 300g bread flour (all-purpose works in a pinch, but bread flour gives noticeably better chew)
- 100g sourdough discard, unfed, straight from the fridge
- 150g warm water (roughly 90 to 95 degrees Fahrenheit)
- 5g instant yeast (about 1 1/2 teaspoons)
- 8g fine sea salt
- 15g olive oil, plus a little extra for greasing the bowl
How to Put It Together
Stir the warm water, yeast, and discard together in a large bowl until they’re roughly incorporated — expect it to look lumpy and uneven, which is exactly right at this stage. Mix in the flour, salt, and olive oil until you’ve got a shaggy dough. Tip it onto a lightly floured surface and knead for about eight minutes, until it turns smooth, just barely tacky, and springs back slowly when poked. Still tearing or feeling stiff? Give it two more minutes — the dough will tell you when it’s ready.
Form the dough into a ball, set it in a lightly oiled bowl, cover with a damp towel or plastic wrap, and leave it at room temperature for 90 minutes to two hours — it should come close to doubling. Split it into two even pieces, shape each into a tight ball, cover again, and let them sit another 20 minutes before you stretch. That last rest is the exact step I skipped on my disaster Friday, and skipping it is the difference between success and paste. The gluten needs that pause before it’s asked to become a pizza round.
Crank your oven to its absolute highest setting — ideally somewhere between 500 and 550 degrees Fahrenheit — with a pizza stone inside for at least 45 minutes before baking. A stone that’s genuinely hot all the way through is what delivers that crisp, faintly charred bottom that makes this taste like it came out of a wood-fired oven instead of your kitchen.
Step by Step
- Mix. Stir the warm water, yeast, and discard together in a large bowl until roughly combined — a lumpy, uneven look here is normal. Add the flour, salt, and olive oil and mix until you get a shaggy dough.
- Knead. Turn the dough onto a lightly floured surface and knead roughly eight minutes, until it’s smooth, just barely tacky, and springs back slowly when you press it.
- Let it rise. Shape into a ball, set it in a lightly oiled bowl, cover with a damp towel or plastic wrap, and rest at room temperature 90 minutes to two hours, until nearly doubled.
- Split and pause. Divide into two equal pieces, shape each into a tight ball, cover once more, and let them rest another 20 minutes before stretching.
- Get the oven ready. Preheat as hot as your oven allows, ideally 500 to 550 degrees Fahrenheit, with the pizza stone inside for a minimum of 45 minutes.
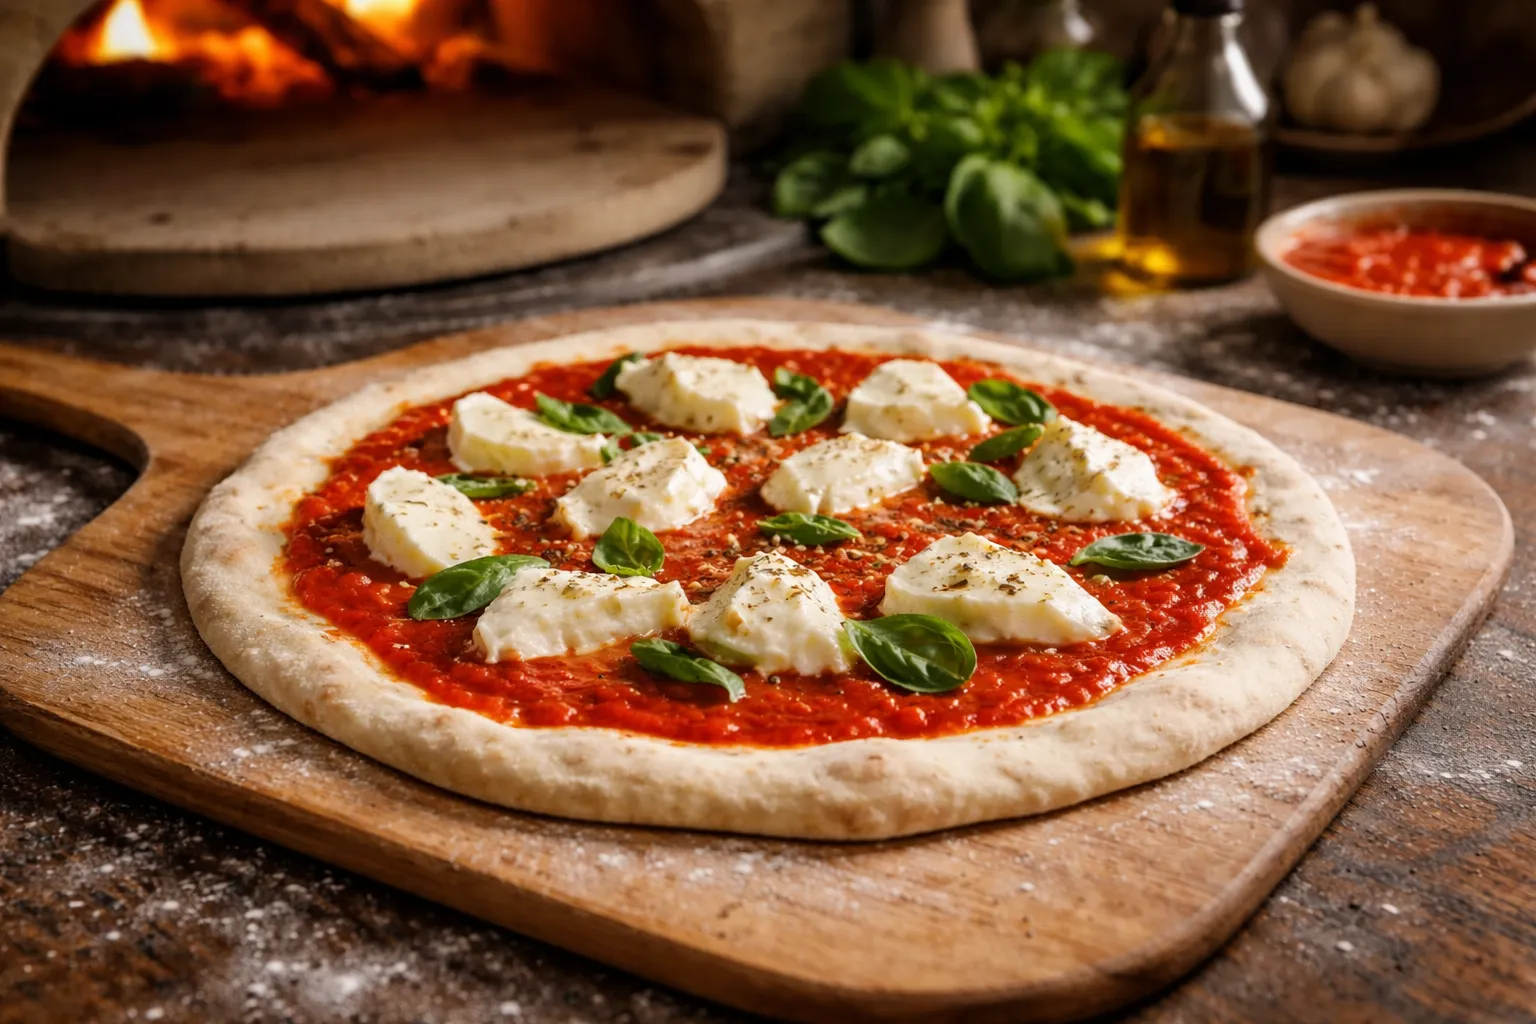
- Stretch, top, bake. Stretch each ball into a 12-inch round, load on your toppings, and bake straight on the hot stone until the crust puffs and chars in spots — about 6 to 9 minutes.
How to Stretch It Without Ripping It
- Reach for your knuckles instead of a rolling pin — a pin flattens out all the air pockets you just spent time building.
- Start at the center and work your way to the edges, turning the dough as you move.
- If it fights back and keeps shrinking, cover it and step away for five minutes — it’ll stretch easily when you return.
- Leave the outer rim a bit thicker than the center; that’s what gives you the puffy crust.
- Assemble your pizza on parchment paper or a heavily floured peel rather than the countertop, so transferring it is painless.
The Pizza Stone That Finally Keeps My Discard Dough From Sticking
Same-day discard pizza dough runs wet, sticky, and stubborn — it’ll slip clean off a cold baking sheet before you can finish saying “Domino’s.” A well-heated pizza stone brings enough stored heat to actually brown the underside while holding the dough exactly where you set it.
What earns its keep
- Its rectangular footprint slides onto a standard oven rack without any awkward angling, and there’s enough width that my 10-inch pizzas never feel like they’re inching toward the edge.
- The heat retention genuinely surprised me — 30 minutes preheating at 475°F, and it recovers its temperature almost immediately once cold dough hits it, so the bottom crisps up even on a fast bake.
- It’s thick enough to shrug off temperature swings without cracking, and after three straight years of Friday pizza nights, mine hasn’t so much as chipped.
Where it falls short
- The weight of it means sliding it in or out of a lower rack takes both hands and a bit of resolve — no casual one-handed maneuvering.
- Never hit it with water or set it in a cold sink right after baking — it has to cool down slowly, or it will crack on you without warning.
I once forgot to preheat it one Friday (the Domino’s threat was real) and nearly gave up on the whole thing—but now I set a phone reminder like a sane person. Unicook Pizza Stone, 15 x 12 Inch Rectangular
Frequently Asked Questions
Can I use sourdough discard that’s been in the fridge for two weeks?
No. Stick to discard that’s been sitting in the fridge for no more than about a week. Discard that’s gone truly sour will push your dough toward a vinegary edge, which usually drowns out your toppings. Mildly tangy discard gets you that recognizable sourdough note without hijacking the whole pizza.
How long does same-day sourdough discard pizza dough take?
This dough moves from mixing bowl to hot oven in roughly two to three hours. It doesn’t need an overnight wait. After kneading, it rests 90 minutes to two hours until nearly doubled, then each piece rests another 20 minutes before stretching and baking for about 6 to 9 minutes.
Why did my pizza dough tear when I stretched it?
You likely skipped the 20-minute rest before stretching. That final pause is when the gluten needs to relax before it’s asked to become a pizza round. If dough fights back while stretching, cover it and step away for five minutes—it’ll stretch easily when you return.
What temperature should my pizza stone preheat to?
Crank your oven to its absolute highest setting—ideally somewhere between 500 and 550 degrees Fahrenheit—with a pizza stone inside for at least 45 minutes before baking. A stone that’s genuinely hot all the way through delivers that crisp, faintly charred bottom.
About This Article

Written by Sam Whitaker. Sam Whitaker has been baking sourdough for over a decade, including three years baking commercially, and now works out of a home kitchen in the Pacific Northwest. Sam's eleven-year-old starter, Harold, is the foundation for every recipe and troubleshooting guide on Sourdough Rising — real bread tested over and over until it works. More about this site.
Scope and limits. Sam is a home baker with no formal culinary training. Follow current food safety guidance for storage and handling, particularly with enriched or filled doughs.
Verify this against a primary source
Specifics change, and your situation may differ from the one described here. These are the authorities worth checking directly:
- USDA FoodData Central — flour and ingredient composition data
- FoodSafety.gov — safe handling and storage