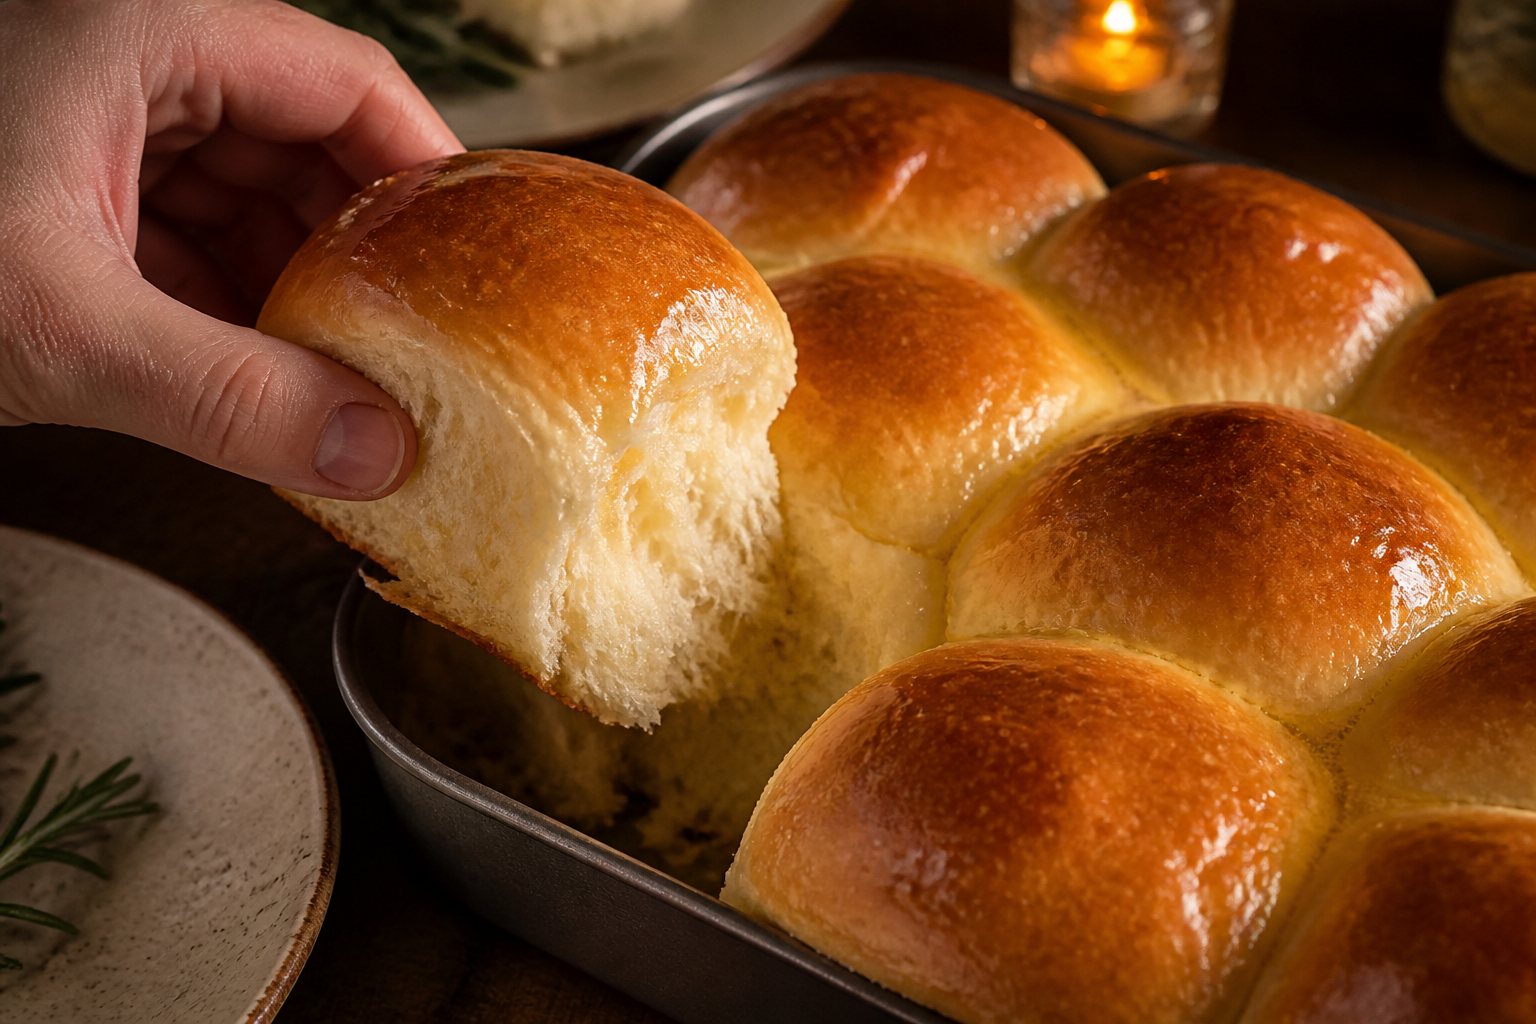
Here’s a claim that surprises people: sourdough dinner rolls don’t have to turn out dense or tight just because they skip commercial yeast — that’s the myth keeping folks loyal to the plastic-bagged rolls from the grocery aisle. Done right, these come out soft, faintly sweet, pillowy enough to pull apart, with a golden crown and a crumb so tender the basket empties before anyone’s even touched the main course. I first baked a batch for Thanksgiving a handful of years back, tired of watching a homemade spread get let down by store-bought bread, and by now they’ve earned a permanent spot at ordinary Sunday dinners too.
Why This Dough Acts Nothing Like a Boule
What you’re working with here is an enriched dough — milk, butter, and a hit of sugar — and that combination is exactly what buys you a softer, plusher crumb than any lean artisan loaf can offer. Fat wraps itself around the gluten strands and dampens yeast activity, which means enriched doughs simply take their time compared to lean dough. Don’t expect this to rise at the same clip as a plain boule; it won’t, and that’s normal.
What Goes Into the Dough
- 100g active sourdough starter
- 240g whole milk, warmed
- 50g granulated sugar
- 1 large egg
- 50g unsalted butter, softened
- 500g all-purpose or bread flour
- 8g salt
How to Put It All Together
- Mix. Whisk together the starter, warmed milk, sugar, and egg, then work in the softened butter. Add the flour and salt and knead for 8-10 minutes, until the dough turns smooth and just barely tacky, never sticky.
- Bulk ferment. Cover the bowl and leave it at room temperature for 4-6 hours, or tuck it in the fridge overnight for a slower rise with more flavor built in — enriched dough tolerates a long cold ferment just fine.
- Divide and weigh. Split the dough into 15 even pieces, landing somewhere around 55-60g apiece depending on your total dough weight. Skipping the scale here is exactly how you end up with a tray full of scorched little rolls next to a couple of oversized doughy ones — weighing each piece keeps the bake even.
- Shape. Cup your palm over each piece and roll it in tight little circles against the countertop until the surface pulls taut and smooth, forming a snug ball.
- Arrange and proof. Nestle the shaped rolls into a buttered 9×13 pan so they’re nearly touching. Cover and let them proof until puffy and pressed up against one another, roughly 2-3 hours at room temperature, or until you can see them’s grown by about half.
- Bake. Brush the tops with egg wash or melted butter, then bake at 375°F (190°C) for 20-25 minutes, until the tops turn deep gold and the inside hits at least 190°F.
- Butter them straight from the oven. Brush more melted butter over the tops the second they come out — that’s the step responsible for that soft, glossy, bakery-case finish.
The Slip-Up Nearly Everyone Makes
Sloppy portioning. It seems like a small detail, but uneven dough pieces are the number-one reason a pan of rolls bakes unevenly — you’ll get charred tops on the small ones while the bigger rolls stay raw in the middle. Put every piece on the scale; guessing by eye isn’t good enough.
Pulling the trigger before they’ve proofed enough. These rolls need to be visibly crowding one another in the pan before they ever see the oven. If there’s still open space between them, let them sit longer — cutting the proof short leaves you with tight, dense rolls instead of the light, pillowy ones you’re after.
The Tool That Solves the Portioning Headache
Cutting the dough into equal pieces by eye almost never works out evenly — a stainless steel bench scraper lets you divide and portion cleanly without dragging or tearing the dough. And since these bake in a shared pan rather than individually, a heavy half-sheet or 9×13 baking pan that doesn’t warp gives you even heat and consistent browning across the whole tray.
Getting a Head Start on These
Shape the rolls the evening before, settle them into the pan, wrap tightly, and let them sit in the fridge overnight instead of proofing on the counter. Take them out about an hour ahead of baking so they can warm up and finish their rise, then bake exactly as described above — this is the method I actually rely on for holidays, since it leaves nothing but the baking itself for the day of.
Frequently Asked Questions
Why are my sourdough dinner rolls coming out dense instead of soft?
Dense rolls usually mean they didn’t proof long enough before baking. They need to be visibly crowding one another in the pan and grown by about half their original size. If there’s still open space between them, they need more time — cutting the proof short leaves you with tight, dense rolls instead of light, pillowy ones.
How do I divide sourdough dinner roll dough evenly?
Weigh each piece on a scale, aiming for 55-60g apiece depending on your total dough weight. Uneven portioning is the number-one reason rolls bake unevenly — you’ll get charred tops on small ones while bigger rolls stay raw inside. A stainless steel bench scraper helps you divide and portion cleanly without dragging or tearing.
Can I make sourdough dinner rolls the day before?
Yes. Shape the rolls the evening before, settle them into the pan, wrap tightly, and refrigerate overnight instead of proofing on the counter. Take them out about an hour ahead of baking so they can warm up and finish their rise, then bake as described.
What makes sourdough dinner rolls soft and pillowy?
Enriched dough with milk, butter, and sugar creates a softer crumb than lean artisan loaves. The fat wraps around gluten strands and dampens yeast activity, so enriched doughs rise slowly compared to plain boules. This longer fermentation builds flavor while keeping the crumb tender and plushy.
About This Article

Written by Sam Whitaker. Sam Whitaker has been baking sourdough for over a decade, including three years baking commercially, and now works out of a home kitchen in the Pacific Northwest. Sam's eleven-year-old starter, Harold, is the foundation for every recipe and troubleshooting guide on Sourdough Rising — real bread tested over and over until it works. More about this site.
Scope and limits. Sam is a home baker with no formal culinary training. Follow current food safety guidance for storage and handling, particularly with enriched or filled doughs.
Verify this against a primary source
Specifics change, and your situation may differ from the one described here. These are the authorities worth checking directly:
- USDA FoodData Central — flour and ingredient composition data
- FoodSafety.gov — safe handling and storage