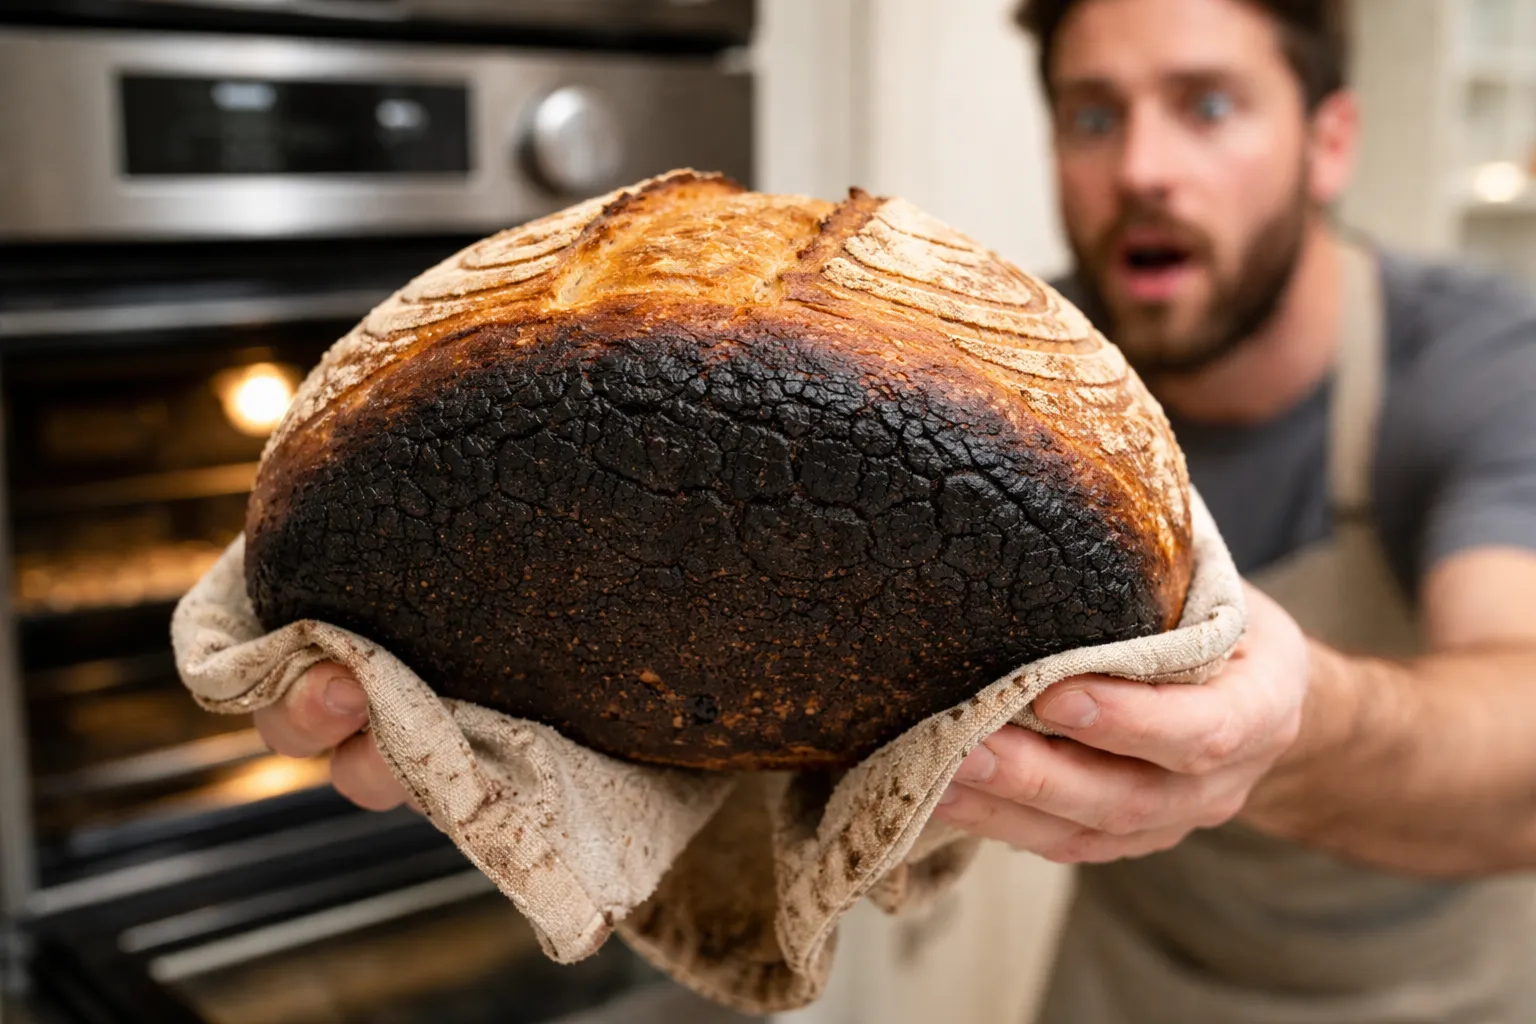
Warning: that gorgeous crackly crust might be hiding a disaster underneath. I lifted my Dutch oven’s lid, expecting the usual golden reveal, and instead found a loaf with a top so pale it looked underdone and a bottom scorched black enough to set off a smoke detector. This wasn’t a fluke — it was the third bake in a row wrecked by the same sourdough bottom-burn issue, and by that point I was ready to throw the whole banneton across the kitchen.
Naturally, I went through the usual denial stages: first I blamed the recipe, then the flour brand, then some vague cosmic force conspiring against me. It took embarrassingly long before it dawned on me that the actual culprit was sitting right there in my kitchen — my own oven.
The Real Reason Loaves Scorch on the Bottom (Your Oven Dial Is Fibbing)
Nobody warns new sourdough bakers about this little secret: the temperature dial on your oven is more of a suggestion than a fact. I’m barely exaggerating when I say that. Most home ovens drift anywhere from 25 to 75 degrees away from what the display claims, and heat rarely spreads evenly throughout the cavity. Every oven has warm zones, cool corners, and — as I eventually discovered in mine — a full-on danger zone that happened to line up exactly with where I always placed my Dutch oven.
Here’s the mechanics of it: when the lower heating element in an electric oven fires up (or the gas burner underneath kicks on), heat surges upward straight from the oven floor. If your bread sits on a rack positioned too low, or if the floor of your oven simply runs hotter than the rest of it, the base of your loaf takes a beating while the top is still lagging behind, trying to catch up in color. That mismatch is precisely what I kept experiencing — a blackened crust on the bottom, a timid pale top, and me staring mournfully at yet another ruined loaf on the cooling rack.
The Equipment That Actually Solved This for Me
Before I get into the actual process of charting my oven’s uneven heat, I want to walk through the gear that made it possible in the first place. At this point, these items feel less like extras and more like essentials in my baking setup.
The Oven Thermometer That Exposed Where All My Heat Was Really Going
For weeks I pointed fingers at my Dutch oven, my rack placement, even my poor starter — meanwhile I had zero clue what temperature my oven was actually hitting. The moment I set an oven thermometer on the same rack my bread bakes on, the truth came out: my supposed “450°F” oven was running around 425°F up top and a scorching 475°F or more down low. That wasn’t a technique failure on my part — that was a calibration failure on the oven’s part.
Where it earns its keep
- The oversized 2.5-inch dial reads clearly from clear across the room, so you’re not squinting through the oven door or cracking it open every few minutes just to check.
- Since it can hang or sit upright, you can park it right at Dutch-oven level to capture the actual heat your bread experiences, rather than some generalized guess.
- Once your oven settles into its rhythm, the reading stays consistent, which gives you a trustworthy number to plan your timing and crust color against.
Where it falls short
- It occupies noticeable space inside the oven cavity, meaning you’ll have to plan around it a bit — not a dealbreaker, but not invisible either.
- Relocate the dial to a new spot and it takes a little while to catch up — give it several minutes before you trust whatever number it’s showing.
I was skeptical that a $20 thermometer would solve a problem I’d been blaming on technique for months, but the moment I saw the actual bottom-rack temperature, everything clicked. Taylor Large 2.5 Inch Dial Kitchen Cooking Oven Thermometer
Frequently Asked Questions
Why is my sourdough bottom burning before the top browns?
Your oven likely has uneven heat distribution. Most home ovens drift 25 to 75 degrees from the dial reading, and heat surges upward from the lower heating element. If your Dutch oven sits on a low rack or your oven floor runs hotter, the loaf’s base scorches while the top lags behind in color development.
How can I find hot spots in my oven?
Use an oven thermometer placed on the same rack where your bread bakes. Sam discovered his oven ran 425°F at the top but 475°F or more down low using a Taylor 2.5-inch dial thermometer. Position it at Dutch-oven level to capture the actual heat your bread experiences, not a generalized guess.
What oven thermometer does Sam recommend?
Sam uses the Taylor Large 2.5 Inch Dial Kitchen Cooking Oven Thermometer. Its oversized dial reads clearly from across the room, hangs or sits upright, and captures consistent readings once your oven settles into its rhythm, giving you a trustworthy number to plan timing and crust color against.
Will an oven thermometer fix my burnt bottoms?
An oven thermometer reveals the actual temperature your bread experiences, not your dial’s fiction. Once you know where heat concentrates, you can adjust rack position or plan timing accordingly. Sam’s bottom-burn problem clicked into place once he saw his actual bottom-rack temperature reading.
About This Article

Written by Sam Whitaker. Sam Whitaker has been baking sourdough for over a decade, including three years baking commercially, and now works out of a home kitchen in the Pacific Northwest. Sam's eleven-year-old starter, Harold, is the foundation for every recipe and troubleshooting guide on Sourdough Rising — real bread tested over and over until it works. More about this site.
Scope and limits. Sam is a home baker with no formal culinary training. Follow current food safety guidance for storage and handling, particularly with enriched or filled doughs.
Verify this against a primary source
Specifics change, and your situation may differ from the one described here. These are the authorities worth checking directly:
- USDA FoodData Central — flour and ingredient composition data
- FoodSafety.gov — safe handling and storage