No recipe card, no starter guide, no baking book ever prepares you for the exact moment you lift the lid and discover something growing on your starter that absolutely was not there the day before. They’ll spell out feeding ratios and rise windows down to the hour, but nobody warns you what to do at 6:47 in the morning, before coffee, when the three-month-old jar you’ve been babying suddenly looks like it’s turned on you. Something pale, flat, and clearly not part of the plan had taken over the surface. My hands weren’t steady as I typed “mold vs kahm yeast sourdough starter” into my phone, because three months of daily feedings were sitting right there on the counter, and I had zero intention of letting that jar die without a fight.
If you’ve ever felt that exact stomach-drop, this one’s for you. By the time that chaotic morning wrapped up, I’d learned more about starter health than the previous three months of feeding had taught me combined. Spoiler: the starter made it. Better than made it, honestly — but let’s back up to how it got there.
| Growth Type | Appearance | Texture | Smell | Action Required |
|---|---|---|---|---|
| Kahm Yeast | Flat, white or cream film | Wrinkled or wavy, lies flat against surface | Sour, funky, faintly alcoholic or cheesy | Scrape off top layer, transfer tablespoon from bottom to clean jar, feed 1:5:5 ratio |
| Mold | Fuzzy patches in pink, orange, blue, green, or black | Raised, fluffy, powdery texture | Damp, musty, genuinely decaying | Discard entire jar—mycotoxins spread throughout |
When My Starter First Looked Off
Truth be told, I’d been slacking on starter duty. Life got busy, and my usual every-other-day feeding rhythm stretched into a full five days without so much as a stir. The jar sat loosely lidded on the counter — not tucked away in the fridge — in a warm kitchen, growing a thin hooch layer I kept promising myself I’d deal with “tomorrow,” four mornings running. Looking back, I’d basically engineered the perfect setup for disaster.
The morning I finally cracked the lid open, a thin, wrinkled, white film had spread clear across the top. It lay flat, almost papery in texture, draped over the hooch underneath like a pale sheet. My stomach sank. I poured off the liquid and studied the surface harder. Was it fuzzy anywhere? Raised at all? Was I watching everything I’d built come to an end?
Forty-five frantic minutes later — two separate YouTube spirals and one very patient email from a baker friend deep in the exchange — I finally had my answer. What I was staring at was almost certainly kahm yeast, not mold. And once I actually understood what separates the two, it changed how I’ve cared for my starter ever since.
Telling Mold and Kahm Yeast Apart on a Sourdough Starter
Here’s the plain-language rundown I wish had existed before that morning happened to me.
Spotting Kahm Yeast
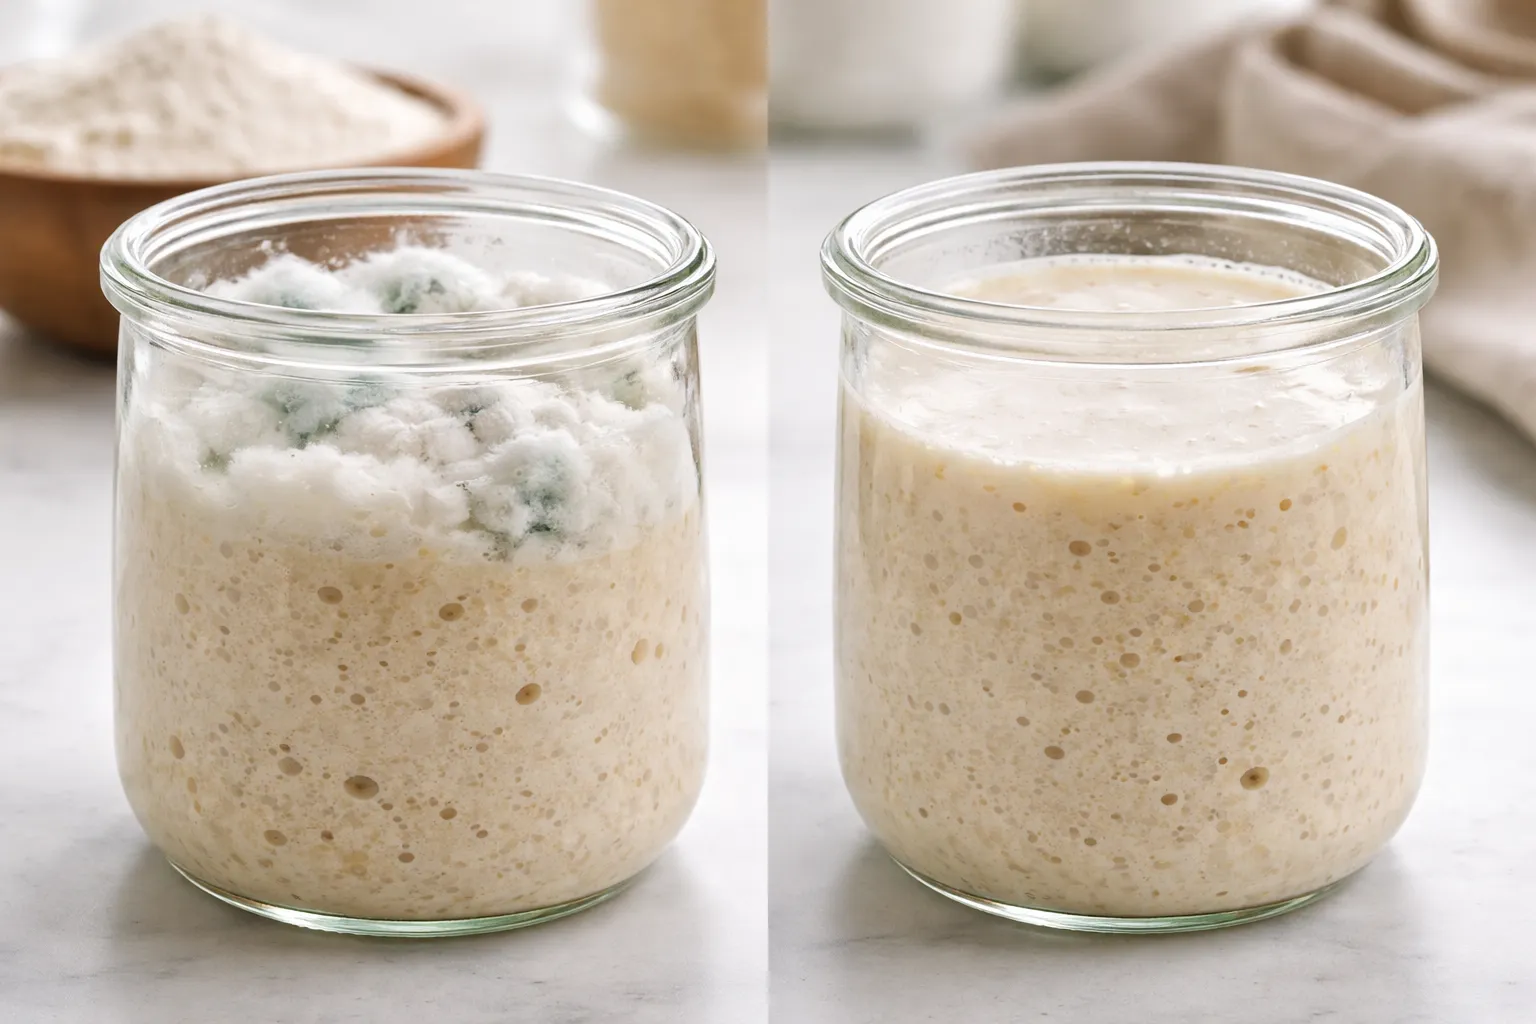
Kahm yeast is a film of wild yeast and bacteria that shows up on fermented foods once conditions drift slightly off track — too much warmth, too much air exposure, or a pH that’s shifted. On a sourdough starter, it presents as a flat film in white or cream tones. It can look wrinkled or wavy, not unlike a sheet of tissue paper resting on the surface. The tell-tale detail: it stays completely flat against the liquid underneath. No fuzz, no raised texture, no colored spotting anywhere. The odor leans a bit strange — yeasty, sour, sometimes faintly cheesy — but it never crosses into truly foul.
Recognizing Actual Mold
Mold, on the other hand, builds upward instead of staying flat. Look for fuzzy, raised patches, almost always carrying color — pink, orange, blue, green, or black. Even the white strains have that fluffy, powdery texture that lifts off the surface rather than lying against it. Spot any color or any fuzziness whatsoever, and that’s mold; the starter needs to be tossed. Don’t try scraping the top off and saving what’s beneath — mold sends mycotoxins throughout the whole jar, and there’s no feeding schedule that reverses that damage.
Trust Your Nose Too
Kahm yeast carries an unpleasant but identifiable smell — sour, a little funky, maybe faintly alcoholic. Mold smells like genuine decay: damp, musty, the kind of odor that turns your stomach. When your eyes can’t settle the question, close them and let your nose decide instead. Your body already knows the difference between “fermented and odd” and “actually rotting.”
How I Rescued the Starter (And What I’d Tell You to Do)
Once I felt reasonably sure I was dealing with kahm yeast rather than mold, I got moving. Here’s the exact sequence I followed, and what I’d recommend if you ever land in the same spot.
Step one: I scraped off the entire top layer and threw it away — no stirring it back in, no attempting to rescue any part of that film. From there, I dug down past it into the starter itself, pulled out about a tablespoon of the good-smelling paste from the bottom of the jar, and moved it into a fresh, clean jar. I fed it at a 1:5:5 ratio — one part starter to five parts flour to five parts water, by weight — since that heavier feed creates a more acidic environment that discourages kahm yeast from making a comeback. Then I set the lid on loosely and placed the jar somewhere a touch cooler in the kitchen.
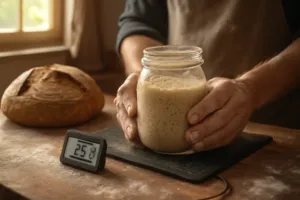
Eight hours later, it had fully doubled and smelled clean and tangy again. By the next morning, it was back to its usual bubbly, reliable self. I nearly got emotional over it. There may have been a small victory dance performed in my kitchen slippers.
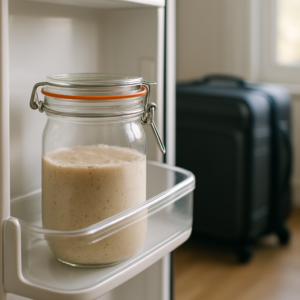
To keep this whole scenario from repeating, I also overhauled my storage habits. The starter now lives in the fridge between bakes instead of sitting out on the counter for days at a time. I swapped my jar setup too, since part of the original problem was that my old jar didn’t let me see the sides clearly enough to track activity, and its lid was inconsistent about how much air it actually let through.
A Jar That Lets You Actually See What’s Growing (And Warns You When to Worry)
Trying to tell mold apart from kahm yeast at 6:47 in the morning, before coffee, means you need a jar that gives you a clear view from every angle and a seal tight enough that you’re not accidentally creating ideal mold conditions with every single feeding. Honestly, the wrong container is half the problem right there.
The upside
- Wide-mouth construction lets you see straight down to the bottom and around the sides without holding the jar up to a light like you’re appraising a diamond — which matters a lot when you’re scanning for fuzzy growth.
- The hinged lids genuinely seal (unlike a few budget lids I’ve owned that only looked sealed), which stops that thin surface film from forming due to uneven air exposure.
- You get a four-jar set, so one can stay in daily rotation, one sits as backup, and one gets set aside for isolating a starter you’re suspicious of — something I have absolutely done before.
The downside
- The hinged lids are flimsy enough that a careless close won’t sit flush, which brings right back the airtightness problem you were trying to solve in the first place.
- At 32 ounces, they’re smaller than the dedicated starter jars that come with built-in measurement lines and thermometers, so if you like visual feeding markers, plan on adding your own label or dry-erase pen marks.
I almost ditched these after the first lid didn’t seal properly on a jar I’d left in the back of the fridge, but once I learned to press down firmly and make sure the gasket was seated, they’ve been bulletproof for three years. If you want jars that stop you from jumping to conclusions about what’s growing in your starter, grab the Encheng 32 oz Wide Mouth Mason Jars with Airtight Hinged Lids (Set of 4).
Frequently Asked Questions
How can I tell if my starter has mold or kahm yeast?
Kahm yeast appears as a flat, wrinkled white or cream film that lies against the surface with no fuzz or raised texture. Mold builds upward with fuzzy, raised patches in colors like pink, orange, blue, green, or black. If you spot any color or fuzziness, it’s mold and the starter must be tossed—don’t try scraping the top off, since mold sends mycotoxins throughout the jar.
What should I do if my starter has kahm yeast?
Scrape off the entire top layer and discard it. Pull out about a tablespoon of good-smelling paste from the bottom and move it to a fresh, clean jar. Feed at a 1:5:5 ratio of starter to flour to water by weight, set the lid on loosely, and place it somewhere cooler. It should double within eight hours and smell clean and tangy again.
What does mold smell like on a sourdough starter?
Mold smells like genuine decay: damp, musty, the kind of odor that turns your stomach. Kahm yeast carries an unpleasant but identifiable smell—sour, a little funky, maybe faintly alcoholic. When your eyes can’t settle the question, let your nose decide; your body already knows the difference between fermented and actually rotting.
How do I prevent kahm yeast from growing on my starter?
Store the starter in the fridge between bakes instead of leaving it on the counter for days. Use a jar with a wide mouth for clear visibility and a genuinely airtight lid to prevent uneven air exposure. Consistent feeding and proper storage conditions discourage kahm yeast from making a comeback.
About This Article

Written by Sam Whitaker. Sam Whitaker has been baking sourdough for over a decade, including three years baking commercially, and now works out of a home kitchen in the Pacific Northwest. Sam's eleven-year-old starter, Harold, is the foundation for every recipe and troubleshooting guide on Sourdough Rising — real bread tested over and over until it works. More about this site.
Scope and limits. Sam is a home baker with no formal culinary training. Follow current food safety guidance for storage and handling, particularly with enriched or filled doughs.
Verify this against a primary source
Specifics change, and your situation may differ from the one described here. These are the authorities worth checking directly:
- USDA FoodData Central — flour and ingredient composition data
- FoodSafety.gov — safe handling and storage