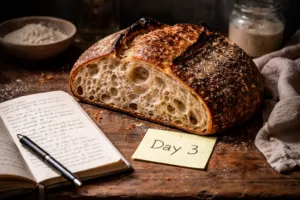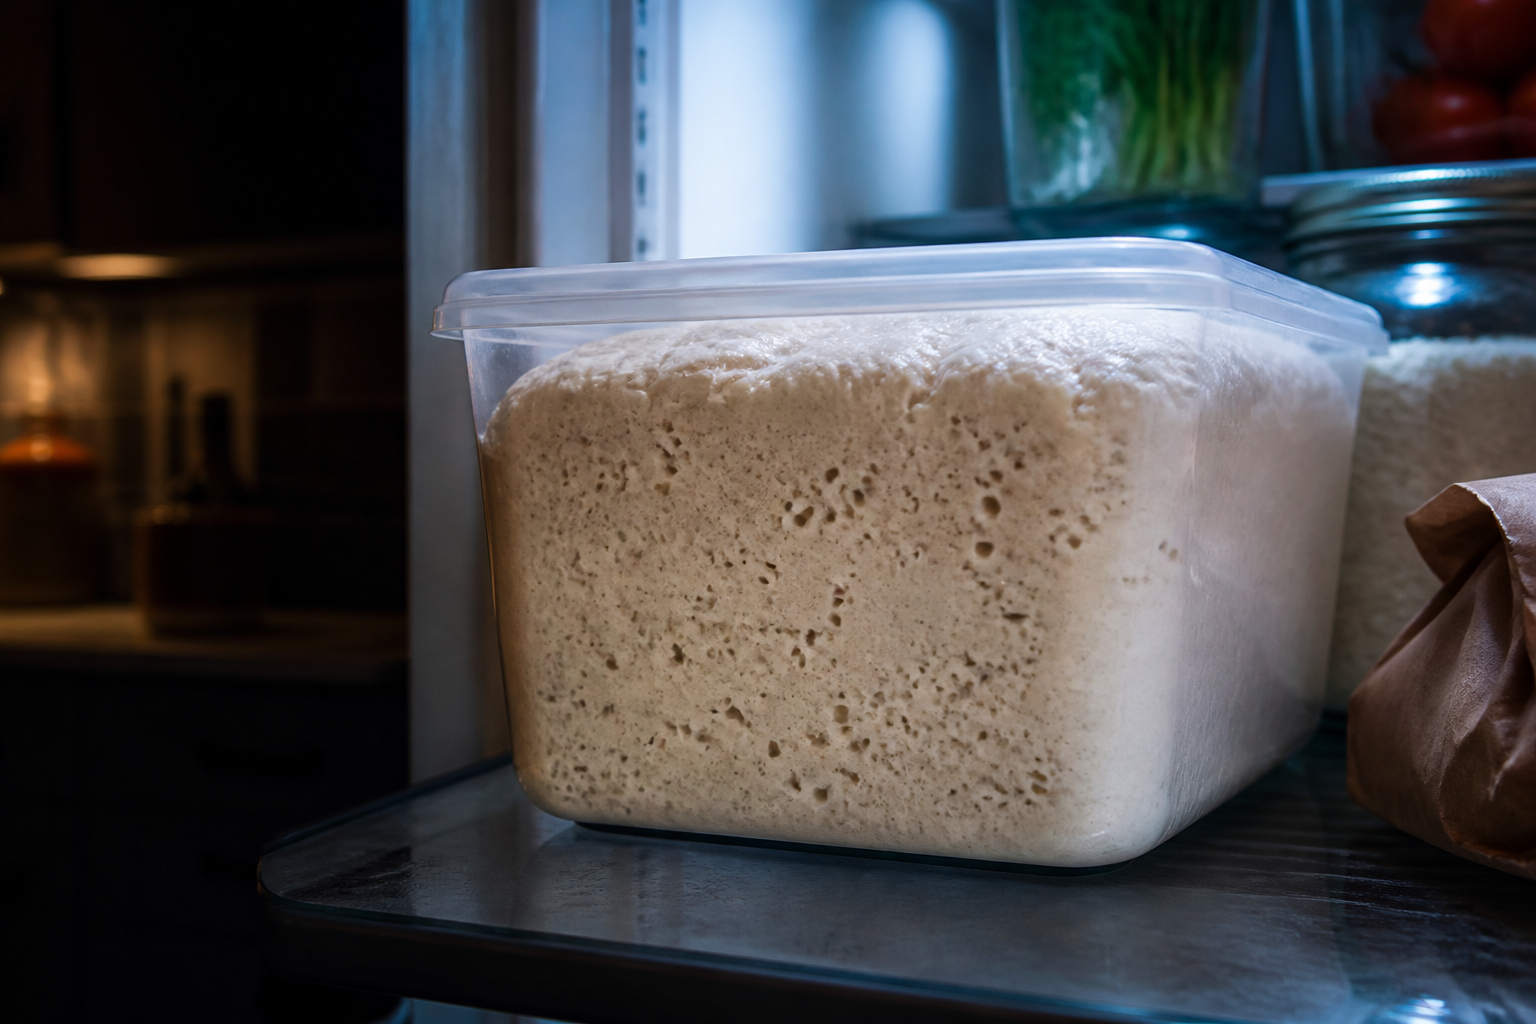
Pull up a photo I could show you this second: a torn-open sourdough boule with a wildly irregular, glassy crumb, sitting right beside an older shot of a flat, deflated slab spreading across the edges of my proofing bowl at five in the morning. That second photo is proof of exactly how badly things can go wrong. I’d assumed the dough had been bulking for eight hours. It had actually been sitting there closer to twelve, oozing outward like pancake batter, every bit of structure gone. Two pounds of flour, an entire evening of effort, and whatever confidence I had walked into that kitchen with—all of it undone in the time it took me to open the oven door. That was the moment I knew my overnight bulk fermentation schedule needed a complete overhaul.
Looking back, it feels almost comical how much that one ruined batch reshaped my baking. It kicked off an 18-month stretch of trying to get overnight bulk fermentation right in a kitchen with no heat source, in the dead of winter. I burned through dozens of schedules, fought constantly shifting dough temperatures, and came close to walking away from sourdough entirely. What I stumbled into instead was a system that didn’t just spare me the stress—it actually improved the bread. What follows is the exact method I use now, and the reasons it’s become the way I bake by default.
Where My Early Cold-Kitchen Bakes Went Wrong
Early in my sourdough days, I baked out of a snug apartment where the kitchen sat somewhere around 68 to 70 degrees Fahrenheit no matter the season. Everything about fermentation was steady and easy to predict. Then I relocated to an older house with leaky windows and a kitchen that got no heat at all. Once winter set in, my bulk fermentation timing turned completely unreliable.
On that disastrous morning when I found the over-proofed dough, it hit me that I’d been operating on assumptions, not observation. Somewhere I’d picked up the rule that overnight bulk fermentation runs 8 to 12 hours, so I’d mix in the evening and trust it would be done by daylight. That math simply doesn’t hold in a 55-degree kitchen. Some nights the dough hardly budged; other nights it ballooned past the point of no return. I wasn’t tracking real fermentation signs—I was just crossing my fingers.
What I eventually understood was that I’d been treating time as a stand-in for temperature. My sense of bulk fermentation ratios had all been built in warmer conditions, and I had zero feel for how a cold kitchen changes the equation. That’s the point where I stopped trying to outsmart the cold and started designing around it instead.
Overnight Bulk Fermentation Sourdough: My Cold Kitchen Schedule
Months of trial and error later, I landed on a schedule built entirely around temperature instead of the clock on the wall. That shift is what changed everything. Here’s exactly how it works:
The Numbers I Actually Rely On
- Mix the dough in the evening, around 6 p.m., aiming for a dough temperature of 75 to 78 degrees Fahrenheit. That gives the starter momentum before the cold has a chance to slow it down.
- Expect bulk fermentation to run 10 to 14 hours if your kitchen sits at 55 to 62 degrees, or roughly 8 to 10 hours in a more typical 65 to 70 degree kitchen.
- What actually tells you it’s done: the dough should have grown 50 to 75 percent in volume with visible bubbles breaking the surface. Treat the clock as a rough guide, not the answer.
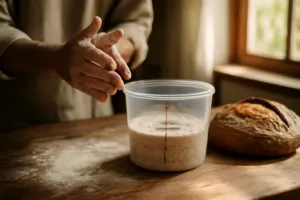
- My temperature trick: a quick instant-read thermometer pressed against the outside of the dough container. Five seconds, and I’m no longer guessing.
It turns out the cold worked in my favor. Slower fermentation gives flavor more time to build. The lactic acid gets extra hours to deepen and layer. The gluten structure comes together more gradually and naturally. Simply accepting the temperature I was stuck with made my bread better, not worse.
| Kitchen Temperature | Bulk Fermentation Time | Dough Volume Growth |
|---|---|---|
| 55 to 62 degrees Fahrenheit | 10 to 14 hours | 50 to 75 percent |
| 65 to 70 degrees Fahrenheit | 8 to 10 hours | 50 to 75 percent |
A Weekly Rhythm That Actually Works for Me
Before I get into the schedule, I want to mention the tool that made cold bulk fermentation click for me: a good banneton. I use the Saint Germain Bakery Premium Round Bread Banneton Basket with Liner – Perfect Brotform Proofing Basket for Making Beautiful Bread (10 inch Oval), and after years of trying shortcuts, having a proper rattan basket that wicks moisture and holds the dough’s shape overnight in the fridge genuinely changed my crust and ear. It’s one of the few purchases I’d tell any serious home baker to make without hesitation. ()
- Monday night: Mix the dough around 6 p.m. and set it into a cold proofing container.
- Tuesday morning: Check the dough around 7 a.m., roughly 13 hours in—it’s typically ready by then. On especially cold mornings, it might not get there until 9 a.m.
- Tuesday morning: Pre-shape, then let it finish proofing on the counter for 2 to 4 hours depending on how warm the room is.
- Tuesday afternoon: Score and have it in the oven by 1 p.m.
I run the same pattern on Wednesday and Friday to keep fresh bread coming, and some weeks I’ll squeeze in Thursday and Saturday if I’m feeling energetic. The upshot is that timing no longer stresses me out at all. A glance or two at the dough and I know precisely where things stand.
The Real Difference-Maker: Choosing the Right Container Size
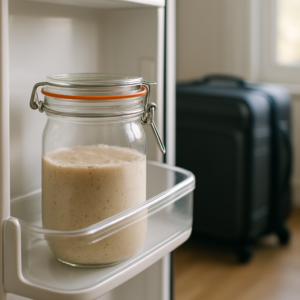
Here’s something that rarely gets mentioned: the container you ferment in matters way more than people think for overnight bulk fermentation sourdough. Go too big and you lose the ability to judge the rise. Go too small and every night becomes a game of overflow-anxiety.
Across 11 years of baking—including a stretch running a small home microbakery where I was mixing big weekend batches for neighbors—I’ve cycled through more containers than I can count, and that scale forced me to figure out what genuinely holds up. These days, home baking calls for two setups depending on how much dough I’m working with:
For a standard 1,000-gram batch that yields two loaves, I reach for the Cambro Food Storage Containers with Lids (BPA-Free) in the 4-quart size. I buy the 2-pack specifically so one can be fermenting while the other’s in the sink—never a bottleneck. Because they’re translucent, I can track how far along fermentation is without lifting the lid. Those lids close snugly without sealing airtight, which turns out to be ideal—dough stays hydrated but gas can still escape gently. These containers are genuinely industrial-grade; they survived my entire high-volume microbakery run and they’re still what I reach for every single day.
When I’ve got smaller dough or I’m trialing a new recipe, I lean on the Cambro RFS6PP190 Camwear 6-Quart Round Food Storage Container instead. There’s something about the round shape that just feels more manageable to work with, and it stacks neatly on the corner shelf of my chilly kitchen. I also keep a Cambro 6SFSCW135 Camsquare Food Container in rotation, mostly because having a range of shapes on hand suits whatever I’m fermenting that week.
I’d be remiss not to mention the Brod & Taylor Proofing Containers, since they’re honestly excellent. The 6L versions—both the single unit and the 2-pack—are built with sourdough specifically in mind, complete with built-in measurement markings. They’re dishwasher-safe too, which is a nice bonus. I’ve relied on them for longer final proofs with great results. That said, they cost noticeably more than the Cambro line, and when it comes purely to overnight bulk fermentation, the Cambro containers still win on value and visibility, in my experience.
If you’re baking more than one loaf at a time — which I almost always do when I’m already running an overnight cold proof — it’s worth having two baskets ready so both loaves proof simultaneously and you’re not staggering your bake by hours. The DOYOLLA Bread Proofing Baskets Set of 2 10 inch Oval Shaped Dough Proofing Bowls w/Liners Perfect for Professional & Home Sourdough Bread Baking gives you two oval bannetons with liners at a price that makes doubling your batch a no-brainer. Having matching baskets also means both loaves proof under the same conditions, which takes one variable out of the equation when you’re trying to dial in a consistent result.
The bottom line: choose something lidded, something transparent, and something scaled correctly for however much dough you’re working with. There’s no need to overcomplicate the decision.
The Case for Cold, Slow Fermentation and Better Bread
This is the point where my whole outlook flipped. I once viewed slow fermentation as something to endure—a necessary evil forced on me by a cold kitchen. Now it’s genuinely my preference.
Here’s what I’ve noticed across hundreds of bakes: quick fermentation, say 6 to 8 hours in a warm room, gives you perfectly decent bread—open crumb, nicely browned crust, nothing wrong with it. But a long, cold overnight bulk ferment produces something noticeably better. The flavor gains real depth. The tang intensifies without turning sharp or unpleasant. The gluten network seems to finish developing more fully, which shows up as stronger oven spring and a more open, irregular crumb.
My theory is that the cold slows every process down at the same rate. Yeast and bacteria seem to cooperate more smoothly when they aren’t racing to multiply in a warm environment. Enzymes get the time they need to gradually break down starches and proteins. Organic acids form on their own schedule. Instead of forcing fermentation along, you’re simply giving the bread room to become what it’s meant to be.
And honestly, the whole routine is far less nerve-wracking this way. I’m not hovering over the dough every couple of hours trying to catch the exact peak. I’m not setting alarms in the middle of the night. I mix, I sleep, I live my day, and I check the dough once or maybe twice the next morning. That’s a pace I can actually maintain long-term.
How It All Turned Around
Half a year after that collapsed-dough disaster, I pulled a loaf out of the oven on a bitterly cold January morning. It had spent the night bulking at 58 degrees in my unheated kitchen. The oven spring was striking. The crumb came out open and irregular in exactly the way I’d been trying to chase for months. The crust cracked cleanly the moment I scored it. And the flavor landed in that ideal spot between tang and sweetness that’s stuck with me ever since.
One last thing worth mentioning before my final tips: if you find yourself baking regularly enough that your bannetons are seeing constant use — or you want a dedicated spare so one can fully dry out between bakes —
I called my husband over to try it. He took one bite and said, “This is the best bread you’ve made.” That hit me hard. Not because of the compliment, but because it meant I’d finally stopped fighting my circumstances and started working with them.
Overnight bulk fermentation sourdough isn’t something you settle for because your kitchen is cold—it’s simply the better approach, full stop, and the cold ends up working in your favor rather than against you. Whenever I’m teaching someone about sourdough now, my advice is the same: work with whatever temperature your kitchen gives you, measure it honestly, and trust what the dough is showing you. It will always tell you when it’s ready.
Now It’s Your Turn
If you’re struggling with inconsistent fermentation times or you’ve had your own sourdough disasters, I want you to know: it’s not you, and it’s not a failure. It’s just information. Start paying attention to your dough’s temperature, your kitchen’s conditions, and how your crumb develops across different timelines. Once you see the pattern, you can adjust. That’s when sourdough stops feeling like a puzzle and starts feeling like something you understand.
Frequently Asked Questions
How long should overnight bulk fermentation take in a cold kitchen?
Expect bulk fermentation to run 10 to 14 hours if your kitchen sits at 55 to 62 degrees, or roughly 8 to 10 hours in a more typical 65 to 70 degree kitchen. The dough should have grown 50 to 75 percent in volume with visible bubbles breaking the surface. Use an instant-read thermometer to check dough temperature rather than relying on the clock alone.
What dough temperature should I aim for when mixing sourdough?
Mix the dough in the evening, around 6 p.m., aiming for a dough temperature of 75 to 78 degrees Fahrenheit. This gives the starter momentum before the cold has a chance to slow it down, which is especially important in a cold kitchen.
What size container is best for overnight bulk fermentation?
For a standard 1,000-gram batch yielding two loaves, use a 4-quart container. Choose something lidded, transparent, and scaled correctly for however much dough you’re working with. The lid should close snugly without sealing airtight, allowing dough to stay hydrated while gas escapes gently.
Does slow fermentation actually improve sourdough flavor?
Yes. Long, cold overnight bulk fermentation produces noticeably better bread than quick fermentation. The flavor gains real depth, the tang intensifies without turning sharp, and the gluten network develops more fully, resulting in stronger oven spring and a more open, irregular crumb.
About This Article

Written by Sam Whitaker. Sam Whitaker has been baking sourdough for over a decade, including three years baking commercially, and now works out of a home kitchen in the Pacific Northwest. Sam's eleven-year-old starter, Harold, is the foundation for every recipe and troubleshooting guide on Sourdough Rising — real bread tested over and over until it works. More about this site.
Scope and limits. Sam is a home baker with no formal culinary training. Follow current food safety guidance for storage and handling, particularly with enriched or filled doughs.
Verify this against a primary source
Specifics change, and your situation may differ from the one described here. These are the authorities worth checking directly:
- USDA FoodData Central — flour and ingredient composition data
- FoodSafety.gov — safe handling and storage