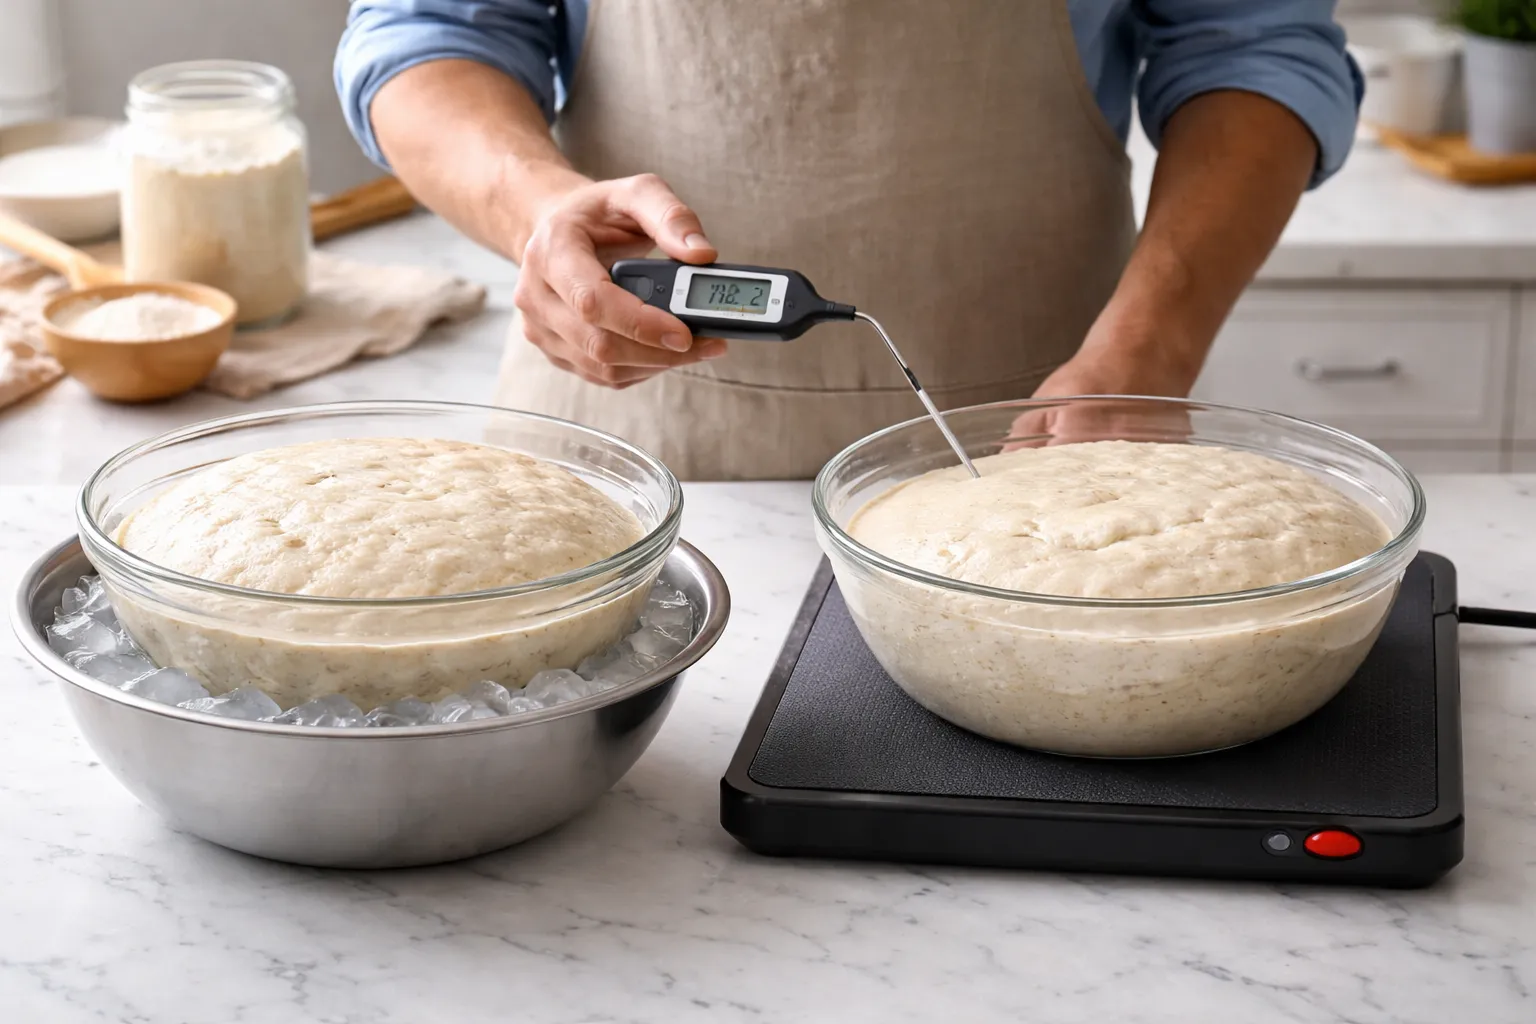
Scroll through enough sourdough advice online and you’ll find two camps flatly contradicting each other: one tells you to just warm your dough up whenever it’s dragging, the other insists that slowing everything down is the only path to “real” flavor, full stop. The second camp is wrong when you’re actually up against a clock — which is exactly the lesson I learned one morning before 6 a.m., standing over a bowl of dough that had done basically nothing overnight, still wearing two different socks, with my in-laws due for brunch at noon. I’d promised them fresh sourdough. I’d more or less bragged about it — “Oh, I’ll throw together my famous loaf,” I announced, waving my hand around like some self-appointed bread guru. The dough just sat there, flat and completely unimpressed, as though it had overheard my boasting and decided this was the day to humble me. If you’ve ever had to figure out, in a panic, how to speed up or slow down sourdough fermentation on short notice, you already know that particular flavor of dread.
That morning ended up teaching me more about fermentation temperature than any book on my shelf ever had. The lesson I hadn’t fully absorbed until then: sourdough doesn’t care about your calendar. It answers to temperature, full stop. Once that clicks, you stop being at the mercy of your dough and start being the one calling the shots.
| Method | Temperature Range | Bulk Fermentation Time | Use Case |
|---|---|---|---|
| Seedling heat mat with thermostat | 78°F (dialed in) | Faster than ambient | Speed up when kitchen is cool |
| Oven light only | 75°F to 80°F | Four to six hours | Speed up without equipment |
| Warm mixing water | 85°F to 90°F water; 76°F to 78°F final dough | Faster than cool water | Speed up from the start |
| Cold-proof in fridge | 38°F to 40°F | Stalls fermentation | Slow down for 8 to 48 hours |
| Cool mixing water | 65°F to 68°F water | Slower than warm water | Slow down on hot days |
| Ideal bulk fermentation | 75°F to 80°F | Four to six hours | Standard baseline |
Temperature: The Real Driver of Sourdough Fermentation
A sourdough starter is a living colony of wild yeast and lactic acid bacteria, and like any living thing, it reacts strongly to whatever environment you put it in. Of all the variables you can control, temperature is the biggest one for dictating how quickly or slowly fermentation moves. Push the temperature up and yeast activity along with bacterial growth accelerates. Pull it down and everything grinds along much more gradually.
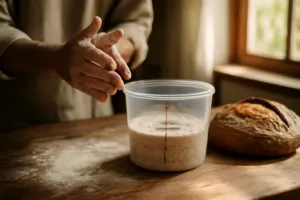
The comfort zone for solid bulk fermentation sits roughly between 75°F and 80°F (24°C to 27°C). Inside that band, a lively starter should typically wrap up bulk fermentation somewhere in the four-to-six-hour range. Fall under 70°F and the pace drags visibly. Climb past 85°F and your dough can slide into over-fermentation before you’ve even clocked what’s happening. Cooler temperatures push the bacteria toward producing more acetic acid, which is what gives you that sharp, tangy sourdough bite. Warmer temperatures favor lactic acid instead, resulting in a softer, creamier flavor profile. In other words, adjusting temperature isn’t only about scheduling — you’re also steering the taste of the final loaf.
Back to my disastrous Sunday. My kitchen in the dead of January hovers around 64°F. My dough had spent the whole night barely inching forward. Without meaning to, I’d built myself a slow, sluggish ferment with absolutely no backup plan. What I needed, fast, was some way to coax gentle warmth into the situation.
Speeding Up Sourdough Fermentation Without Ruining the Dough
When time is short, steady, mild heat is what you want — not a blast of it. These are the approaches that have actually delivered for me.
Try a Seedling Heat Mat
This is the trick that rescued my brunch that Sunday, and it’s honestly reshaped how I bake since. A seedling heat mat, the kind meant for germinating plants, throws off a mild, steady warmth that turns out to be ideal for proofing sourdough. I set the bowl right on top, laid a damp towel over it, and watched the dough finally spring into action. In about two hours it had fully caught up.
I now keep two options on hand depending on what I need. For precise temperature control, I love the VIVOSUN 10″x 20.75″ Seedling Heat Mat and Digital Thermostat Combo Set. The thermostat lets you dial in an exact temperature, which is genuinely brilliant for consistent results. When I want something simpler, the VIVOSUN Durable Waterproof Seedling Heat Mat is my grab-and-go option. It runs about 10 to 20 degrees above ambient room temperature, which in a cool kitchen is usually exactly what you need. Another solid choice is the BN-LINK Durable Seedling Heat Mat, which is ETL listed and super reliable. All three are waterproof, easy to wipe clean, and genuinely earn their counter space.
The Oven-Light Trick
Set your dough inside the oven and switch on nothing but the oven light. In most ovens, that alone nudges the interior temperature up to somewhere around 75°F to 80°F — squarely in the ideal fermentation range. Leave the oven itself off entirely; the light does all the work. It sounds almost too easy, but it holds up every time.
Adjust the Water Temperature When Mixing
One of the simplest levers for controlling fermentation speed is the temperature of the water you mix with. Reaching for water between 85°F and 90°F when you’re building your dough hands your starter a warm, encouraging start right out of the gate. This practice is often called dialing in your dough temperature, and it’s something bakers who do this professionally pay close attention to. The goal is a final dough temperature, right after mixing, landing around 76°F to 78°F for the best possible activity.
Stop Guessing — Measure Your Temperatures
None of the above matters much if you’re eyeballing temperatures instead of measuring them. A dependable instant-read thermometer is non-negotiable for checking water temp, dough temp, and whatever environment you’re proofing in. I reach for the Alpha Grillers Meat Thermometer Digital for fast readings on everything from mixing water to finished loaves. The ThermoPro Digital Instant Read Meat Thermometer is another solid pick, with a backlit screen I can actually read at 6 a.m. in a dim kitchen without squinting at it. Either one gives you a fast, accurate number and makes a real, measurable difference in how consistent your bakes turn out.
Slowing Down Sourdough Fermentation When You Need Extra Time
Other days the problem runs the opposite direction — your dough is racing ahead of schedule, your plans shift, or you just want more room to maneuver on timing. In those moments, your refrigerator becomes your best ally.
Cold-Proofing in the Fridge
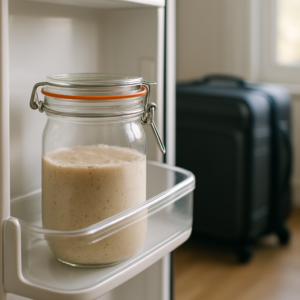
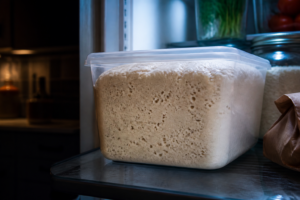
Once your loaf is shaped, set it into a well-floured banneton or a lined bowl, cover it loosely with plastic wrap or something like a shower cap, and put it straight into the refrigerator. Down at 38°F to 40°F, fermentation practically stalls. You’ve got a window anywhere from 8 up to 48 hours for cold proofing. This isn’t only about buying time — it genuinely builds flavor. That extended cold stretch gives the bacteria the runway they need to develop richer, more layered flavor compounds. Plenty of bakers, myself very much included, actually prefer the taste of a long cold-proofed loaf to one baked same-day.
You Can Slow Bulk Fermentation Down Too
Bulk fermentation can also be put on pause by sliding your covered dough bowl into the fridge for a few hours before you shape it. Handy trick for those moments when you’ve started a dough and then, say, gotten sidetracked by a text saying your in-laws are arriving an hour earlier than planned. Purely a hypothetical, of course.
Mix With Cooler Water
The same way warm water speeds fermentation up, cold water holds it back from the very start. On a hot summer day, if you want to stretch out your bulk fermentation window, mixing with water around 65°F to 68°F buys you more control over your timeline right from the beginning.
The Heat Mat That Basically Became My Kitchen’s Proofing Box
When your kitchen sits at a stubborn 68°F and your sourdough needs to move faster, a heat mat with a built-in thermostat takes the guesswork out of relying on an oven light or a makeshift proofing box. This is the piece of gear that finally got me consistent fermentation times instead of just crossing my fingers and hoping.
What works
- The digital thermostat locks in whatever temperature you dial (78°F is my go-to for bulk fermentation), so winter and summer bakes stop giving me wildly different rise times.
- At 10″x20.75″, the surface is just roomy enough for a standard banneton or Dutch oven without swallowing your entire counter.
- The thermostat display shows me the real dough temperature instead of forcing me to trust gut instinct — which, if I’m being honest, has let me down plenty of times before.
What doesn’t
- It claims permanent counter space (or you’re stuck stashing it away between bakes), which is a real commitment if your kitchen is on the small side.
- The sensor cord on the thermostat is stiff and clumsy to position, and I’ve had readings feel a degree or two off until I repositioned it flush against the bowl.
I almost returned it the first time I got a reading of 82°F when I knew my room was closer to 70—but then I realized the probe was sitting an inch away from the dough instead of touching it. VIVOSUN 10″x 20.75″ Seedling Heat Mat and Digital Thermostat Combo Set
Frequently Asked Questions
What temperature range is best for sourdough bulk fermentation?
The comfort zone for solid bulk fermentation sits roughly between 75°F and 80°F. Inside that band, a lively starter should typically wrap up bulk fermentation somewhere in the four-to-six-hour range. Fall under 70°F and the pace drags visibly. Climb past 85°F and your dough can slide into over-fermentation before you’ve even clocked what’s happening.
How long can I cold-proof sourdough in the refrigerator?
Once your loaf is shaped and placed in the refrigerator at 38°F to 40°F, fermentation practically stalls. You’ve got a window anywhere from 8 up to 48 hours for cold proofing. This extended cold stretch gives the bacteria the runway they need to develop richer, more layered flavor compounds.
What water temperature should I use when mixing dough?
Reaching for water between 85°F and 90°F when you’re building your dough hands your starter a warm, encouraging start right out of the gate. The goal is a final dough temperature, right after mixing, landing around 76°F to 78°F for the best possible activity.
Can I use an oven light to warm sourdough dough?
Yes. Set your dough inside the oven and switch on nothing but the oven light. In most ovens, that alone nudges the interior temperature up to somewhere around 75°F to 80°F — squarely in the ideal fermentation range. Leave the oven itself off entirely; the light does all the work.
About This Article

Written by Sam Whitaker. Sam Whitaker has been baking sourdough for over a decade, including three years baking commercially, and now works out of a home kitchen in the Pacific Northwest. Sam's eleven-year-old starter, Harold, is the foundation for every recipe and troubleshooting guide on Sourdough Rising — real bread tested over and over until it works. More about this site.
Scope and limits. Sam is a home baker with no formal culinary training. Follow current food safety guidance for storage and handling, particularly with enriched or filled doughs.
Verify this against a primary source
Specifics change, and your situation may differ from the one described here. These are the authorities worth checking directly:
- USDA FoodData Central — flour and ingredient composition data
- FoodSafety.gov — safe handling and storage