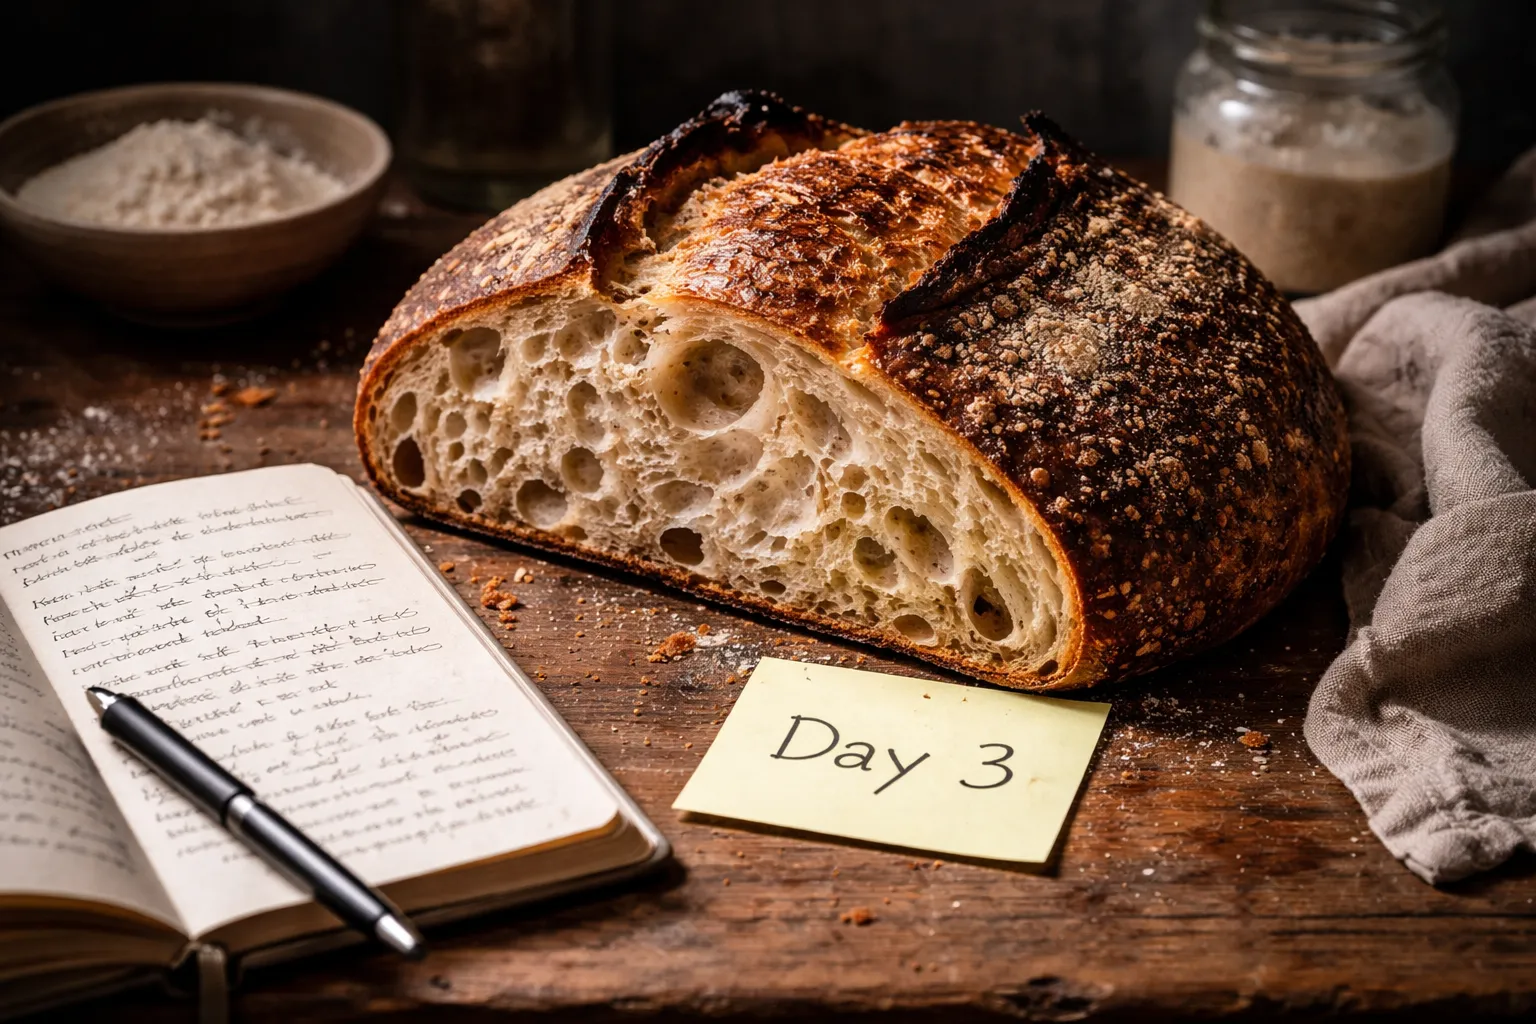
Somewhere in my third year of keeping a starter alive, on a quiet Sunday evening, I ended up cross-legged on the kitchen floor, flour dusted down the front of my shirt, actually crying over a loaf of bread. This wasn’t some exaggerated way of putting it — I really did sit down against the cabinet and let it get to me. For months I’d been hunting for one particular flavor, that deep, complicated, almost wine-tinged sourness that separates a forgettable loaf from a memorable one, and month after month I kept missing it. My bread turned out okay. Sometimes it even looked lovely. But it tasted like plain bread, not like something worth savoring. On that particular evening, my fourth try in a two-week stretch had come out dense and gummy through the middle with barely any tang to speak of, and between the flour and the lost weekend, I didn’t even want to serve it. Everything shifted only after I finally gave in and tried a real two-day sourdough schedule flavor experiment — deliberately stretching the whole process out.
If your sourdough has ever felt solid but not quite spectacular — like there’s some missing ingredient you can’t put a finger on — I’m convinced this two-day method is what you’re after. It rescued my baking, and I want to break down exactly how it works and why taking things slow makes such a difference.
| Baking Method | Fermentation Time | Flavor Result | Crumb Structure |
|---|---|---|---|
| Same-day sourdough | Room temperature bulk ferment, baked same day | Plain bread taste, barely any tang | Not specified |
| Two-day sourdough | Extended cold proof in refrigerator (24–48 hours) | Deep, complicated, wine-tinged sourness with nuanced flavor | Genuine structure, richer crust color |
How Stretching the Timeline Unlocks Flavor in a Two-Day Sourdough
Here’s something nobody explained to me when I was starting out: flavor doesn’t come from the oven. It comes from fermentation, and fermentation demands time. Rush your bulk ferment at room temperature and bake it the same day, and you’re leaving a huge chunk of possible flavor untapped.
The complexity in sourdough comes down to two organisms living in your starter: wild yeast and lactic acid bacteria. Wild yeast is responsible for the carbon dioxide that gives you lift and structure. The bacteria, on the other hand, generate acetic acid and lactic acid, and that’s where flavor comes from. What matters most is that these bacteria slow down at cooler temperatures — and the slower they work, the more acetic acid they produce, which is the sharp, layered acid behind that deep sourness you’re after.
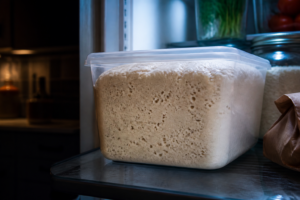
An extended cold proof in the refrigerator works something like magic. It slows the yeast just enough to keep the dough from over-fermenting, while giving the bacteria far more time to keep doing their thing. What you end up with is a loaf with more nuanced flavor, richer crust color, and a crumb that’s had the chance to build genuine structure. Stretching everything across two days simply gives all that chemistry the extra room it needs.
The Container That Actually Made My Cold Fermentation Manageable
A two-day loaf spends most of its life in your refrigerator, so you need a container that won’t trap moisture against the dough, won’t let it dry out on top, and can actually hold a shaped boule without you contorting it into some odd shape. I burned through years of mismatched bowls covered in plastic wrap, only to open the fridge and find either a crusty, dried-out surface or a pool of condensation sitting right on the dough.
Where it earns its keep
- The lids close snugly enough to stop the dough drying out over a 24-48 hour cold ferment, yet they’re not sealed so tightly that condensation builds up and drips back down onto the surface.
- At four quarts, there’s genuine room to spare — your shaped loaf doesn’t press against the sides, so it can expand evenly instead of flattening out against the walls of the container.
- Because the sides are see-through, you can track how fermentation is progressing without cracking open the fridge and breaking your cold chain, so you know when the dough is truly ready instead of just guessing.
Where it falls short
- There’s no gasket on the lids, so if you’re stacking several or shuffling them around a busy fridge, they can pop off more easily than a fully sealed container would — rough news if you’re as accident-prone in the kitchen as I am.
- Four quarts is a decent chunk of fridge real estate, and if you’re running multiple loaves at once or need space for other groceries, you’ll notice how quickly things get cramped.
I almost sent these back after the first use because I was paranoid the lid wasn’t sealing properly—I kept opening the fridge to check—but once I realized that slight looseness was actually the whole point, everything changed. Cambro Food Storage Containers with Lids (2 Pack, 4 Quart)
Frequently Asked Questions
Why does cold fermentation make sourdough taste better?
Cold fermentation slows yeast just enough to prevent over-fermentation while giving lactic acid bacteria far more time to work. Bacteria produce acetic acid, which creates the sharp, layered sourness in flavorful sourdough. The extended timeline allows the dough to develop genuine structure and richer crust color that a same-day bake can’t achieve.
What container should I use for two-day sourdough?
Sam uses Cambro Food Storage Containers with Lids (2 Pack, 4 Quart). The lids seal snugly enough to prevent drying over 24–48 hours without trapping condensation. At four quarts, the container has room for even expansion, and the clear sides let you monitor fermentation without opening the fridge and breaking the cold chain.
How long does a two-day sourdough take to make?
A two-day sourdough spends most of its life in the refrigerator during cold fermentation. The extended timeline stretches the entire process across two days, giving fermentation the extra time needed to develop deep flavor, nuanced complexity, and better structure than same-day baking.
What flavors should I expect from two-day sourdough?
Two-day sourdough produces a loaf with deep, complicated sourness that’s almost wine-tinged. You’ll get more nuanced flavor, richer crust color, and genuine crumb structure compared to same-day baking. The extended cold fermentation allows wild yeast and lactic acid bacteria to develop the layered acidity that makes bread worth savoring.
About This Article

Written by Sam Whitaker. Sam Whitaker has been baking sourdough for over a decade, including three years baking commercially, and now works out of a home kitchen in the Pacific Northwest. Sam's eleven-year-old starter, Harold, is the foundation for every recipe and troubleshooting guide on Sourdough Rising — real bread tested over and over until it works. More about this site.
Scope and limits. Sam is a home baker with no formal culinary training. Follow current food safety guidance for storage and handling, particularly with enriched or filled doughs.
Verify this against a primary source
Specifics change, and your situation may differ from the one described here. These are the authorities worth checking directly:
- USDA FoodData Central — flour and ingredient composition data
- FoodSafety.gov — safe handling and storage