A sudden humidity spike had rolled through overnight — the kind of muggy, close air that turns an ordinary kitchen into an unpredictable proofing chamber — and by 6:47 that Sunday morning I understood exactly what it had done to my dough. What greeted me on the counter looked less like a loaf-in-waiting and more like a deflated football, and there I stood in my bathrobe, cradling it, murmuring “please, please, please” as though sheer hope could undo an overnight fermentation gone sideways. My starter had misbehaved. My bulk ferment had barreled straight past done while I slept. My husband, ever the optimist, cheerfully floated the idea that we “just buy a loaf from the store.” I very nearly cried straight into my banneton.
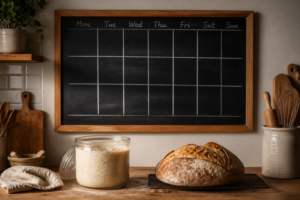
That morning happened eighteen months back, and it turned out to be the accidental spark behind the weekend sourdough bake schedule that has completely reshaped how my Saturdays and Sundays unfold. I realize that sounds like a lot to hang on one bad loaf. Bear with me anyway — this story ends with a bronzed crust, an apology loaf for my husband, and not a single Sunday-morning bathrobe breakdown since.
| Schedule Element | Saturday Morning Mix | Friday Night Mix |
|---|---|---|
| Bulk fermentation timing | Variable — either sprinted ahead or stalled | Four hours at room temperature (70–72°F) |
| Starter ratio | Not specified | 1:5:5 |
| Cold retard | Not used | Overnight in fridge |
| Result consistency | Gummy, dense crumb; hollow-sounding crust | Flawless oven spring; bold ear; light, chewy crumb |
| Control over baking time | Dough decided when it was ready | Baker decides when to bake |
How My Original Weekend Routine Was Sabotaging Me
My earlier logic seemed sound enough at the time: mix Saturday morning, bake Saturday afternoon. Straightforward, in theory. Except “Saturday afternoon” had a habit of sliding into “Saturday evening,” because my kitchen tends to run warm and my bulk ferment was constantly either sprinting ahead of schedule or stalling out — leaving me zero room for error. Every weekend, my dough was calling the shots, not me.
The core issue was inconsistency, plain and simple. Some weekends produced a gorgeous loaf. Others gave me a gummy, dense crumb wrapped in a crust that sounded hollow but tasted like disappointment. I pointed fingers at my flour. Then my starter. Briefly, even my oven took the blame (my apologies, oven). The one thing I never suspected was that timing — not skill — was the actual culprit.
The humid-night, deflated-football episode was, in fact, my third flop in a row, which explains why I’d resorted to negotiating with dough like someone who had fully lost her marbles. I’d overproofed it yet again, going to bed thinking “just a couple more hours should do it” and waking up to full-blown fermentation chaos. Something had to give.
The Mix-Friday, Bake-Saturday Rhythm That Fixed Everything
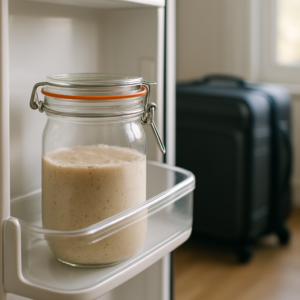
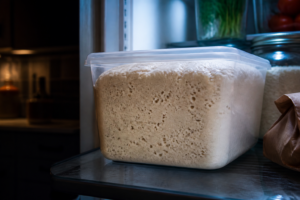
I landed on the Friday-night mix almost by luck. Right after my third failure, I finally committed to a cold-retard method I’d been reading about for ages but kept avoiding. I mixed the dough Friday evening, worked through my stretch-and-folds, let it bulk ferment at room temperature for around four hours, shaped it, and slid it into the fridge overnight inside my proofing basket. I fell asleep bracing for another disappointment come morning.
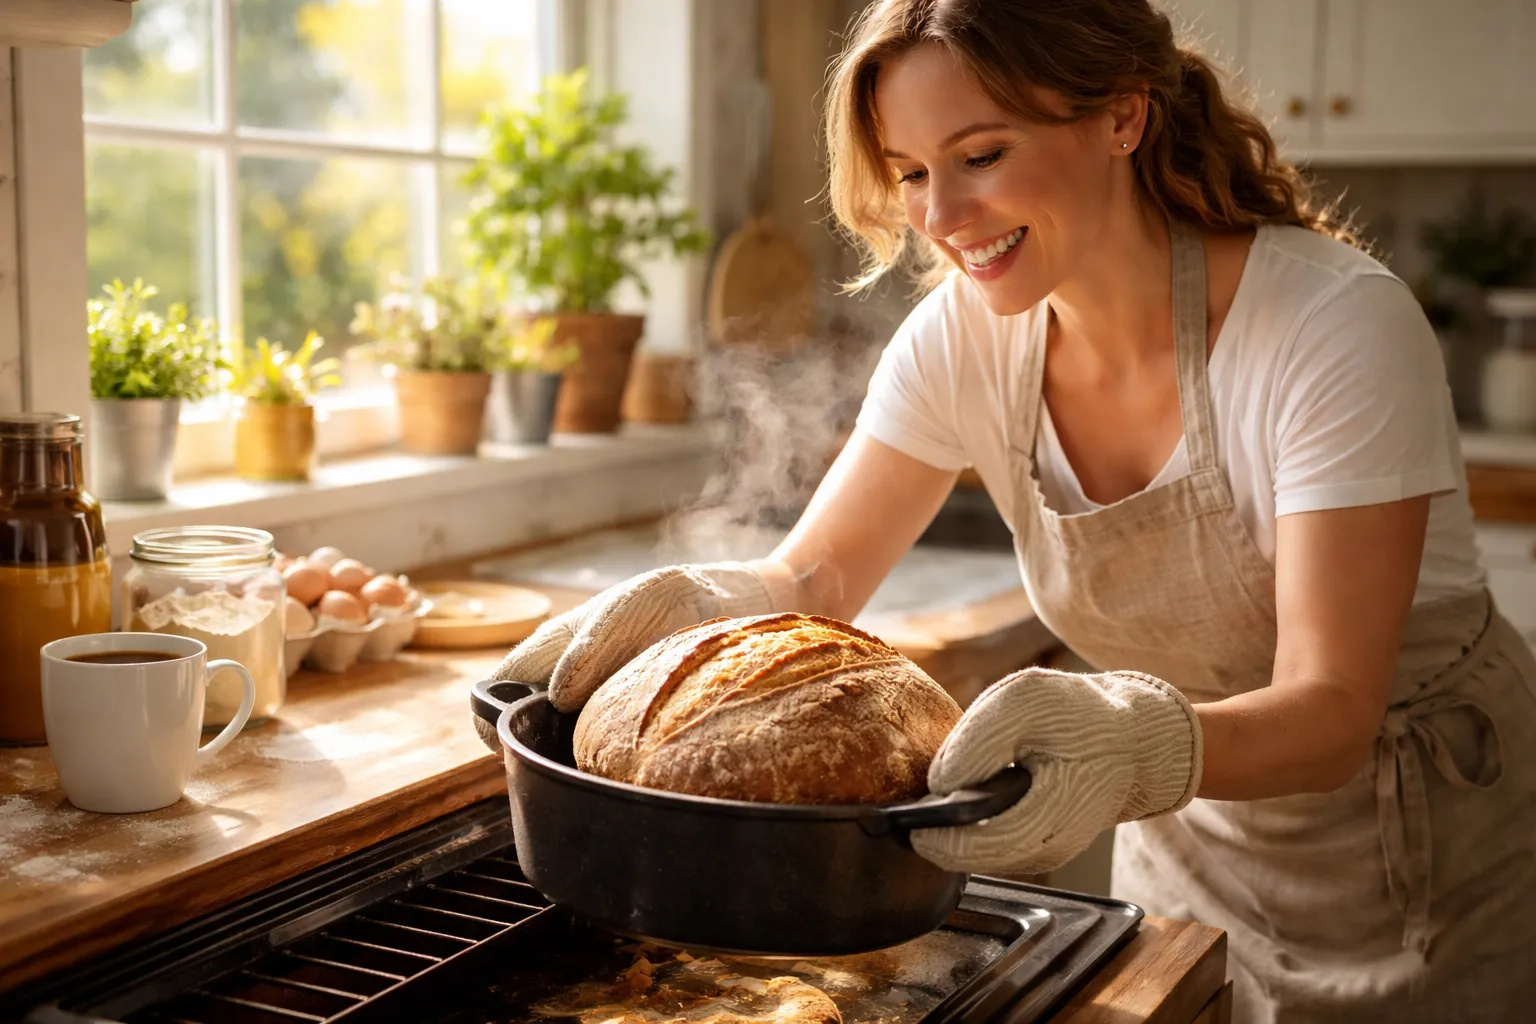
By Saturday morning, I pulled that chilled dough straight from the refrigerator, got my Dutch oven blazing hot, and baked it. And somehow… it was flawless. Almost comically, unfairly perfect. The oven spring shot up dramatically. The score bloomed into a bold, proud ear. The crumb opened up light and chewy. I fired off a photo to my sister before I’d even sliced into it.
Below is the exact routine I now stick to every single weekend — it’s become so second-nature I could practically run it half-asleep (and honestly, come Friday night, I basically am):
Friday Night, Hour by Hour
- 7:00 PM: Give your starter a feed so it’s active and building strength. On Friday nights I lean toward a 1:5:5 ratio so it peaks a touch more slowly.
- 9:00 to 10:00 PM: Combine your autolyse, then fold in the starter once it hits peak. Work in the salt and finish your initial mix.
- 10:00 PM to 2:00 AM (mostly hands-off): Knock out 3 to 4 rounds of stretch-and-folds across the first ninety minutes, then let the dough coast through bulk fermentation at room temperature. In my kitchen — usually 70 to 72 degrees Fahrenheit — a four-hour bulk hits the mark every time. Yours may need adjusting.
- Before turning in (around 11:00 PM to midnight): Shape the dough, settle it into your floured banneton, cover it up, and move it into the fridge for its overnight cold retard.
Saturday Morning, Hour by Hour
- 8:00 AM: Set your Dutch oven inside and let it preheat at 500 degrees Fahrenheit for the full 45 to 60 minutes. Don’t shortcut this part.
- 8:45 to 9:00 AM: Take the dough straight from the fridge, score it while still cold (cold dough scores like a dream — this genuinely surprised me), and lower it into the ripping-hot Dutch oven.
- Bake: 20 minutes with the lid on at 500F, then uncover, drop the temp to 450F, and continue for another 20 to 25 minutes until it’s a deep golden brown.
- By 9:30 AM: The loaf is out and resting on a wire rack, you’re still in pajamas, and the whole day is still ahead of you. Life is genuinely good.
That overnight cold retard works a kind of double magic — flavor-wise and schedule-wise. The slow fermentation in a chilled fridge builds a deeper, tangier flavor, firms up the gluten structure, and effectively hits pause on the dough so that YOU decide when the baking happens, instead of the dough deciding for you. You’re finally the one in charge. It’s a genuinely empowering shift.
The Gear That Actually Makes This Schedule Possible
Nailing the timing is only half the battle. Having the right containers and bakeware on hand is what makes this whole routine run smoothly. Here’s precisely what’s in my rotation:
The See-Through Container That Ended My Bulk-Ferment Guesswork
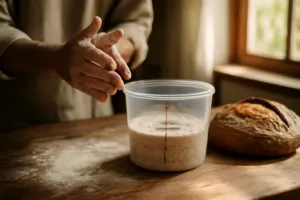
There’s no reading a dough’s rise if you can’t actually see through the walls of its container. For years I fermented in opaque bowls and consistently either underbulked or blew past the mark — until I switched to a clear vessel and realized just how much visual feedback I’d been missing all along.
Where it shines
- Straight polycarbonate walls make that 50 to 75 percent rise easy to track without guessing — you can watch the dome form, check for jiggle, and catch the moment the surface turns faintly dimpled.
- Volume markings printed on the side make it simple to keep hydration and starter ratios consistent bake to bake, which slashed my constant “is this ready yet?” worrying by half.
- It holds up to years of daily bulk ferments without cracking, scuffing up, or going cloudy the way cheaper plastic tubs tend to.
Where it falls short
- The lid isn’t airtight, so you’ll want a loose kitchen towel draped over it to keep the dough from crusting over as it ferments.
- Its tall, narrow shape doesn’t play nice with every fridge layout — I had to reshuffle my shelves, and there’s still barely room for anything else on that level.
I almost returned mine after the first week because I realized I’d been obsessively checking it every 15 minutes instead of trusting the process, but that visual confidence actually freed me from kitchen anxiety more than anything else. If you’re ready to stop guessing, grab a Cambro 6SFSCW135 Camsquare Food Container, 6-Quart with Lid.
Frequently Asked Questions
Why did Sam switch from Saturday morning mix to Friday night mix?
Sam’s Saturday morning routine led to inconsistent results because bulk fermentation would either sprint ahead or stall in her warm kitchen, leaving no room for error. After multiple overproofed loaves, she switched to Friday evening mixing with a cold retard overnight, which gave her control over timing and produced consistently excellent bread.
What starter ratio does Sam use on Friday nights?
Sam uses a 1:5:5 ratio on Friday nights because it peaks more slowly, which works better with her Friday evening mix and overnight cold retard schedule. This ratio helps ensure the starter is at the right strength when folded into the dough around 9:00 to 10:00 PM.
How long does bulk fermentation take in Sam’s kitchen?
In Sam’s kitchen, which typically runs 70 to 72 degrees Fahrenheit, a four-hour bulk fermentation at room temperature hits the mark every time. She notes that your kitchen temperature may vary, so you may need to adjust timing accordingly.
What container does Sam use for bulk fermentation?
Sam uses a Cambro 6SFSCW135 Camsquare Food Container, 6-Quart with Lid for bulk fermentation. The clear polycarbonate walls let her watch the dough rise without opening the lid, track the 50 to 75 percent rise easily, and catch the moment the surface turns faintly dimpled.
About This Article

Written by Sam Whitaker. Sam Whitaker has been baking sourdough for over a decade, including three years baking commercially, and now works out of a home kitchen in the Pacific Northwest. Sam's eleven-year-old starter, Harold, is the foundation for every recipe and troubleshooting guide on Sourdough Rising — real bread tested over and over until it works. More about this site.
Scope and limits. Sam is a home baker with no formal culinary training. Follow current food safety guidance for storage and handling, particularly with enriched or filled doughs.
Verify this against a primary source
Specifics change, and your situation may differ from the one described here. These are the authorities worth checking directly:
- USDA FoodData Central — flour and ingredient composition data
- FoodSafety.gov — safe handling and storage