Three winters back, on a Tuesday evening after weeks of half-attention, I popped the lid off my starter jar expecting the usual bubbly greeting. Instead — nothing. No dome, no rise, not a single bubble breaking the surface. Just a slack, disappointing slurry of flour and water giving off a sharp whiff of nail polish remover. I’d gotten so wrapped up in my bake list that my sourdough starter feeding schedule slipped my mind entirely, and the starter let me know it. That single lapse taught me more about maintaining an active, healthy culture than any cookbook chapter ever managed to. Whether you’ve already lived through this or you’re brand new and hoping to sidestep that gutted feeling, you’ve landed in the right spot.
| Storage Method | Feeding Frequency | Feeding Ratio | Best For |
|---|---|---|---|
| Countertop (70–75°F) | Every 12–24 hours | 1:5:5 by weight | Multiple bakes per week |
| Refrigerator | Once weekly | Equal parts flour and water | Weekend-only bakers or travelers |
Why Getting Your Feeding Rhythm Right Changes Everything
Think of your starter as a tiny ecosystem — wild yeast paired with helpful bacteria — and like any living population, it flourishes on predictability. A steady feeding schedule accomplishes two things at once: it hands the microbes fresh flour and water to consume and multiply on, and it conditions them into a dependable pattern. That pattern is exactly what produces a starter that peaks on cue, rises with real strength, and bakes into loaves carrying that deep, layered flavor every sourdough baker is after.
Once the routine breaks — a hectic week, a missed reminder, ordinary life getting in the way — the delicate chemistry inside that jar shifts out of balance. Acetic acid climbs, yeast activity stalls, and you’re left staring at the same flat, sour mess I opened this post with. The reassuring part is that you don’t need flawless timing. You just need awareness and a system built around your actual daily life.
Building a Feeding Routine That Fits Your Life
Countertop Method: Feedings Every 12–24 Hours
For anyone baking multiple times a week, leaving your starter out at room temperature is the smarter move. Somewhere around 70–75°F (21–24°C), most starters want a feed every 12 to 24 hours. My own habit is simple: one feeding each morning, no exceptions. Coffee goes on, and the starter gets fed right alongside it — at this point it’s as second-nature as anything else in my morning routine.
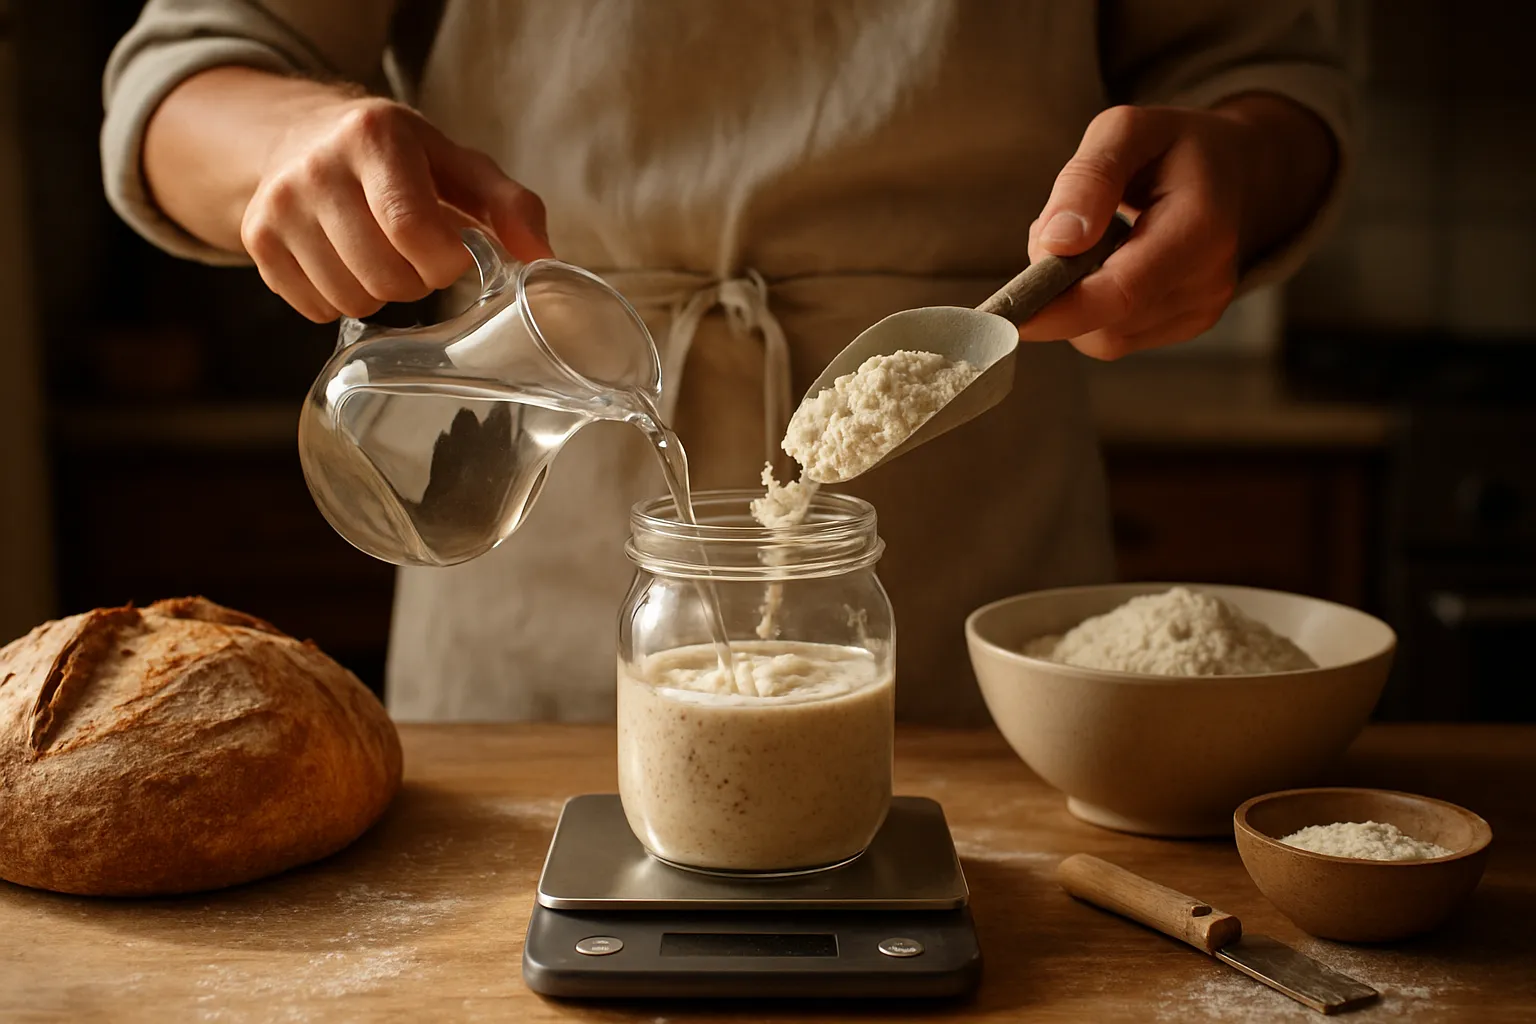
The ratio I lean on is 1:5:5 — a single part starter to five parts flour and five parts water, all measured by weight. Practically, that’s 20 grams of starter mixed with 100 grams each of flour and water. It gives the culture generous fresh food while keeping acidity from building up too fast. Tweak the numbers based on your starter’s own behavior �� a warmer kitchen speeds fermentation along and might mean you need more frequent feeds or a heavier ratio.
Fridge Method: One Feeding a Week
For weekend-only bakers or anyone who travels a lot, the refrigerator becomes an ally. Cold slows fermentation way down, which means a weekly feeding is usually plenty. The process: pull the jar out, give it an hour or two to warm up, discard down to roughly 50 grams, feed with equal parts flour and water by weight, let it hit its peak on the counter, then return it to the cold. It’s low-effort, it’s sustainable, and it keeps the culture in good shape between bakes.
Here’s a habit worth adopting: feed the starter right before it goes back into the fridge, never after it’s already run out of steam. A starved starter chilled down slows even further and tends to develop unwanted off-flavors.
Telling When Your Starter Is Actually Ready
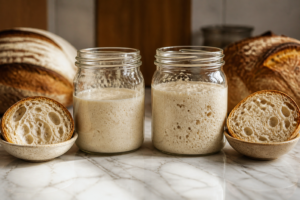
Your starter is constantly signaling where it stands in its cycle — you just need to learn to read it. A thriving, active culture will double or triple in volume after a feed, form a rounded dome on top, and be laced with bubbles from edge to edge. The aroma should lean pleasantly tangy and yeasty, somewhere between yogurt and beer. Drop a spoonful into a glass of water — if it floats, that’s your signal it’s got enough lift to leaven a loaf.
Skip the stopwatch mentality. Trust your eyes and your nose instead. Temperature, the flour you’re using, and hydration level all shift the timeline, so your starter’s peak moment can move by a few hours depending on the time of year.
Ditch the Guesswork — Start Weighing Your Feeds
What separates an underfed starter from an overfed one often comes down to a handful of grams, and those few grams decide whether your culture rises on schedule or falls apart midweek. I spent months eyeballing what I assumed were 1:1:1 feeds before realizing I’d actually been running 1:1.3:0.8 — which explained a lot about why my timing kept drifting.
Where it earns its keep
- Precise to 0.1 grams, letting you spot the small ratio errors that quietly derail an entire week’s feeding schedule.
- Small footprint means it can just live on the counter beside your starter jar — no rummaging through a drawer that interrupts your rhythm.
- Auto-shutoff barely factors into feeding, but the number settles fast, so you’re not stuck watching digits bounce around before you can act.
Where it falls short
- The base is on the narrow side, so wider feeding jars tend to lean toward the edge, forcing you to keep recentering them.
- The screen gets tricky to read from certain angles under dim kitchen light — a real annoyance when you’re half-awake feeding your starter at 6 a.m.
I almost returned mine after the first week of rebalancing jars, but I realized the discipline of weighing was fixing my inconsistency faster than any schedule adjustment ever could. Get a Etekcity Food Kitchen Scale and stop wondering if this week is going to be different.
Frequently Asked Questions
How often should I feed my sourdough starter?
It depends on where you keep it. At room temperature around 70–75°F, feed every 12 to 24 hours. Sam feeds once each morning. In the refrigerator, a weekly feeding is usually enough. Cold slows fermentation way down, making frequent feeds unnecessary for weekend-only bakers or travelers.
What is the correct sourdough starter feeding ratio?
Sam uses 1:5:5 by weight — one part starter to five parts flour and five parts water. Practically, that’s 20 grams of starter mixed with 100 grams each of flour and water. This ratio gives the culture generous fresh food while preventing acidity from building up too fast. Tweak based on your kitchen’s temperature and starter behavior.
How do I know when my starter is ready to bake?
A thriving starter will double or triple in volume after feeding, form a rounded dome on top, and show bubbles throughout. The aroma should be pleasantly tangy and yeasty. Drop a spoonful into water — if it floats, you’ve got enough lift to leaven a loaf. Trust your eyes and nose instead of a stopwatch.
Why is weighing my starter feeds so important?
A handful of grams separate an underfed starter from an overfed one, deciding whether your culture rises on schedule or falls apart midweek. Sam discovered he’d been running 1:1.3:0.8 instead of 1:1:1, which explained why his timing kept drifting. Weighing catches these errors before they derail your entire week’s feeding schedule.
About This Article

Written by Sam Whitaker. Sam Whitaker has been baking sourdough for over a decade, including three years baking commercially, and now works out of a home kitchen in the Pacific Northwest. Sam's eleven-year-old starter, Harold, is the foundation for every recipe and troubleshooting guide on Sourdough Rising — real bread tested over and over until it works. More about this site.
Scope and limits. Sam is a home baker with no formal culinary training. Follow current food safety guidance for storage and handling, particularly with enriched or filled doughs.
Verify this against a primary source
Specifics change, and your situation may differ from the one described here. These are the authorities worth checking directly:
- USDA FoodData Central — flour and ingredient composition data
- FoodSafety.gov — safe handling and storage