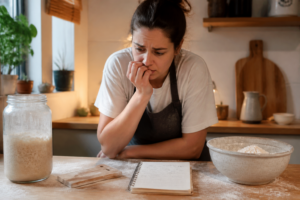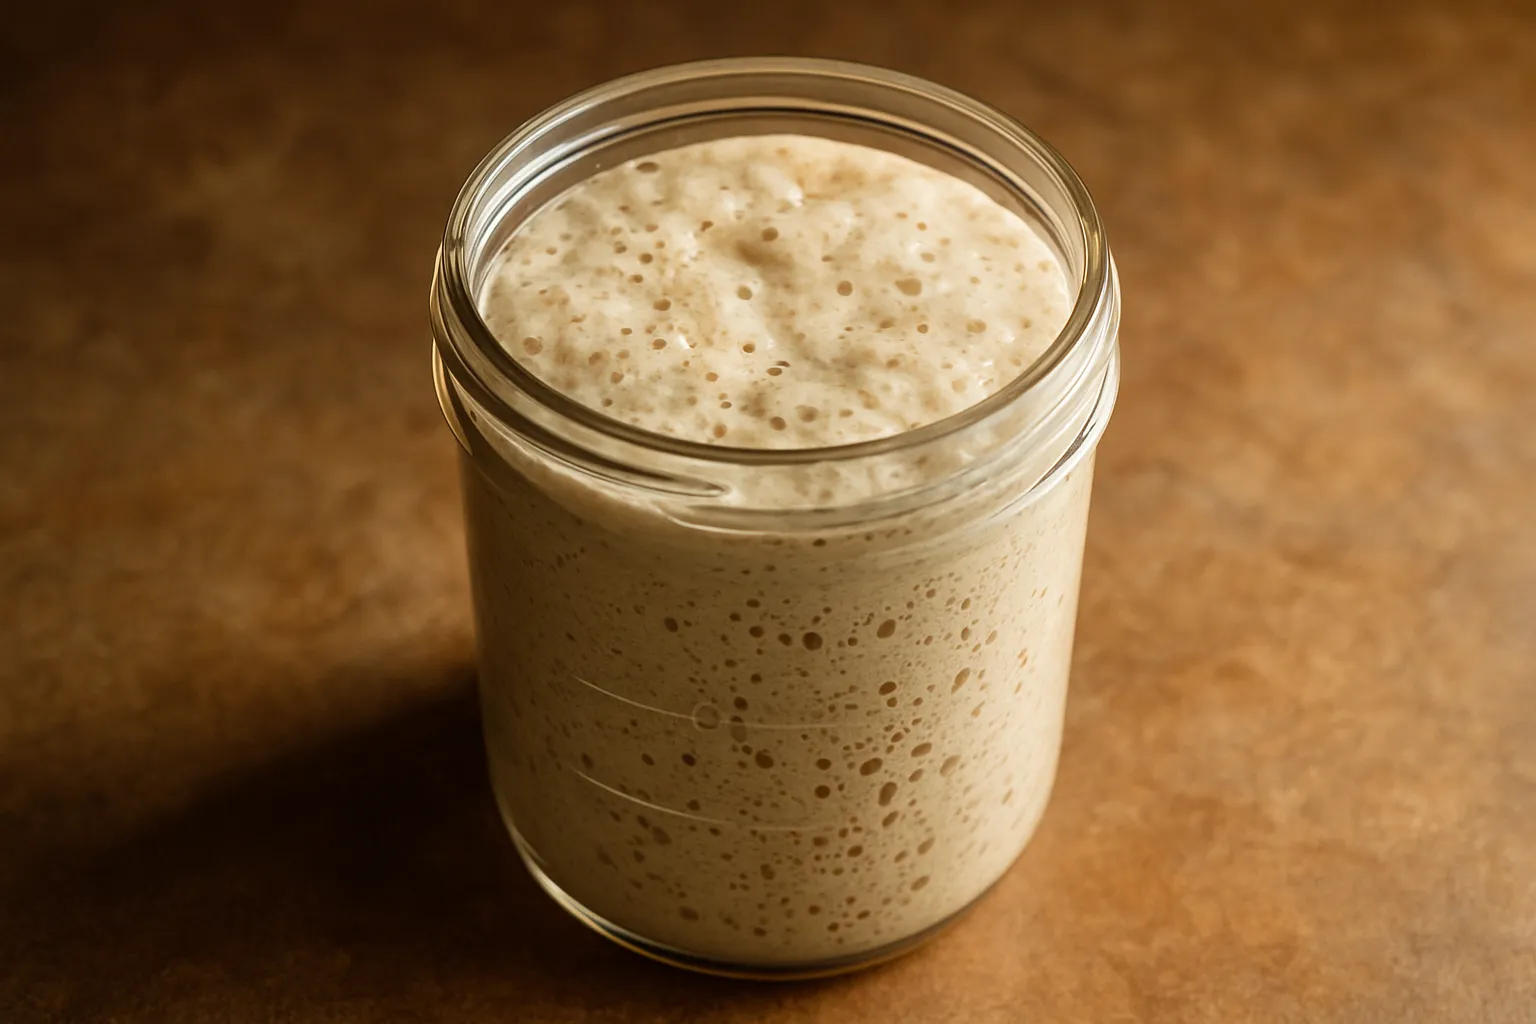
Scroll through enough recipe blogs and you’ll run into two completely contradictory pieces of advice on the same topic: one camp swears you need a splash of pineapple juice or a few crushed grapes to “jumpstart” a starter, while another insists plain flour and water is all you’ll ever need. The pineapple-juice crowd is wrong — wild yeast and the bacteria that ferment it are already sitting on your flour and drifting through your kitchen air, so there’s nothing extra to smuggle in. I learned this the slow way, staring into a mason jar on my counter on day three of my very first attempt and seeing absolutely nothing — not a single bubble. I nearly tipped it down the drain right then. I’m glad I waited, because by day five that same jar had come alive, gone properly sour-smelling, and was practically trying to escape over the rim. If you’re trying to figure out how to build a sourdough starter from scratch, you’ve landed exactly where you need to be. I’ve killed my share of starters, pulled bricks out of the oven instead of loaves, and eventually earned the rises I was chasing — and now I’m going to walk you through this entire seven-day process, one day at a time.
| Lid Type | Effect on Starter | Best Use |
|---|---|---|
| Breathable cloth cover | Prevents hard skin, allows pressure escape, stops condensation buildup | Initial fermentation phase |
| Airtight lid | Traps pressure, invites mold from condensation | Not recommended for active starter |
| Plastic wrap or plate (over cloth) | Prevents drying out | Long-term fridge storage of several weeks |
So What Exactly Is a Sourdough Starter, and Why Bother Making One?
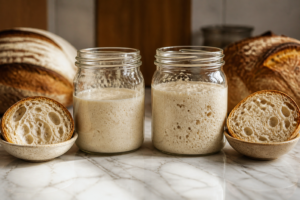
At its core, a starter is just a living colony of wild yeast and beneficial bacteria, kept going on nothing more than flour and water. It’s the age-old power source behind every sourdough loaf, doing the work a packet of commercial yeast does in other recipes — minus the packet. Feed it on a regular schedule and it pays you back with lift, tang, and a depth of flavor that nothing off a grocery-store shelf comes close to matching. What I love most, honestly, is that you end up growing something entirely your own, shaped by your particular kitchen, your water, your hands. No two starters turn out quite alike, and that bit of unpredictability is part of what’s kept me hooked on this craft for so long.
The Container That Finally Fixed My Drying-Out Starter Problem
During those shaky first days with a brand-new culture, you want a vessel that lets you watch what’s happening without popping the lid every few minutes just to check. Get the seal wrong and you’re stuck with one of two failure modes: a dry, crusty rim from too much air exposure, or trapped moisture that invites mold to move in. I’ve made both of those mistakes more times than I care to admit.
What Actually Works
- Go with the 40oz size — roomy enough that overflow during peak rise won’t become a mess, yet small enough that you can read the whole timeline right through the glass instead of guessing.
- The graduated markings etched right into the glass let you eyeball feeding ratios instead of hauling out a scale or doing math before 7am — I can tell my starter has doubled without ever opening the lid.
- The breathable cloth cover seals just enough to stop a hard skin from forming on top, while staying loose enough that pressure never builds and condensation doesn’t collect into the kind of liquid that turns to mold.
Where It Falls Short
- The lid isn’t airtight, so if it’s going into the fridge for several weeks, you’ll want to add a layer of plastic wrap or set a plate over the top — otherwise it’ll dry out entirely.
- Glass also passes along heat too easily — leave the jar on a sunny counter and it’ll warm up far quicker than it would in a shaded cabinet, which can quietly throw off your feeding schedule if you’re not keeping an eye on it.
I almost sent this jar back after day three when my starter looked like it had barely moved, but that was just because I was obsessively checking every hour instead of letting it sit. Premium Pro Sourdough Starter Jar Kit (40oz)
Frequently Asked Questions
Do I need pineapple juice or grapes to start a sourdough starter?
No. Wild yeast and beneficial bacteria are already present on your flour and in your kitchen air, so nothing extra is needed. Plain flour and water alone will work. Sam learned this firsthand when his first starter showed no activity on day three but came alive by day five without any additives.
What size jar is best for a new sourdough starter?
A 40oz jar works best. It’s roomy enough to prevent overflow during peak fermentation rise, yet small enough to read the entire timeline through the glass. Graduated markings let you eyeball feeding ratios without a scale, and you can see when your starter has doubled without opening the lid.
How long does it take to create a sourdough starter?
The process takes seven days. Sam’s first attempt showed absolutely nothing on day three, which nearly discouraged him, but by day five the same jar had come alive and smelled properly sour. Patience through those early days is essential.
Should I use an airtight lid for my starter jar?
A breathable cloth cover works better than an airtight lid during the initial fermentation phase. It prevents a hard skin from forming while allowing pressure to escape and preventing condensation from collecting. For long-term fridge storage of several weeks, add plastic wrap or a plate on top to prevent drying out.
About This Article

Written by Sam Whitaker. Sam Whitaker has been baking sourdough for over a decade, including three years baking commercially, and now works out of a home kitchen in the Pacific Northwest. Sam's eleven-year-old starter, Harold, is the foundation for every recipe and troubleshooting guide on Sourdough Rising — real bread tested over and over until it works. More about this site.
Scope and limits. Sam is a home baker with no formal culinary training. Follow current food safety guidance for storage and handling, particularly with enriched or filled doughs.
Verify this against a primary source
Specifics change, and your situation may differ from the one described here. These are the authorities worth checking directly:
- USDA FoodData Central — flour and ingredient composition data
- FoodSafety.gov — safe handling and storage