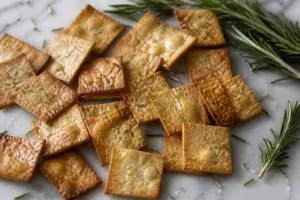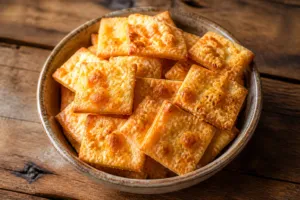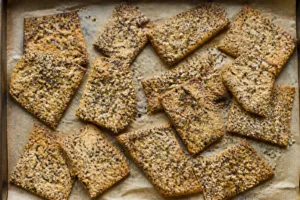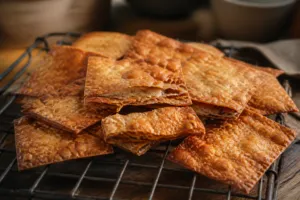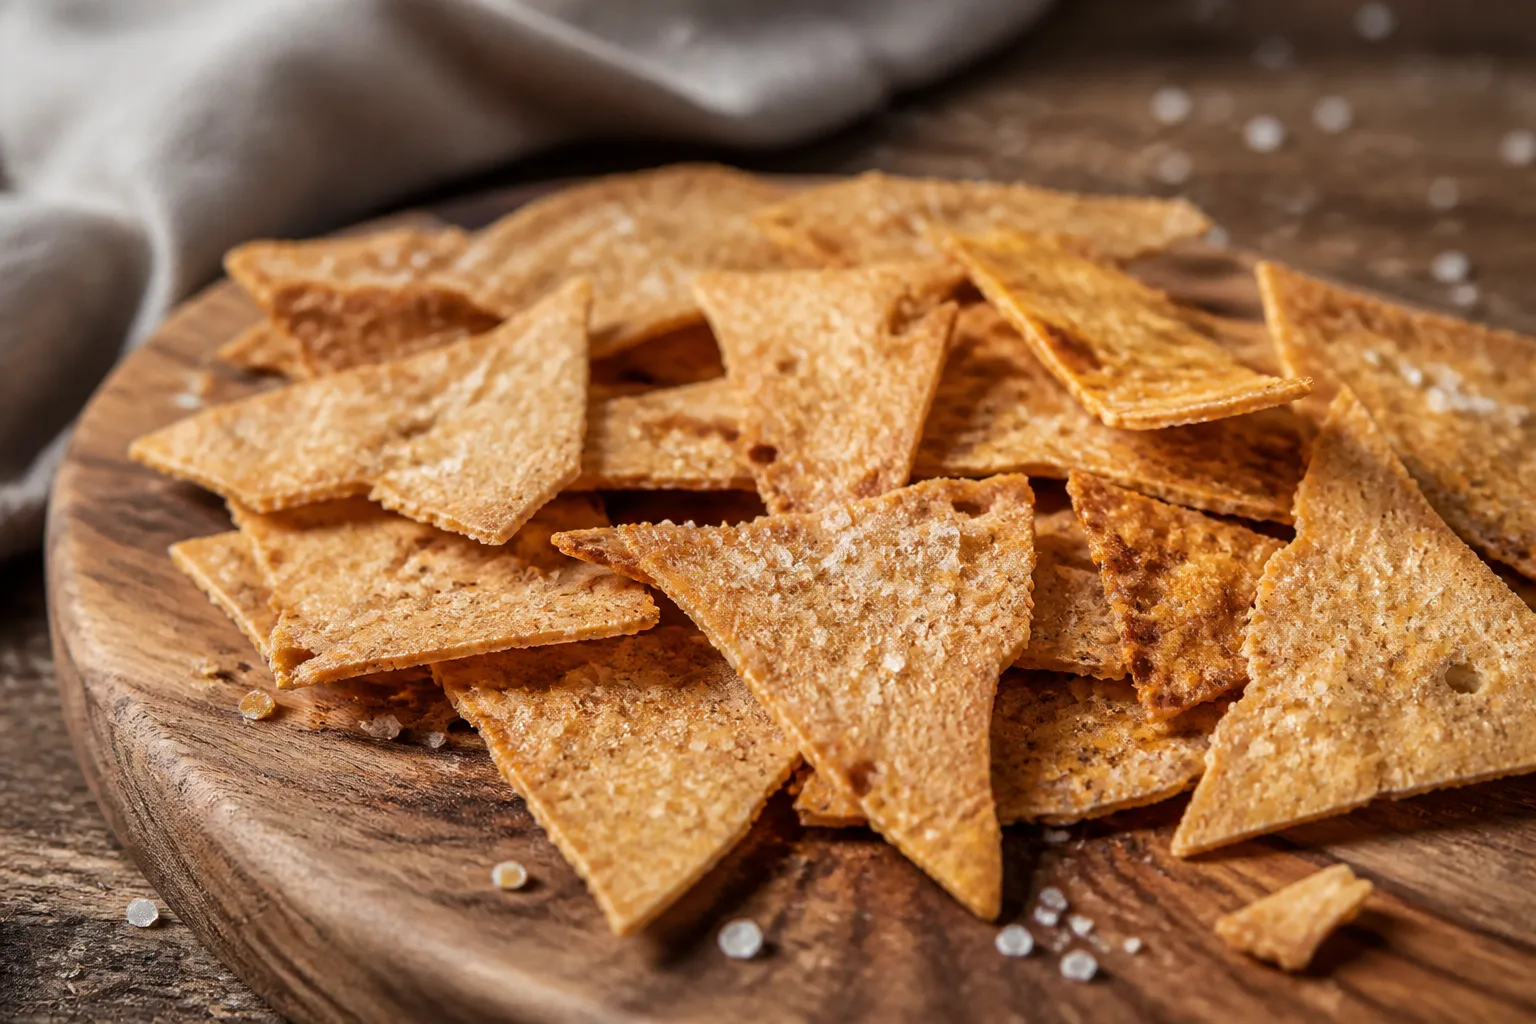
Early on — maybe four or five years into keeping a starter going — I used to scrape half a jar of discard straight into the trash most Sunday mornings, convinced there was nothing worth doing with it. That habit ended the day crackers entered my rotation, and now that same jar of discard is something I get genuinely excited to use instead of something I feel guilty about. Eleven years into this sourdough habit, I’ve spent a few of those years turning out big batches of these crackers weekly for a rotating crowd of neighbors and friends — partly to keep discard from piling up, partly because nothing else on the table vanished as quickly.
What follows is the version I return to again and again — uncomplicated, hard to mess up, and reliably thin, crisp, and tangy in that unmistakable sourdough way. Master this one, and every seasoned or flavored spin-off you dream up afterward comes together with almost no extra effort.
Why Old Discard Actually Makes Better Crackers
Crackers sit in that rare category of bakes where tired, unfed starter genuinely outperforms the bubbly, just-peaked kind. There’s no leavening to worry about here — you want these flat and shatter-crisp, never puffy — so discard’s only real job is contributing flavor and a touch of structure. Discard that’s spent several days chilling in the fridge has picked up exactly the sharp, sour depth that separates a cracker with actual character from a flavorless wafer.
So, oddly enough, the sketchier your discard appears, the better the batch usually turns out. Got a jar three days old with hooch pooling on top? That’s exactly what you want. Just stir that liquid back through and put it to work. Some of the best crackers I’ve ever pulled from my oven came from discard that made me pause before using it.
The Recipe Itself
This batch fills about two full-size baking sheets — plenty for a gathering, or roughly a week’s worth of snacking around my house.
- 200g sourdough discard, any hydration, cold from the fridge is perfectly fine
- 120g flour, all-purpose or whole wheat both work
- 40g olive oil, with extra on hand for brushing the tops
- 5g salt, roughly a teaspoon
- A scattering of flaky salt for the tops
And that’s genuinely all of it — no yeast, no leavening agent, no sugar anywhere in sight. The ratio sticks in your head easily too, and scales without any math headaches: about 5 parts discard to 3 parts flour to 1 part oil, measured by weight.
Walking Through the Method
- Mix the dough. Combine the discard, flour, oil, and salt in a bowl. I use a Danish dough whisk for the initial mix because it brings everything together fast without packing the dough down, then switch to my hands. You want a smooth, slightly stiff dough that pulls away from the bowl. If it’s sticky, add flour a tablespoon at a time; if it’s dry and crumbly, add a teaspoon of water. It should feel like a firm pasta dough.
- Rest. Wrap the dough and let it rest at room temperature for at least 30 minutes, or up to overnight in the fridge. This relaxes the gluten so it rolls thin without snapping back. Skipping this step is the number one reason beginners struggle to roll crackers thin enough.
- Roll thin. Then roll thinner. This is the whole game. Divide the dough in half. On a sheet of parchment, roll each half out as thin as you possibly can — ideally 1 to 2 millimeters, thin enough that you can almost see the parchment through the dough. Crackers that come out soft or bready are almost always rolled too thick.
- Transfer and cut. Slide the parchment with the rolled dough directly onto your baking sheet. Brush lightly with olive oil, sprinkle with flaky salt, then cut into squares or rectangles with a pizza cutter or bench scraper. Cutting before baking means clean snap-apart lines later. I also dock the dough all over with a fork to stop it from puffing.
- Bake. Bake at 350°F (175°C) for 18 to 28 minutes, until evenly golden and crisp. Watch them closely past the 18-minute mark — thin edges brown faster than the centers. If the edges are done but the middle is still pale, pull the outer crackers off and return the sheet for a few more minutes.
- Cool completely. Crackers crisp as they cool. A cracker that seems slightly soft straight out of the oven will usually firm up on the rack. If they’re still bendy once fully cooled, they needed more bake time or were rolled too thick.
Two Errors I See Constantly
Having walked dozens of people through this recipe, I keep watching the same two things trip everyone up.
Going too thick with the rolling pin. I’ll keep repeating this until it sticks: thin dough gives you crisp crackers, and thick dough just gives you tiny loaves of bread. Chewy or soft-centered crackers almost always mean you need to roll thinner — try that fix before touching anything else in the recipe.
Pulling them out too soon. A properly baked cracker is golden all the way across, no pale patches. Anything still light-colored will stay soft no matter how long it cools on the counter afterward — color is the tell you should trust over the timer.
Keeping Them Crisp
Once fully cooled, these hold in a sealed container for about two weeks — not that they typically survive that long around here. Should humidity soften them up at any point, a brief 5-minute stint in a 300°F oven restores that snap immediately.
Equipment Worth Having on Hand
Part of the appeal of crackers is how little equipment they actually demand. Still, a handful of items make the process noticeably smoother.
Top of the list is a solid wooden rolling pin — getting the dough thin and consistent matters most here, and a cheap, flimsy pin will only fight you the whole way. I bake on a pair of sturdy half-sheet pans heavy enough to resist warping in the oven, lined with quality parchment for even browning and easy release. A bench scraper handles clean, straight cuts, and quality flaky salt scattered on top is the small finishing touch that makes homemade crackers taste store-bought fancy.
For anyone wanting to go further with discard recipes beyond crackers, Elaine Boddy’s book Whole Grain Sourdough at Home devotes an entire section to the subject and earns a spot on the shelf.
Learn This Once, Bake It for Life
Every other cracker recipe you’ll find here builds directly on this one. Make the plain version a few times, get a feel for the right thinness and the right bake color, and after that you can fold in seeds, cheese, herbs, or spice without changing the technique one bit. Start with this base, get comfortable with it, and tossing discard down the drain becomes a thing of the past.
The Whisk That Finally Smooths Out Discard Clumps
Discard fresh out of the jar tends to be dense and uncooperative, packed with small flour clumps that won’t hydrate evenly once they hit your cracker dough. An ordinary whisk mostly just pushes those lumps around the bowl — you need something with actual force behind it to break them down before you start mixing.
Where it earns its keep
- That flat, broad head slices through dense discard in roughly 30 seconds flat — much quicker than dumping lumpy discard straight into your dough and hoping mixing alone smooths it out.
- There’s a mild aerating effect too, which nudges the yeast and bacteria into slightly more activity — enough to lend your crackers a touch more rise and a bit more textural complexity.
- Thanks to the handle’s length and leverage, your wrist isn’t the one straining to break down a stiff, several-day-old starter — the tool takes on that effort instead.
Where it falls short
- It does add another item to wash, and those thin wires will hold onto dried discard bits if you don’t rinse it right away.
- When your discard is thin and freshly fed rather than thick and neglected, this tool is frankly unnecessary — a standard whisk handles it just fine.
I nearly gave up on this tool after my first try—I was pressing down too hard instead of letting the flat head do a quick figure-eight motion—but once I changed my technique, it became a weekly non-negotiable. Danish dough whisk
Frequently Asked Questions
Can I use fresh sourdough starter for these crackers?
Crackers actually perform better with old discard. Discard that’s spent several days chilling in the fridge has picked up the sharp, sour depth that separates a cracker with actual character from a flavorless wafer. The sketchier your discard appears—even with hooch pooling on top—the better the batch usually turns out.
Why are my sourdough crackers coming out soft instead of crisp?
Soft crackers almost always mean you rolled the dough too thick or didn’t bake them long enough. Roll as thin as possible—ideally 1 to 2 millimeters—and bake at 350°F for 18 to 28 minutes until evenly golden. A properly baked cracker is golden all the way across with no pale patches.
How long do homemade sourdough crackers stay crisp?
Once fully cooled, these hold in a sealed container for about two weeks. Should humidity soften them up at any point, a brief 5-minute stint in a 300°F oven restores that snap immediately.
What’s the exact recipe for sourdough discard crackers?
Mix 200g sourdough discard, 120g flour, 40g olive oil, and 5g salt into a smooth, slightly stiff dough. Rest at least 30 minutes. Roll as thin as possible on parchment, brush with oil, sprinkle flaky salt, cut into squares, dock with a fork, then bake at 350°F for 18 to 28 minutes until evenly golden.
About This Article

Written by Sam Whitaker. Sam Whitaker has been baking sourdough for over a decade, including three years baking commercially, and now works out of a home kitchen in the Pacific Northwest. Sam's eleven-year-old starter, Harold, is the foundation for every recipe and troubleshooting guide on Sourdough Rising — real bread tested over and over until it works. More about this site.
Scope and limits. Sam is a home baker with no formal culinary training. Follow current food safety guidance for storage and handling, particularly with enriched or filled doughs.
Verify this against a primary source
Specifics change, and your situation may differ from the one described here. These are the authorities worth checking directly:
- USDA FoodData Central — flour and ingredient composition data
- FoodSafety.gov — safe handling and storage