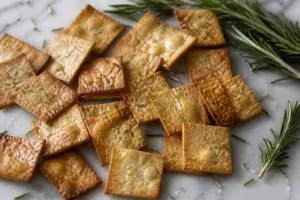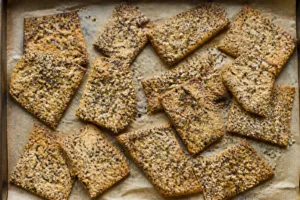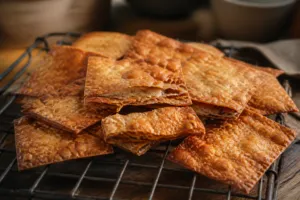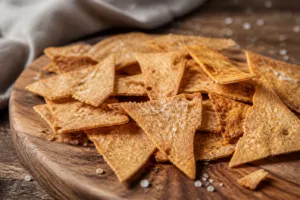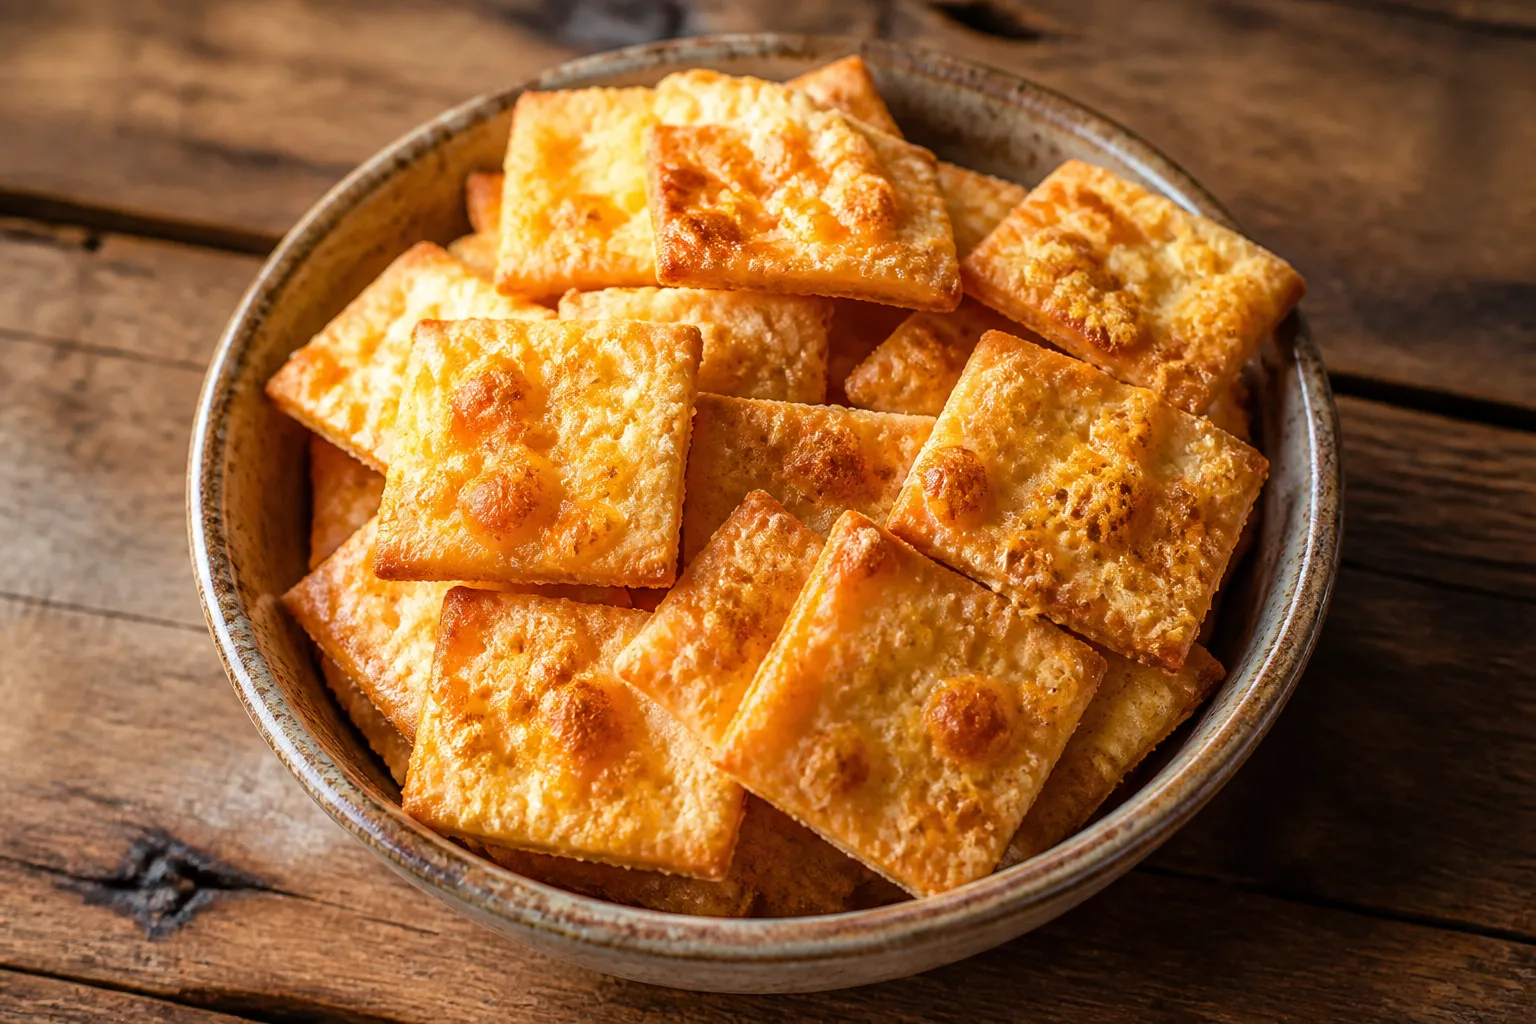
Cheese doesn’t just add flavor to a cracker dough — that’s the myth that trips up nearly every home baker’s first attempt, mine included. When I first tried building sourdough cheese crackers to mimic the boxed ones I grew up snacking on, I blew past the target entirely: what came out of my oven was sharper, crunchier, and tasted like genuine aged cheddar rather than cheese-flavored dust. The tray was empty by dinner. Once I started turning these into weekly batches for neighbors and friends, they became a fixture of my holiday baking rotation, made in huge trays at a time. That very first batch nailed the cheddar flavor, sure, but the thickness was all over the map — charred on one side, still pale on the other — because I hadn’t yet grasped how fast cheese pushes browning along, or how dramatically the fat in it reshapes the dough’s behavior. Below is how I dial it in now, since cheese in a cracker dough plays by its own rules.
Cheese Rewrites the Dough’s Fat and Moisture Math
Tossing cheese into the mix isn’t a bonus flavor add-on with no consequences — it shifts the entire fat-to-moisture ratio of your dough. Cheese carries its own fat and water content, which means something else in the recipe has to give, or you’re left with a slack, oily dough that refuses to crisp up. Most recipes gloss right over this adjustment.
My personal rule of thumb: whenever cheese goes in heavy-handed, I trim the olive oil down by about half, since the fat rendering out of the cheese picks up that slack. What you end up with is a dough that’s still plenty rich, yet firm enough to roll out thin.
The Ingredient List
- 200g sourdough discard
- 120g all-purpose flour
- 100g sharp cheddar, grated fine
- 20g olive oil or melted butter (half the standard amount — the cheese supplies the rest of the fat)
- 5g salt
- Optional: 1/4 teaspoon cayenne pepper or smoked paprika, if you want some heat
Reach for the Sharpest Cheese in the Fridge
This single decision matters more than any other. Baking mutes cheese flavor considerably, so starting with a mild cheddar guarantees a cracker that tastes like not much at all. I reach for the sharpest, driest aged cheddar I can track down — the more aged and dried-out, the better the outcome. Aged cheeses also carry less water, which lets the cracker crisp properly. Mild cheese, young cheese, or the pre-shredded bagged kind (dusted with anti-clumping starch) will all leave you with a weaker cracker.
Grate it fine. Chunky shreds leave uneven pockets that melt into greasy patches and tear through the thin sheet of dough. Fine shreds spread the cheese evenly, so no bite is cheese-light.
Other Firm Cheeses Worth Experimenting With
- Aged cheddar: the go-to option, delivers the sharpest bite
- Parmesan or Pecorino: deeply savory, naturally dry, crisps up beautifully — pairs wonderfully with cracked black pepper
- Gruyère: nutty with a hint of sweetness, shines alongside a dash of mustard powder
- Aged Gouda: nearly caramel-toned, produces a more sophisticated cracker
Steer clear of soft, wet varieties — mozzarella, fresh cheeses, anything creamy. They’ll drown the dough in moisture and prevent any real crisping.
How to Make Them
- Combine the discard, flour, grated cheese, reduced oil, salt, and any spice you’re using into a firm dough. Expect it to feel stiffer and tackier than a plain cracker dough — that’s just the cheese talking. Sprinkle in an extra teaspoon of flour if it’s clinging to your hands.
- Let it rest for 30 minutes, or pop it in the fridge — chilled cheese dough actually rolls out better, since the butterfat firms up and behaves.
- Roll it out thin, somewhere between 1 and 2mm, sandwiched between sheets of parchment. Cheese dough tends to be a touch more fragile, so ease up on the pressure.
- Slice into small squares using a pizza cutter or bench scraper. If you want the true Cheez-It look, press a single hole through the middle of each square with a skewer or chopstick before it hits the oven.
- Bake at 350°F for somewhere between 15 and 22 minutes. Cheese crackers color faster than the plain version — pull the tray once they hit a deep golden shade, before the edges darken, or the cheese turns bitter on you.
- Let them cool all the way. They shift from soft and pliable to shatter-crisp as the butterfat solidifies.
Why Your Cheese Crackers End Up Oily
An oily result almost always traces back to one of two things: you skipped trimming the oil to account for the cheese’s own fat, or the oven ran too cool and slow, letting fat seep out rather than crisp in. Reduce the added fat whenever cheese enters the dough, and bake at an honest 350°F. Some oil beading on the parchment mid-bake is expected; a cracker that’s still greasy once it’s cooled is not.
Keeping Them Fresh and How to Serve
These will hold for roughly a week in a sealed container, a touch shorter than plain crackers thanks to the dairy content. They’re at their best within the first few days. Pair them with soup, lay them out on a cheese board, or — my personal favorite — eat them still faintly warm from the oven, right when the cheese flavor is loudest.
Worth More Than What’s in the Box
I’m not going to argue these come together faster than tearing open a box — they don’t. But they deliver the taste of real, sharp, aged cheese and snap the way a genuinely good cracker should, all while putting your extra discard to good use instead of tossing it. Double the batch around the holidays and see how quickly it disappears.
Why a Wooden Pin Outperforms Marble When Cheese Is in the Dough
Cheese dough clings more than a standard sourdough dough, and a chilly marble pin grips it just enough to throw off your rolling rhythm right when you need an even sheet across the board. A wooden pin moves differently across the surface — it lets you sense what the dough’s doing instead of wrestling it into submission.
Where It Delivers
- The faint texture on its surface offers just enough grip to stop the dough sliding around while you work it down to that crucial thin, even sheet
- Wood holds closer to room temperature than marble or granite ever will, so you skip the condensation and extra stick that builds up every few rolls
- Its lighter weight is forgiving — you can press evenly and gently without accidentally flattening one edge more than the rest, the way a heavier pin tends to do
Where It Falls Short
- It demands real upkeep — hand-wash it only, and dry it fully, or the wood warps and your rolling surface goes uneven
- A dough that’s too warm or too wet will still stick to wood just fine; it won’t rescue you from a technique problem
I nearly gave up and went back to my marble the third time I forgot to dry the pin properly and it arrived warped—but that was user error, not the tool’s fault. If you’re rolling hundreds of crackers in batches, a wooden rolling pin will change how smoothly the work goes.
Frequently Asked Questions
Why do my sourdough cheese crackers turn out oily?
An oily result traces back to skipping the oil reduction or baking at too cool a temperature. Reduce the added fat whenever cheese enters the dough, and bake at an honest 350°F. Some oil beading on parchment mid-bake is expected; a cracker still greasy once cooled is not.
What cheese should I use for sourdough crackers?
Reach for the sharpest, driest aged cheddar you can find—the more aged and dried-out, the better. Baking mutes cheese flavor considerably, so mild cheese guarantees weak crackers. Parmesan, Pecorino, Gruyère, and aged Gouda also work beautifully. Avoid soft, wet varieties like mozzarella, which drown the dough.
How long do homemade cheese crackers stay fresh?
They’ll hold for roughly a week in a sealed container, a touch shorter than plain crackers thanks to the dairy content. They’re at their best within the first few days. Eat them still faintly warm from the oven when the cheese flavor is loudest.
What temperature and time for baking cheese crackers?
Bake at 350°F for somewhere between 15 and 22 minutes. Cheese crackers color faster than plain ones, so pull the tray once they hit a deep golden shade, before the edges darken or the cheese turns bitter. Let them cool all the way to reach full crispness.
About This Article

Written by Sam Whitaker. Sam Whitaker has been baking sourdough for over a decade, including three years baking commercially, and now works out of a home kitchen in the Pacific Northwest. Sam's eleven-year-old starter, Harold, is the foundation for every recipe and troubleshooting guide on Sourdough Rising — real bread tested over and over until it works. More about this site.
Scope and limits. Sam is a home baker with no formal culinary training. Follow current food safety guidance for storage and handling, particularly with enriched or filled doughs.
Verify this against a primary source
Specifics change, and your situation may differ from the one described here. These are the authorities worth checking directly:
- USDA FoodData Central — flour and ingredient composition data
- FoodSafety.gov — safe handling and storage