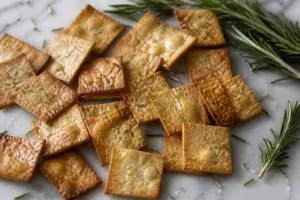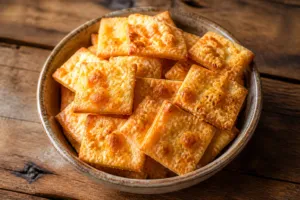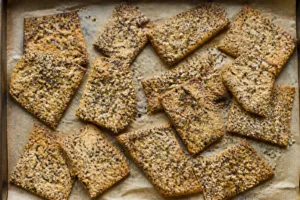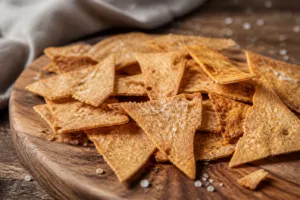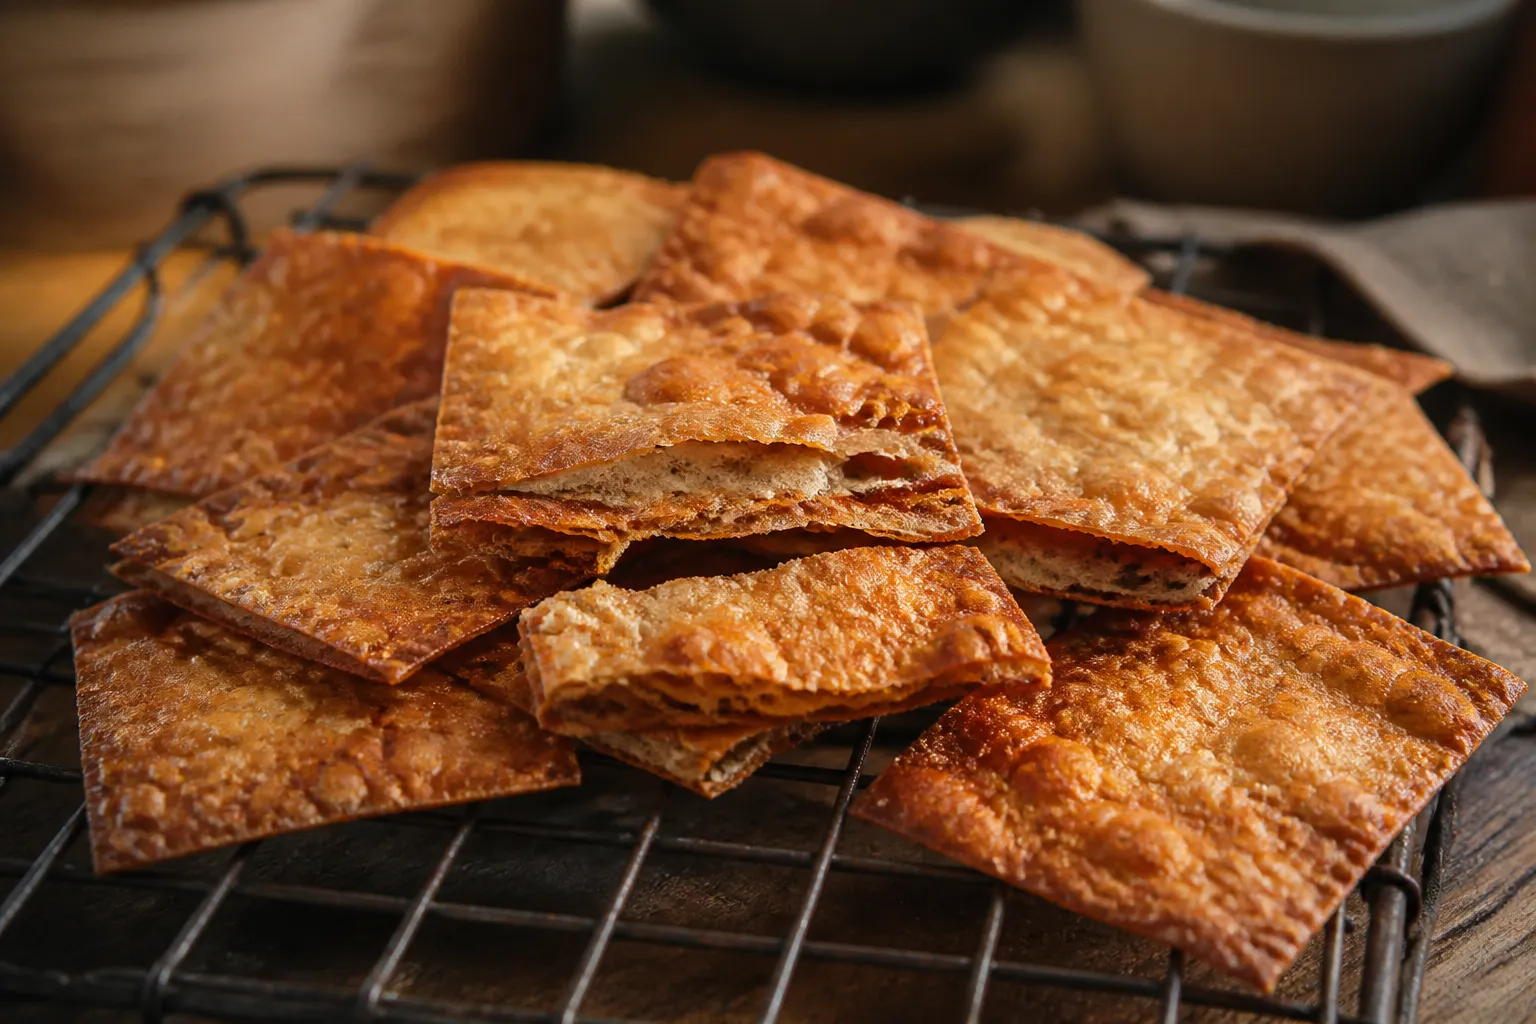
Why do your sourdough crackers bend instead of snapping cleanly in half? Nine times out of ten, it traces back to one of a handful of fixable habits — and I’ve made every single one of these mistakes myself. Across 11 years of sourdough baking, including a stretch running a small home microbakery where I turned out big cracker batches every week for a regular crowd of neighbors and friends who would absolutely notice if I showed up with a soft, bendy batch, I’ve pinned down exactly what separates a cracker that shatters clean from one that just folds. Here’s the full breakdown.
Reason One: Your Dough Slab Is Too Thick
This single issue accounts for roughly 70 percent of soft-cracker cases. A cracker only works when it’s rolled thin. Once your dough sits thicker than about 2 millimeters, the center has no chance to fully dry out before the surface starts to scorch, leaving you with a doughy, bread-like middle no matter how long it bakes.
Fix it by rolling far thinner than instinct tells you to. Aim for a sheet so thin you can nearly make out the parchment underneath. If the dough keeps springing back before you reach that thinness, that’s a sign the gluten needs more relaxing — give it a 30-to-60-minute rest before you pick the rolling pin back up.
Reason Two: You Pulled Them From the Oven Too Soon
Crispness happens because water escapes the dough while it bakes. Yank the crackers while they still look pale and there’s moisture trapped inside, which means softness even once they’ve cooled all the way down. Bake until the color is fully, uniformly golden — not blond, not pale at the center. Let color, not the clock, tell you when they’re finished.
Since thin edges brown faster than a thicker center, I typically pull the already-golden outer crackers off the tray first and slide the pan back in for another 3 to 5 minutes to finish the middle ones. Uneven rolling means uneven doneness, so treat the batch in stages if you have to.
Reason Three: You Tested Them While Still Hot
A cracker isn’t finished crisping the second it leaves the oven. Straight off the sheet it’s still warm and a bit flexible; the starches only fully set as it cools, and that’s when the real crunch actually shows up. Never judge texture on a hot cracker — wait for room temperature every single time. If a cracker still gives instead of snapping cleanly once it’s fully cooled, it genuinely needs more oven time — circle back to reasons one and two.
Reason Four: Your Dough Had Too Much Moisture
A wetter discard makes for a stickier dough — one that resists rolling thin and holds extra water that has to bake off later. When your dough feels tacky or slack in your hands, work in more flour until it firms up into something smooth, closer to pasta dough. A firmer dough rolls out thinner and crisps far more reliably.
Reason Five: You Skipped the Docking Step
Docking simply means poking the rolled-out dough all over with a fork, which gives trapped steam an escape route while it bakes. Skip it, and the dough traps that steam, puffing into tiny pillows with soft centers. Prick the entire sheet generously before it goes into the oven — the step takes maybe 20 seconds and makes a genuinely noticeable difference.
Reason Six: Your Oven Temperature Is Lying to You
A lot of home ovens actually run 15 to 25 degrees cooler than whatever the dial claims. If your bake times keep stretching way past what the recipe says and the crackers still won’t crisp, grab a cheap oven thermometer and find out the truth. My own crackers bake at a genuine 350°F; an oven running cool means you’re effectively baking at 325°F while wondering why crispness never shows up.
Reason Seven: Storage Went Wrong (or Humidity Got Involved)
Even a flawlessly baked batch will soften again if it cools inside a humid kitchen or gets sealed into a container while any warmth remains. Let crackers cool the whole way on a rack before storing them, and use a container that’s genuinely airtight. Leftover warmth turns into condensation, and condensation undoes every bit of crispness you worked for.
The Quick Fix for Crackers That Went Soft
Ended up with a soft batch, or watched a good one go limp in storage? Nearly every time, it’s salvageable. Lay the crackers out in a single layer on a baking sheet and slide them into a 300°F (150°C) oven for 5 to 8 minutes, then let them cool completely before touching them. That extra bake drives off the leftover moisture. I’ve brought crackers back after they’d gone soft sitting a full week, and they snapped like they’d just come out of the oven.
My Go-To Checklist for Crisp Crackers
- Roll to 1–2mm — thin enough that you can nearly see through it
- Prick the whole surface with a fork before baking
- Bake until fully and evenly golden — pale means it’s not done
- Pull the browned edge pieces early; give the centers extra time
- Let everything cool completely before you taste-test or pack it away
- Store in a truly airtight container; re-crisp at 300°F whenever needed
The Tools That Remove the Guesswork
Most crispness problems trace back to thickness and even heat. A solid wooden rolling pin lets you roll genuinely thin and even, which fixes the most common cause on its own. Heavy half-sheet baking pans that don’t warp give you even browning instead of hot spots, and good parchment paper promotes consistent bottom contact so the centers crisp at the same rate as the edges.
When your crackers bake up unevenly thick — the root cause of patchy crisping — a bench scraper earns its keep, letting you square off and portion the dough evenly before you even pick up the rolling pin, so you’re starting from a level slab.
Crisp Is a Skill You Build, Not Something You Get Lucky Into
Once it clicks that crispness is nothing more than moisture leaving a thin sheet of dough, the whole mystery falls away. Roll it thin, dock it, bake for color, let it cool fully. Nail those four steps and soft crackers become a thing of the past — and on the rare occasion one slips through anyway, you now know exactly how to bring it back.
| Problem | Cause | Fix |
|---|---|---|
| Soft, bendy crackers | Dough slab thicker than 2mm | Roll thin enough to nearly see parchment; rest 30–60 minutes if dough springs back |
| Crackers won’t crisp | Pulled from oven too soon | Bake until fully, uniformly golden; pull golden edges first, return center 3–5 minutes |
| Soft after cooling | Tested while still hot | Wait for room temperature before judging texture |
| Dough resists rolling thin | Too much moisture in dough | Work in more flour until dough firms to pasta-dough consistency |
| Soft centers, puffy texture | Skipped docking step | Prick entire sheet with fork before baking |
| Long bake times, no crispness | Oven temperature runs cool | Use oven thermometer to verify actual temperature |
| Crispy batch goes limp in storage | Sealed while warm or high humidity | Cool completely on rack; store in airtight container |
| Previously soft crackers | Moisture trapped in batch | Bake at 300°F for 5–8 minutes, cool completely |
The Rolling Pin That Actually Taught Me What Thin Should Feel Like
Most home bakers eyeball their cracker dough, and that habit alone is exactly why you end up with a slab sitting at 3/16″ instead of the 1/8″ it actually needs to be. A wooden rolling pin with even weight distribution and a long barrel gives you consistent pressure across the entire sheet, so you can actually feel and see the moment you’ve hit the right thickness.
Where it delivers
- That long barrel means one continuous pass instead of constant repositioning, so you don’t end up with thick spots sitting next to thin ones in the same sheet.
- Wood transfers heat far less than metal would, keeping the dough cool and relaxed instead of warming unevenly while you roll it out.
- The heft alone does a chunk of the work for you — you’re steering more than pressing, which cuts down on the uneven thickness that creeps in once your arms get tired.
Where it falls short
- Skimp on flouring your surface and the dough grabs onto the barrel, forcing you to stop and wipe it clean every couple of passes — which kills your rhythm.
- It won’t replace actual measuring — you still need a thickness guide or visual marker for your first several batches, or you’ll fall back on the same “looks about right” instinct that gave you soft crackers in the first place.
I almost gave up on this one after my first batch because I was still rolling thick out of habit, convinced the pin was the problem. But once I actually paid attention to how thin the dough *felt* under the barrel, everything changed. Grab a wooden rolling pin and use it alongside a thickness guide until your hands learn the real difference.
Frequently Asked Questions
Why are my sourdough crackers soft instead of crispy?
Roughly 70 percent of soft crackers come from dough rolled thicker than about 2 millimeters. Thicker centers can’t fully dry out before the surface scorches, leaving a doughy middle. Roll thin enough that you can nearly see through the parchment underneath, and if dough springs back, rest it 30 to 60 minutes before rolling again.
How do I know when sourdough crackers are fully baked?
Bake until the color is fully, uniformly golden — not blond or pale at the center. Since thin edges brown faster than thicker centers, pull the already-golden outer crackers off first and slide the pan back in for another 3 to 5 minutes to finish the middle ones. Let color, not the clock, guide you.
Should I test cracker crispness right out of the oven?
No. A cracker straight off the sheet is still warm and flexible; starches only fully set as it cools, and that’s when real crunch shows up. Wait for room temperature every single time before judging texture. If it still gives instead of snapping cleanly once fully cooled, it needs more oven time.
Can I make soft crackers crispy again?
Yes. Lay soft crackers in a single layer on a baking sheet and bake at 300°F for 5 to 8 minutes, then let them cool completely before touching them. This drives off leftover moisture. Sam has brought crackers back after they’d gone soft sitting a full week, and they snapped like freshly baked.
About This Article

Written by Sam Whitaker. Sam Whitaker has been baking sourdough for over a decade, including three years baking commercially, and now works out of a home kitchen in the Pacific Northwest. Sam's eleven-year-old starter, Harold, is the foundation for every recipe and troubleshooting guide on Sourdough Rising — real bread tested over and over until it works. More about this site.
Scope and limits. Sam is a home baker with no formal culinary training. Follow current food safety guidance for storage and handling, particularly with enriched or filled doughs.
Verify this against a primary source
Specifics change, and your situation may differ from the one described here. These are the authorities worth checking directly:
- USDA FoodData Central — flour and ingredient composition data
- FoodSafety.gov — safe handling and storage