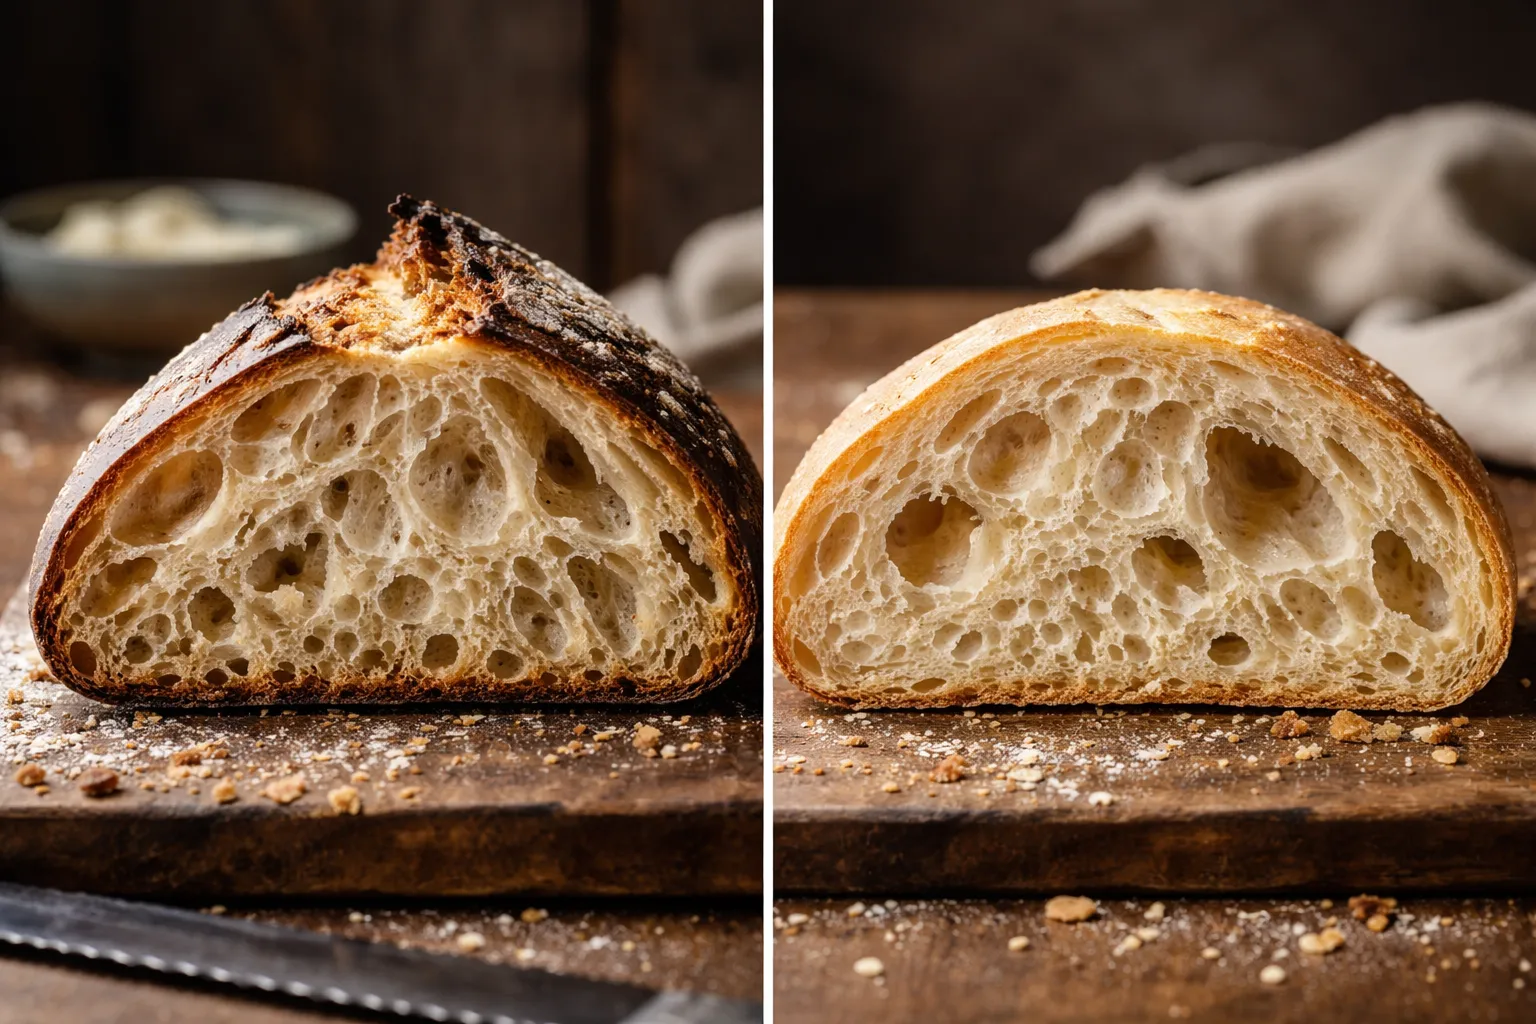
Here’s a claim that ruffles feathers in every sourdough forum I’ve ever lurked in: a thick crust is almost never a “too hot oven” problem, and a thin, floppy crust is almost never a “not enough steam” problem. Most of the time it’s the opposite of whatever everyone assumes. I learned this the hard way after pulling a loaf from my Dutch oven, setting it triumphantly on the cooling rack, doing a ridiculous little happy-dance around my kitchen — and then knocking the whole thing straight off the rack. It hit my tile floor with a thud that sounded uncomfortably like a bowling ball landing, bounced twice, and skidded clean under the stove. “Thick” doesn’t even cover it. That crust was closer to armor plating. So if you’ve ever wrestled with a sourdough crust that’s either too thick or too thin, stick around — the explanation might surprise you, and yes, my floor survived.
Crust trouble ranks near the top of my list of infuriating sourdough moments, mostly because it shows up right at the finish line. By that point you’ve already sat through a full day of bulk fermentation, babied your folds, shaped the dough with a steady hand — and then the oven hands you a loaf that either cracks like glass under a knife or sags like damp cardboard the second you glance at it. Neither outcome feels good. The reassuring part is that both are entirely solvable once you trace the actual cause, and that’s the whole point of what follows.
| Thermometer Feature | Advantage | Limitation |
|---|---|---|
| Dial readability | Big enough to check through Dutch oven lid | N/A |
| Rack placement | Sits securely instead of swaying | Clip can slide if placed carelessly |
| Temperature detection | Reveals genuine temperature drift from dial | Only reports exact spot where clipped |
| Steam management | No need to crack door open mid-bake | Cannot detect hot spots elsewhere in oven |
How a Cheap Thermometer Cleared My Dutch Oven of All Blame
A helmet-thick crust usually has nothing to do with your Dutch oven at all — the real culprit is the actual air temperature inside your oven, which can be shockingly different from the number on the dial. I fiddled with steam levels and scoring patterns for months without realizing my oven was quietly running 50°F cooler than I’d set it, effectively poaching my crust instead of blasting it with the heat needed to sear.
Where this earns its keep
- Gives an honest enough readout to expose genuine temperature drift — mine revealed my oven was falling well short of the 500°F setting, which suddenly made sense of every crust issue I’d been having.
- Sits securely on the oven rack instead of swaying around, so once you’ve preheated for about 10 minutes, you can actually trust the number instead of watching it drift.
- Has a dial big enough to check right through the Dutch oven lid, meaning you’re not cracking it open mid-bake and letting all your hard-earned steam vanish.
Where it falls short
- It stays silent on hot spots elsewhere in the oven — it only reports on the exact spot where it’s clipped, so uneven browning can still sneak in even when your overall temp checks out.
- That hanging clip isn’t the sturdiest — get careless with placement and it can slide, and suddenly you’re reading the Dutch oven’s own heat rather than the true air temperature around it.
I almost returned it after my first bake because the temperature reading seemed wrong—until I had my oven professionally calibrated and realized the thermometer was right and my oven dial was a liar. Rubbermaid Commercial Stainless Steel Oven Thermometer
Frequently Asked Questions
Why is my sourdough crust so thick and hard?
A thick, helmet-like crust usually isn’t caused by your Dutch oven—it’s typically your oven temperature running cooler than the dial shows. If your oven is falling well short of your set temperature, like running 50°F cooler, it effectively poaches the crust instead of searing it properly. An oven thermometer revealed my oven was running 40 degrees too cold, which explained all my crust problems.
How can I check if my oven temperature is accurate?
Use an oven thermometer clipped to your rack to get an honest readout of actual air temperature inside your oven. After preheating for about 10 minutes, you can trust the reading instead of relying on your oven dial. I discovered my oven was running 50°F cooler than I’d set it, which was shocking but solved my crust issues immediately once I knew the truth.
What’s the advantage of a dial oven thermometer you can read through glass?
A dial thermometer with a face visible through your Dutch oven lid lets you check temperature without cracking the door open and losing hard-earned steam during baking. My Rubbermaid thermometer’s dial is big enough to read right through the lid, which means I can monitor actual air temperature throughout the bake without venting precious moisture.
Can an oven thermometer detect hot spots in my oven?
No, an oven thermometer only reports temperature at the exact spot where it’s clipped, so uneven browning can still happen even when overall temperature checks out. It won’t expose hot spots elsewhere in your oven, though it will reveal genuine temperature drift between your dial and actual air temperature inside.
About This Article

Written by Sam Whitaker. Sam Whitaker has been baking sourdough for over a decade, including three years baking commercially, and now works out of a home kitchen in the Pacific Northwest. Sam's eleven-year-old starter, Harold, is the foundation for every recipe and troubleshooting guide on Sourdough Rising — real bread tested over and over until it works. More about this site.
Scope and limits. Sam is a home baker with no formal culinary training. Follow current food safety guidance for storage and handling, particularly with enriched or filled doughs.
Verify this against a primary source
Specifics change, and your situation may differ from the one described here. These are the authorities worth checking directly:
- USDA FoodData Central — flour and ingredient composition data
- FoodSafety.gov — safe handling and storage