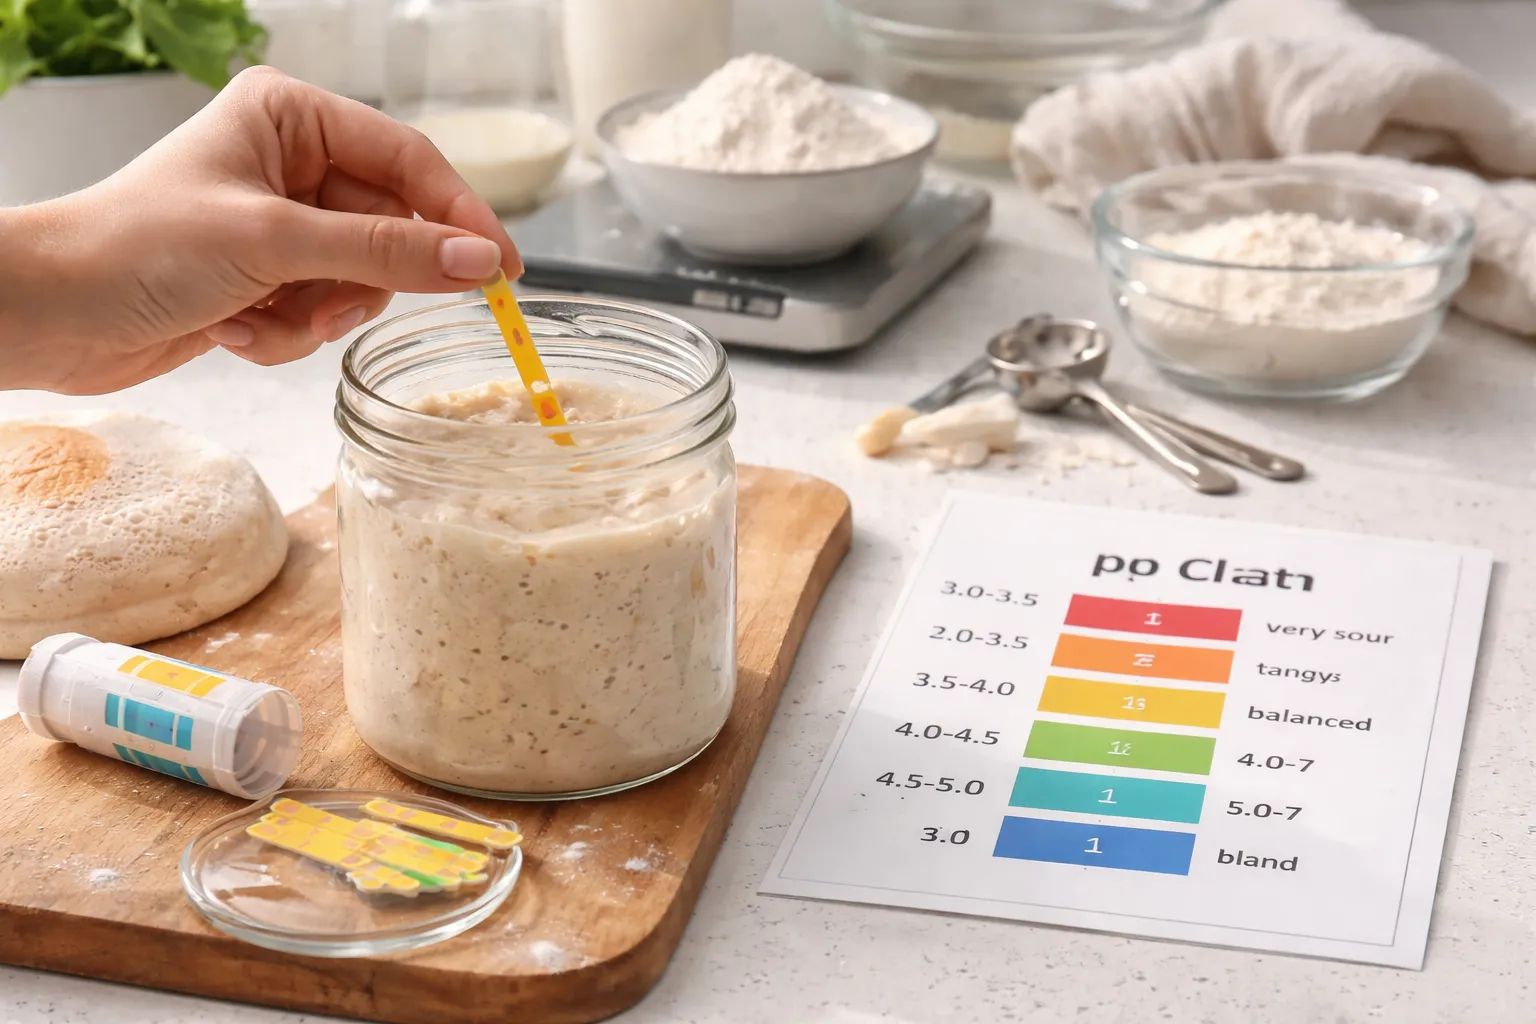
No recipe card on the internet will warn you that your starter has a number attached to it — a real, measurable number that predicts whether your loaf ends up tasting complex or like something peeled off a locker room floor. Mine certainly didn’t warn me, which is how I ended up handing my mother-in-law a loaf so aggressively sour it made her eyes water. She was gracious about it, which honestly stung worse than if she’d just said something. That dinner is the reason I finally sat down and worked out what pH sourdough bread acidity actually means, and it rewired how I approach every single bake since.
Before that disaster, I’d been running my whole process on instinct and hope. Bubbles in the jar, a decent bounce on the poke test, and I called it good. Turns out my instincts were confidently, repeatedly wrong. The piece I was missing was this: sourness in a loaf isn’t some mysterious mood the dough happens to be in — it’s straightforward chemistry, and you can put an actual figure on it. The moment I started tracking acidity instead of eyeballing it, my loaves stopped being a coin flip and started being bread I’d genuinely want to serve people again.
Why Tracking Acidity Changes How Your Sourdough Turns Out
Strip it down to basics: your loaf runs on a living colony of organisms doing their thing inside that jar. Wild yeast and lactic acid bacteria share the same space in your starter, and as the bacteria chew through the flour’s sugars, they release acid — mostly lactic acid, which reads mild and yogurt-ish, and acetic acid, which hits sharp and vinegar-forward. Whichever one ends up dominating decides whether your finished loaf reads as pleasantly layered or punches you in the face.
pH is nothing more than the scale — running zero to fourteen — that tells us how acidic something is. Plain water sits dead center at 7. Drop below that number and you’re in acidic territory. A starter that’s alive and active usually clocks in somewhere between 3.5 and 4.5. By the time bulk fermentation wraps up, you want your dough landing around 4.1 to 4.5 — that’s the window where flavor gets interesting without tipping into locker-room territory. Looking back at my infamous loaf, I’m fairly certain it sat far too long in an overly warm kitchen, dragging the pH lower than it should’ve gone and letting acetic acid take the wheel. Case closed, three years too late.
Acidity isn’t just a flavor dial, either — it shapes your gluten network, your crust’s color, and whether your loaf can even hold its own shape. Push the pH too low and you get proteolytic breakdown, which is a fancy way of saying the acid starts dissolving the very structure meant to hold your bread up. That’s exactly why my gym-bag loaf also went pancake-flat. It failed on every front at once.
Tracking Acidity Through Every Phase of the Bake
Once this clicked for me, I noticed pH is worth checking at several checkpoints along the way, not only once the loaf comes out of the oven. Here’s roughly what to expect at each one:
Your Starter
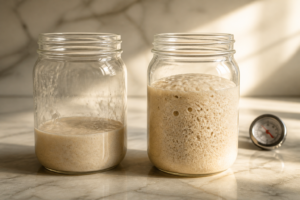
A starter that’s peaked and primed to leaven your dough usually sits between 3.5 and 4.2. Anything reading above 4.5 probably hasn’t finished climbing toward its peak yet. Anything under 3.5 has likely tipped past its prime and gone too sour to do its job well. These days I run a quick pH check before mixing, especially in summer, when my kitchen heats up and fermentation races ahead of schedule.
After the Autolyse
Before your starter joins the flour-and-water mixture, the dough hovers near neutral, maybe just a touch acidic — think 6 to 6.5. Consider that your starting line. The moment your starter goes in, fermentation kicks into gear and acidity begins sliding downward.
End of Bulk Fermentation
This reading matters more than any other. You’re aiming to pull your dough out of bulk somewhere in the 4.1 to 4.5 range. A lot of bakers treat roughly 4.2 as their target — enough acidity for good flavor and structure without eating away at the gluten. This was exactly where I kept messing up: I judged bulk fermentation by how the dough “looked,” and in a warm kitchen with an eager starter, that visual cue meant I’d already blown past the sweet spot.
How pH Test Strips Ended My Guessing Game on Sourness
I spent years unable to tell whether my bread was sour because I’d over-fermented it or because my starter was underpowered, and I kept blaming my own skills instead of actually measuring anything. Once I started testing pH at different points in the process, the whole picture became clear — and I could catch trouble before another gym-bag loaf happened.
Where these deliver
- Instead of sniffing my dough and guessing “tangy enough?”, I now get an actual figure — I can tell the difference between pH 3.5 (nicely complex sour) and pH 2.8 (careening toward gym-bag territory).
- These strips handle both raw dough and baked crumb, so you can check acidity through bulk fermentation, through final proof, and even after baking to see what your storage setup is doing to the flavor over time.
- With 160 strips in the box, there’s genuinely enough to test practically every bake for months without watching an expensive consumable disappear in a hurry.
Where they fall short
- Getting a reading means actually pressing moisture out of the dough or crumb onto the strip — it’s messier and slower than a digital probe, and I’ve landed on off readings a few times simply from not squeezing out enough liquid.
- Matching colors against the reference chart gets fussy depending on your lighting — testing under dim kitchen bulbs (which is basically every time I bake) or being colorblind could easily throw your result off by half a point.
I nearly wrote these strips off entirely after my first murky reading, unsure whether I was looking at 3.2 or 3.8 — it turned out I’d been testing the liquid pooling around the dough instead of the dough itself. Fix that one habit and the readings turn reliable fast. Grab these 2 Pack pH Test Strips (160 strips, pH 1-14) and quit guessing what your bread is actually doing.
Frequently Asked Questions
What pH should my sourdough dough reach by end of bulk fermentation?
You’re aiming to pull your dough out of bulk somewhere in the 4.1 to 4.5 range. A lot of bakers treat roughly 4.2 as their target—enough acidity for good flavor and structure without eating away at the gluten. That’s the window where flavor gets interesting without tipping into overly sour territory.
What does pH 3.5 versus pH 2.8 mean for sourdough flavor?
pH 3.5 produces nicely complex sour, while pH 2.8 careens toward aggressively sour territory. The difference between these readings determines whether your finished loaf tastes pleasantly layered or punches you in the face. Whichever acid dominates—mild lactic or sharp acetic—decides your bread’s final character.
What pH range indicates a starter is ready to use?
A starter that’s peaked and primed to leaven your dough usually sits between 3.5 and 4.2. Anything reading above 4.5 probably hasn’t finished climbing toward its peak yet. Anything under 3.5 has likely tipped past its prime and gone too sour to do its job well.
What happens to dough pH after you add starter to flour and water?
Before your starter joins the flour-and-water mixture, the dough hovers near neutral, around 6 to 6.5. The moment your starter goes in, fermentation kicks into gear and acidity begins sliding downward toward your target range of 4.1 to 4.5 by bulk fermentation’s end.
About This Article

Written by Sam Whitaker. Sam Whitaker has been baking sourdough for over a decade, including three years baking commercially, and now works out of a home kitchen in the Pacific Northwest. Sam's eleven-year-old starter, Harold, is the foundation for every recipe and troubleshooting guide on Sourdough Rising — real bread tested over and over until it works. More about this site.
Scope and limits. Sam is a home baker with no formal culinary training. Follow current food safety guidance for storage and handling, particularly with enriched or filled doughs.
Verify this against a primary source
Specifics change, and your situation may differ from the one described here. These are the authorities worth checking directly:
- USDA FoodData Central — flour and ingredient composition data
- FoodSafety.gov — safe handling and storage