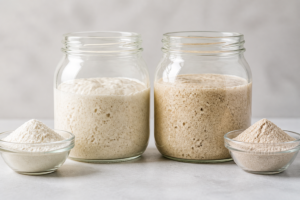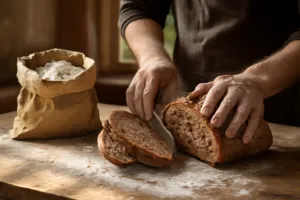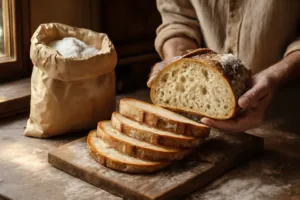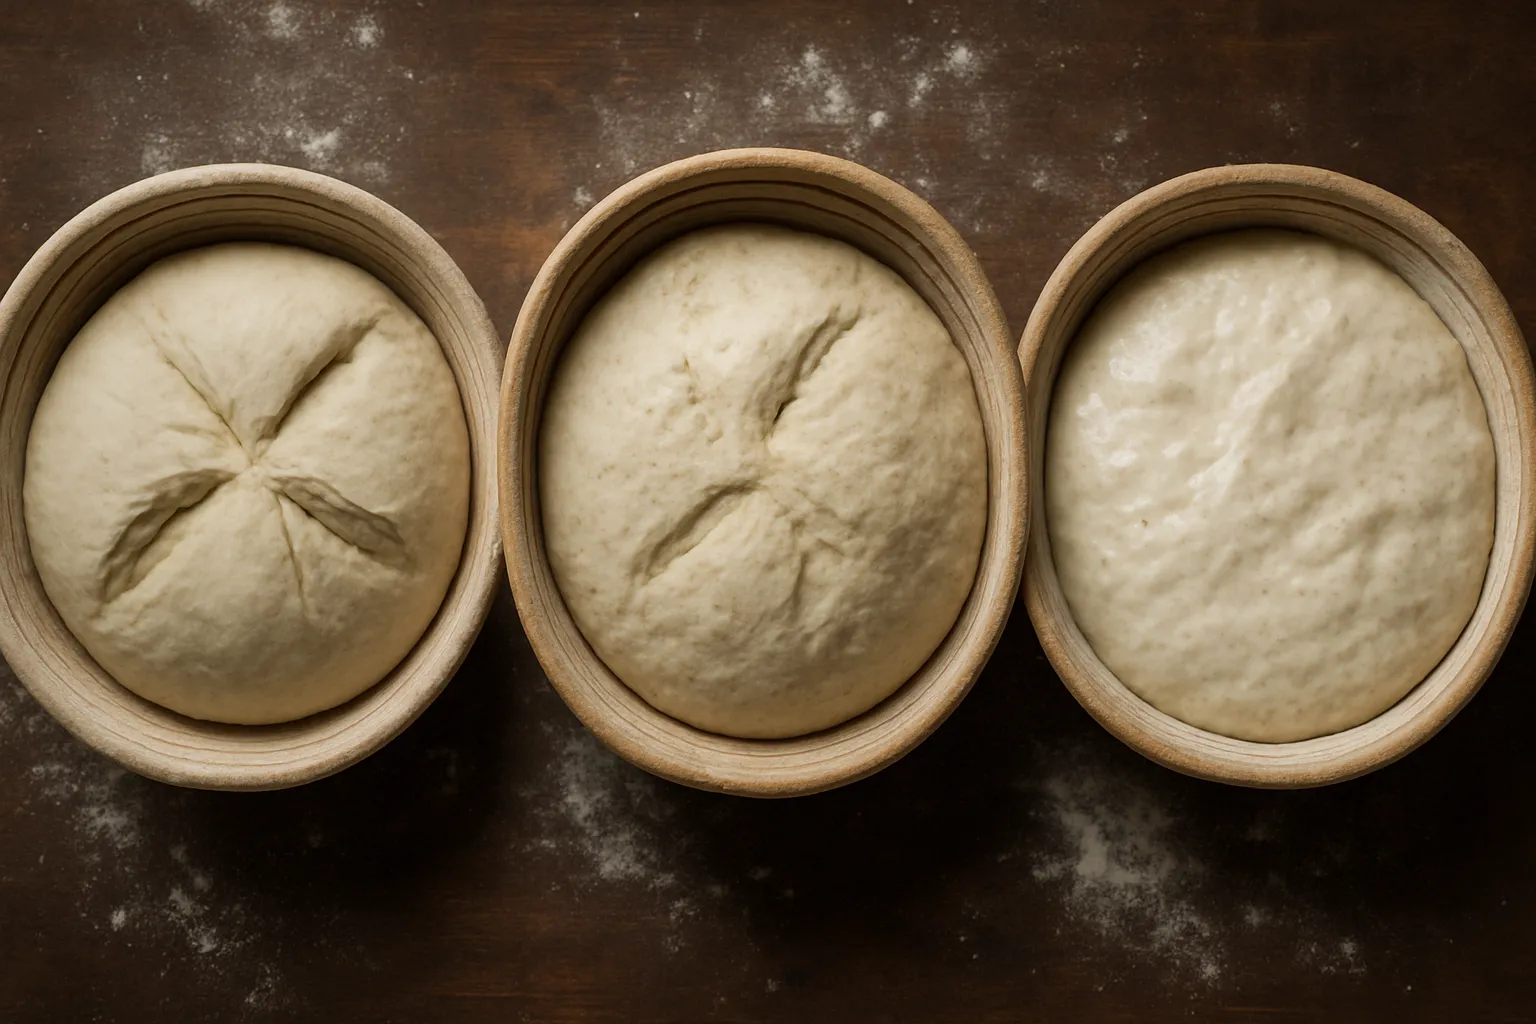
A brutal August heat wave turned my kitchen into a proofing box that summer, and the loaf I pulled out afterward had a dense, gummy crumb that clung to the knife like wet clay. I’d followed the recipe exactly, or so I assumed — but I’d nudged the water up without grasping what that change actually did to my dough. That single ruined bake sent me down a rabbit hole researching this sourdough hydration levels guide, and it reshaped how I approach every mix since. If your dough seems to act like a completely different animal from one bake to the next, hydration is very likely the culprit.
| Hydration Level | Dough Handling | Crumb Character | Best For |
|---|---|---|---|
| 65% | Firmer, holds together well, won’t cling to hands | Tighter, more even crumb | Beginners, toast, sandwich loaf |
| 75% | Noticeably softer and tacky, workable with technique | Irregular holes, satisfying chew | Most home bakers |
| 80% | Slippery, spreads across counter, demanding | Wide-open crumb, deep brown crust | Advanced bakers seeking maximum open crumb |
So What Exactly Is Hydration in a Sourdough Context?
Put plainly, hydration is nothing more than the water-to-flour ratio in your dough, written as a percentage. Weigh out 500 grams of flour and 375 grams of water, and you’ve landed on 75% hydration. That’s the whole calculation. But while the math stays basic, what it does to texture, handling, fermentation speed, and the final crumb is anything but. Push the hydration up and you tend to get a more open, airy interior with the kind of lacy holes people love photographing. Keep it lower and shaping gets easier, the dough forgives more mistakes, and beginners generally have a smoother time. Neither end of the spectrum wins outright — they’re just suited to different goals.
One thing worth flagging: hydration doesn’t exist in a vacuum from your flour choice. A high-protein bread flour can soak up considerably more water than all-purpose, and whole wheat is thirstier than both. So the next time a recipe tells you to hit 80% hydration, check what flour they’re using before assuming your own dough should feel identical.
Comparing 65%, 75%, and 80% Hydration — What Each One Actually Gives You
65% Hydration: The Forgiving Starting Point for New Bakers
Dough mixed at 65% hydration is firmer, holds together well, and behaves far more predictably than its wetter cousins. It comes together fast during mixing and won’t cling stubbornly to your hands or the counter. Shaping actually feels enjoyable at this level — the dough holds its tension nicely and lets you build that taut outer skin without a fight. What you end up with is a tighter, more even crumb, which happens to be exactly what you want for toast or a sandwich loaf. Nobody should tell you a tighter crumb means you failed. A well-baked 65% loaf, with its crackly crust and soft interior, is nothing to apologize for.
If sourdough is still new territory for you, or sticky dough has been getting the better of you, start here without hesitation. Nail down your fermentation timing first — the hydration climb can wait.
75% Hydration: Where Most Home Bakers Settle In
This is the range I live in most often, and I’d guess it’s where the bulk of home bakers eventually find their rhythm. At 75%, the dough turns noticeably softer and a touch tacky, though still workable once your technique catches up. Skip traditional kneading in favor of stretch-and-fold sets during bulk fermentation — you’ll build gluten strength without wrestling a sticky mess. The crumb rewards you with irregular holes and a satisfying chew at this level, and there’s enough wiggle room that minor timing slips won’t wreck the whole bake.
Shaping demands a bit more nerve here than it does at 65%, but a light dusting of flour on the bench paired with quick, confident movements gets the job done. I steer bakers who’ve already got a handful of loaves under their belt toward this hydration when they’re ready to chase that more open, artisan-style crumb.
80% Hydration: Messy, Demanding, and Worth the Trouble
Here’s the truth: 80% hydration dough will knock you down a peg the first handful of times you attempt it. It’s slippery, it spreads across the counter, and it seems determined to fight every clean surface in your kitchen. But get the fermentation timing right, build up real gluten strength, and gain enough confidence in your shaping, and the payoff is stunning — a wide-open crumb, a crust caramelized to a deep brown, and a chew that’ll make you pause mid-bite. This is where the truly obsessed sourdough bakers live, and I say that with total admiration.
Pulling off an 80% dough takes serious gluten development through several rounds of stretch-and-fold or coil folds, a flour capable of handling that much water, and ideally an overnight cold retard so the dough firms up enough to score cleanly. Don’t even think about skipping the bench scraper here — it turns into your most-used tool in the whole process.
Why the Right Bowl Made High-Hydration Dough Finally Click for Me
Once you’re mixing at 75% or 80% hydration, you need a bowl roomy enough that your dough isn’t fighting for space mid-bulk-ferment, plus one you can actually see into instead of dumping the dough onto the counter every time you want a look. Switching to a proper 8-quart mixing bowl completely changed my ability to track gluten development and pinpoint the moment my dough was ready for shaping.
Where it shines
- An 8-quart capacity gives wetter dough plenty of room to grow without the edges crawling up the sides, letting you run real stretch-and-folds without the dough feeling cramped.
- The two-tone stainless finish makes it easy to actually track your dough’s progress — I can watch the gluten network shift from shaggy to smooth without extra lighting or tilting the bowl around.
- Its weight and solid footing keep it planted on the counter through vigorous mixing or folding, which counts for a lot when you’re wrangling sticky, wet dough that needs confident handling.
Where it falls short
- Loaded with wet dough, it gets genuinely heavy — tipping it out for a pre-shape stretch takes real arm strength, something I found out the hard way after a four-hour bulk ferment.
- The rim tends to snag bits of dough during folding if you’re careless, so you need to wipe it clean mid-ferment or risk dried scraps working their way into your next stretch.
I almost abandoned it after one bulk fermentation where I misjudged how much dough had actually risen and the mass nearly spilled over the rim — but once I adjusted my portion sizes, this became the one tool I genuinely reach for every bake. Oggi 5-Quart Two-Tone Stainless Steel Mixing Bowl
Frequently Asked Questions
What is sourdough hydration and how do you calculate it?
Hydration is the water-to-flour ratio in your dough, written as a percentage. Weigh 500 grams of flour and 375 grams of water, and you’ve landed on 75% hydration. The calculation is straightforward, but hydration affects texture, handling, fermentation speed, and your final crumb.
What hydration should a beginner sourdough baker start with?
Start with 65% hydration. Dough at this level is firmer, holds together well, and behaves predictably. It comes together fast during mixing, won’t cling to your hands, and shaping feels enjoyable. A well-baked 65% loaf has a crackly crust and soft interior worth celebrating.
Why does 75% hydration work well for most home bakers?
At 75% hydration, dough is noticeably softer and tacky but still workable with proper technique. The crumb develops irregular holes and satisfying chew with enough wiggle room that minor timing slips won’t wreck your bake. This is the range where most home bakers find their rhythm.
What makes 80% hydration dough worth the effort?
Eighty percent hydration dough is slippery and demanding, but mastering it rewards you with a wide-open crumb, a crust caramelized to deep brown, and outstanding chew. It requires serious gluten development, a flour capable of handling that much water, and ideally an overnight cold retard for clean scoring.
About This Article

Written by Sam Whitaker. Sam Whitaker has been baking sourdough for over a decade, including three years baking commercially, and now works out of a home kitchen in the Pacific Northwest. Sam's eleven-year-old starter, Harold, is the foundation for every recipe and troubleshooting guide on Sourdough Rising — real bread tested over and over until it works. More about this site.
Scope and limits. Sam is a home baker with no formal culinary training. Follow current food safety guidance for storage and handling, particularly with enriched or filled doughs.
Verify this against a primary source
Specifics change, and your situation may differ from the one described here. These are the authorities worth checking directly:
- USDA FoodData Central — flour and ingredient composition data
- FoodSafety.gov — safe handling and storage