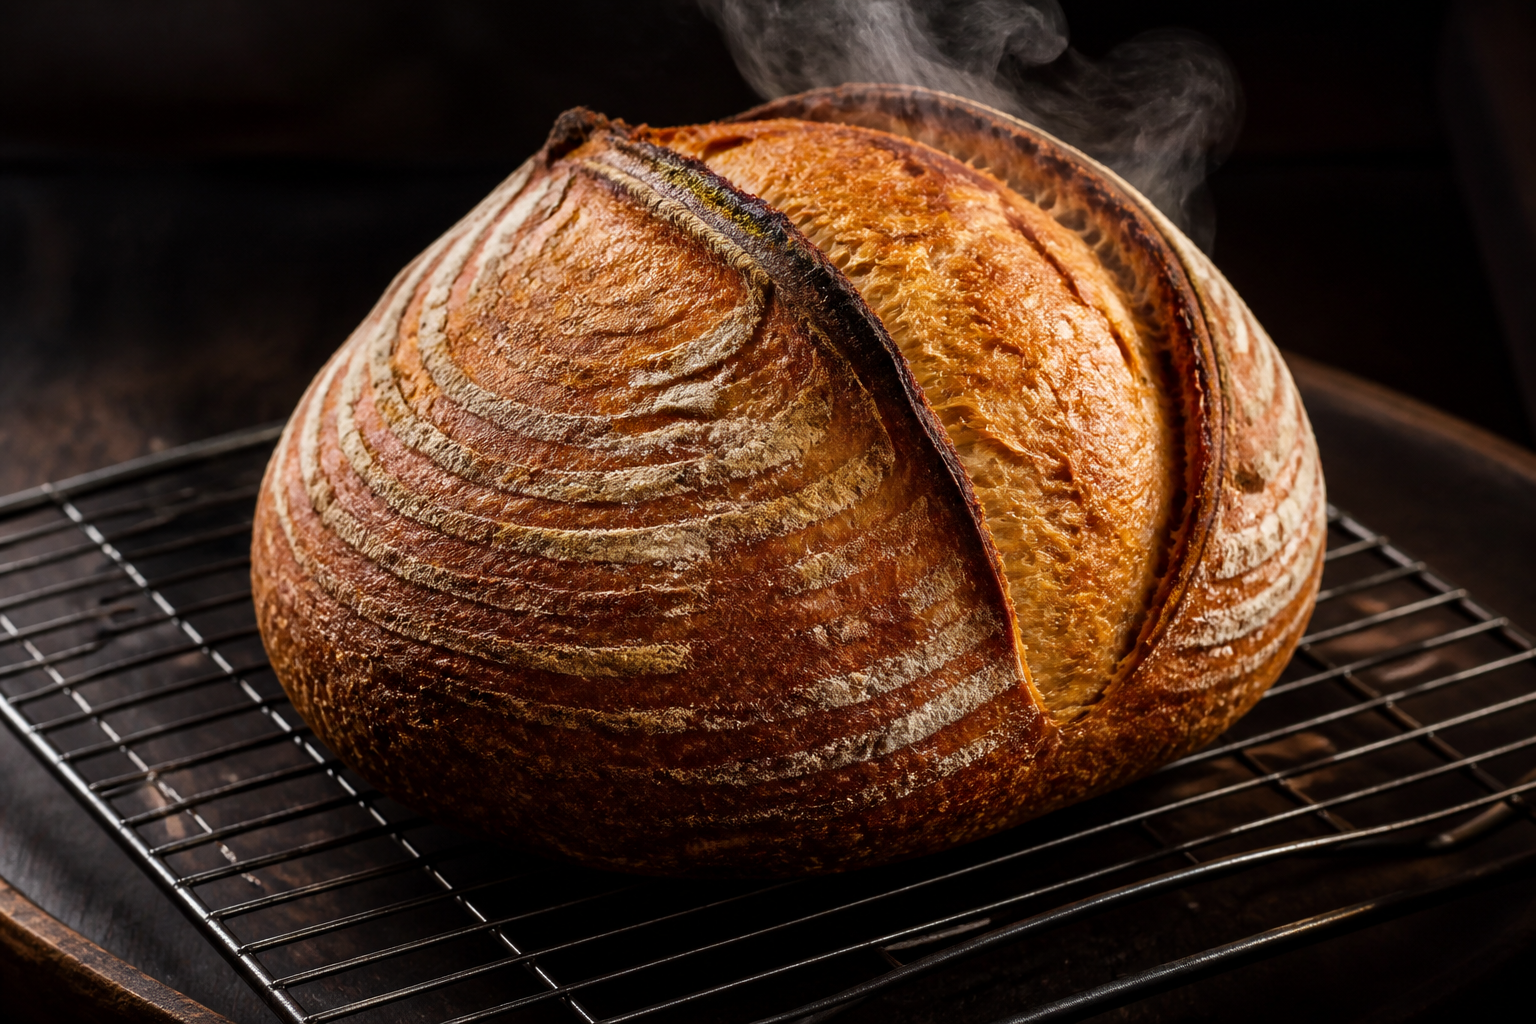
Lower hydration doesn’t mean lower quality — it means a dough that actually behaves the way a beginner needs it to while you’re still learning to read fermentation by feel.
Why Start With Lower Hydration?
High-hydration dough is sticky, hard to shape, and unforgiving of small mistakes. A 65% hydration dough, by contrast, holds its shape, is easy to handle, and still produces a genuinely good, open-enough crumb once you’ve got the fundamentals down.
| Hydration Level | Dough Behavior | Beginner Readiness |
|---|---|---|
| 65% | Holds shape, easy to handle | Recommended starting point |
| 70-75% | Wetter, more challenging | After 4-6 successful 65% bakes |
| 80%+ | Sticky, hard to shape | Not recommended for beginners |
What Makes a Boule Special
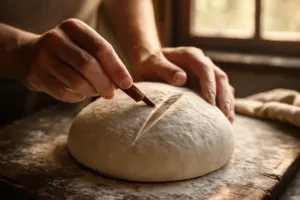
A boule’s round shape maximizes surface tension during shaping, which gives you the best odds of an even oven spring even with less experience reading dough. It’s also the most forgiving shape to score, since the round form doesn’t demand the directional precision a batard does.
What You’ll Need
- 500g bread flour
- 325g water (65% hydration)
- 100g active starter
- 10g salt
Step by Step
- Mix: Combine flour and water, rest 30 minutes, then add starter and salt.
- Bulk ferment: 4-5 hours at room temperature with 3-4 stretch and folds during the first 2 hours.
- Shape: Pre-shape into a loose round, rest 20 minutes, then final shape with firm surface tension.
- Proof: Place seam-side up in a floured banneton, cold retard overnight (8-12 hours).
- Bake: 450°F Dutch oven, lid on 20 minutes, lid off 20-25 minutes.
The Basket That Stopped My Dough From Sticking
My early boules stuck to whatever bowl I was using half the time, tearing the surface right before the bake. Switching to a real rattan banneton basket with proper rice-flour dusting solved it completely — the ridged pattern also gives you that classic spiral crust for free.
What Works and What Doesn’t
What works
- Starting at 65% hydration until shaping feels natural
- A proper banneton instead of a bowl lined with a towel
- Rice flour (not wheat flour) for dusting — it resists sticking far better
What doesn’t
- Jumping straight to 80%+ hydration before you can shape confidently
- Skipping the pre-shape rest — it makes final shaping much harder
A Few Beginner-Specific Notes
Don’t chase a wildly open crumb on your first ten loaves. Focus on consistent shape, even crust color, and a crumb that isn’t gummy. The dramatic holes come later, once shaping and fermentation timing are second nature.
Common Beginner Questions
How do I know when bulk fermentation is actually done?
Look for a 50-75% increase in volume, visible bubbles at the surface, and a dough that jiggles slightly when you nudge the container. At 65% hydration this is far easier to judge than it will be once you move to higher-hydration doughs later on.
My dough tore during shaping — did I ruin it?
Usually not. A small surface tear rarely affects the final bake. If it’s a major tear that exposes the interior, gently patch it by folding the surrounding dough over the gap before placing it in the banneton.
Do I need a stand mixer for this recipe?
No. At 65% hydration, this dough is entirely manageable by hand, which is part of why it’s a good starting recipe — you’ll build a feel for dough by hand before ever needing a machine.
How long will it take before I can move to a wetter dough?
Most beginners are ready to try 70-75% hydration after 4-6 successful bakes at 65%. Watch for the point where shaping starts feeling routine rather than stressful — that’s your real signal, not a fixed number of loaves.
Why This Recipe Specifically
I picked a boule over a batard for a first recipe because round shapes are more forgiving of uneven shaping tension — small asymmetries even out during proofing in a way they don’t on an elongated loaf. It’s also the shape most beginner bannetons are designed for, so your equipment and your recipe are working together instead of against each other.
Frequently Asked Questions
What hydration percentage should a beginner start with?
Start with 65% hydration. This dough holds its shape, is easy to handle, and still produces a genuinely good, open-enough crumb once you’ve got the fundamentals down. High-hydration dough is sticky, hard to shape, and unforgiving of small mistakes.
How long should bulk fermentation take at room temperature?
Bulk fermentation takes 4-5 hours at room temperature with 3-4 stretch and folds during the first 2 hours. You’ll know it’s done when you see a 50-75% increase in volume, visible bubbles at the surface, and a dough that jiggles slightly when you nudge the container.
What should I dust my banneton with to prevent sticking?
Use rice flour, not wheat flour, for dusting — it resists sticking far better. A proper rattan banneton basket with rice-flour dusting solved sticking problems completely and gives you that classic spiral crust for free.
When am I ready to try a wetter dough than 65 percent?
Most beginners are ready to try 70-75% hydration after 4-6 successful bakes at 65%. Watch for the point where shaping starts feeling routine rather than stressful — that’s your real signal, not a fixed number of loaves.
About This Article

Written by Sam Whitaker. Sam Whitaker has been baking sourdough for over a decade, including three years baking commercially, and now works out of a home kitchen in the Pacific Northwest. Sam's eleven-year-old starter, Harold, is the foundation for every recipe and troubleshooting guide on Sourdough Rising — real bread tested over and over until it works. More about this site.
Scope and limits. Sam is a home baker with no formal culinary training. Follow current food safety guidance for storage and handling, particularly with enriched or filled doughs.
Verify this against a primary source
Specifics change, and your situation may differ from the one described here. These are the authorities worth checking directly:
- USDA FoodData Central — flour and ingredient composition data
- FoodSafety.gov — safe handling and storage