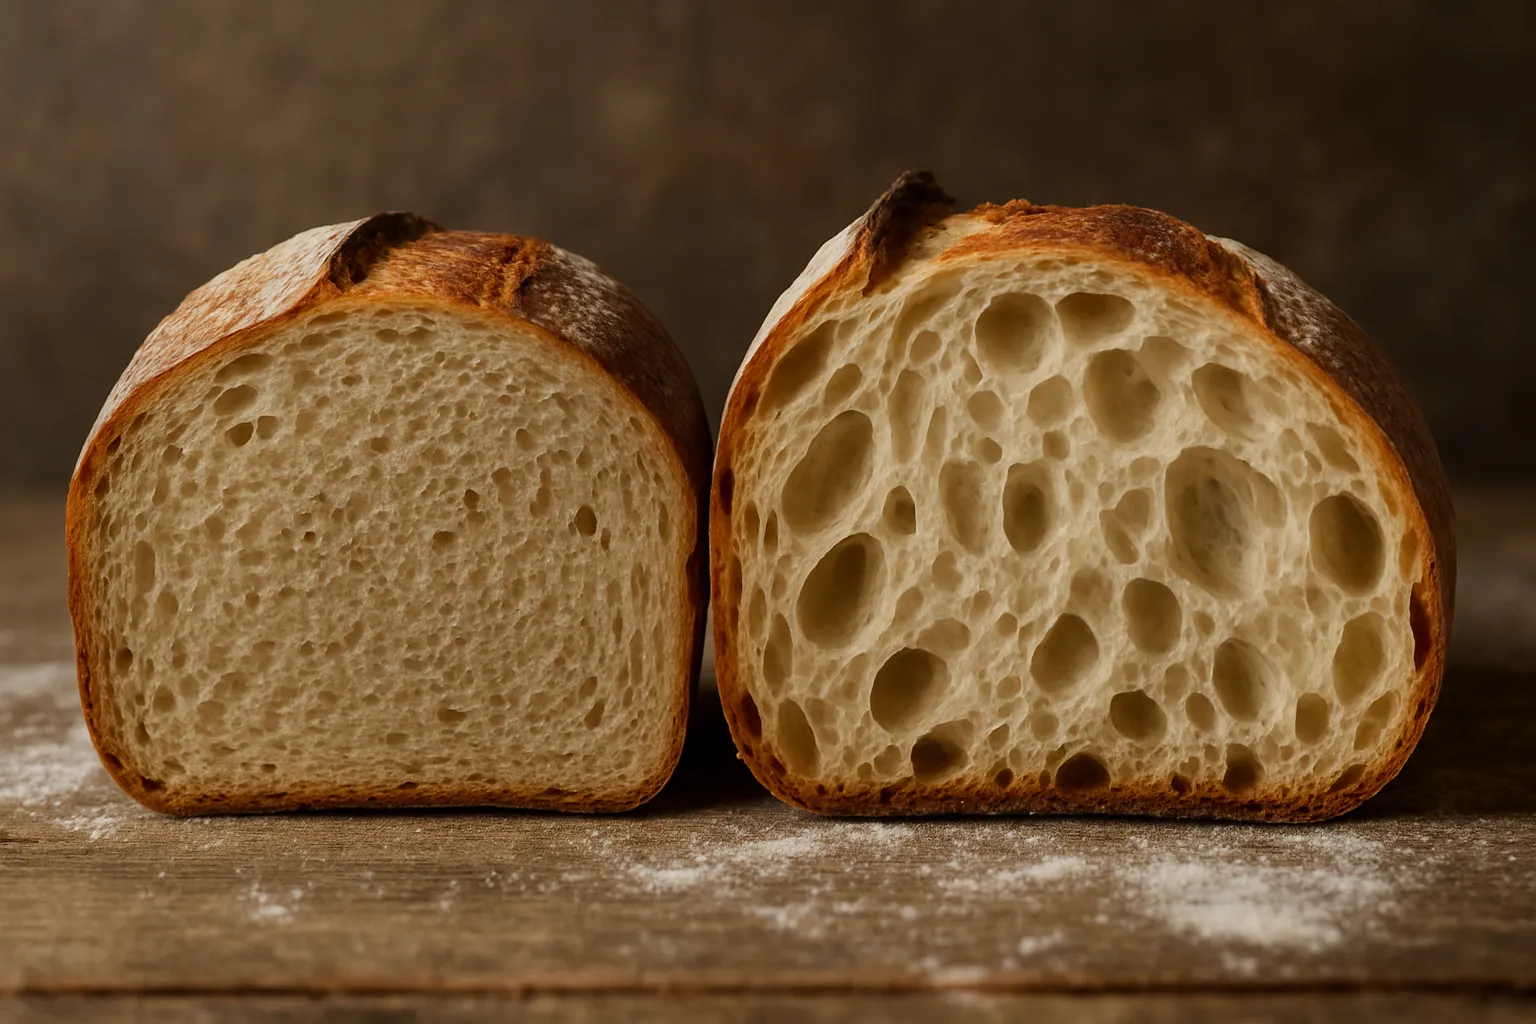
Somewhere around year two of this whole sourdough obsession, on a lazy Sunday afternoon that should have ended in triumph, I pulled a loaf from the oven, let it cool exactly as long as my patience allowed, and cut into what turned out to be a pale, gummy slab instead of bread. If you’ve landed here hunting for answers on why your sourdough keeps coming out dense and how to actually fix it, take a breath — this happens to nearly everyone who’s ever fed a jar of flour and water. Dense loaves are, hands down, the complaint I hear most often from fellow bakers, and the encouraging part is that every cause has a clear fix. After a decade-plus of flat bricks, failed experiments, and eventually running my own tiny home bakery, I’ve narrowed the problem down to seven repeat offenders — and I’m laying out all of it below.
| Common Cause of Density | What Happens | How to Fix It |
|---|---|---|
| Starter not ready | Dough won’t generate enough gas to rise | Use float test; starter must be visibly active, doubled, domed at peak |
| Underproofing bulk fermentation | Yeast hasn’t built enough carbon dioxide | Dough should be visibly puffy, jiggle when nudged, grow 50–75% in volume |
| Overproofing | Gluten breaks down, yeast burns out, dough turns slack and sticky | Use poke test; slow partial spring-back means ready, no spring-back means overshot |
| Weak gluten development | Gas bubbles collapse, loaf caves in | Four rounds of stretch-and-fold in first two hours, spaced 30 minutes apart |
| Poor shaping | Surface tension lost, air bubbles released | Firm pre-shape, 20–30 minute bench rest, confident final shape |
| Wrong proofing temperature | Fermentation stalls or accelerates past ideal | Fridge 38–40°F for 8–16 hours, or room temperature 75–78°F for 2–4 hours |
| Low oven heat or no steam | Oven spring fails, crust hardens too quickly | 450–500°F with steam first 20 minutes; Dutch oven lid on 20 min, lid off 20–25 min |
Why Is My Sourdough Dense? Fix These 7 Common Mistakes
Before anything else, let me put your mind at ease: a dense crumb is almost never a personal failing — it’s a process hiccup. Sourdough has real, moving variables — heat, timing, flour type, hydration level — and reading them correctly comes with repetition, not luck. Let’s go through each culprit one at a time so you can pinpoint exactly what’s happening in your own kitchen.
1. Your Starter Wasn’t Ready to Use
This one trips up nearly every beginner, and it’s usually the root cause. If your starter isn’t visibly active — full of bubbles, doubled, domed right at its peak — your dough won’t generate enough gas to rise the way it should. My go-to check is the float test: scoop a small bit into a glass of water. Floats? You’re clear to mix. Sinks? Feed it again and wait until it peaks before you start your dough. Mixing with a starter that’s either too young or already collapsing is the quickest route to a brick.
2. Underproofing During Bulk Fermentation
Bulk fermentation is where the real transformation happens — and also where most errors creep in. Pulling the dough too early means the yeast hasn’t had time to build enough carbon dioxide for an airy crumb. You’re looking for dough that’s visibly puffy, jiggles when nudged, and has grown roughly 50–75% in volume before you even think about shaping. In a chilly kitchen, that stretch can run 8–12 hours. Resist rushing it — I know waiting is torture, but the payoff is worth every extra hour.
3. Overproofing (Yes, That Causes Density Too)
Go too far the other direction, though, and the gluten network breaks down while the yeast burns itself out. Overproofed dough turns slack and sticky, refusing to hold its shape once you try to score it. The result is often a flat, dense loaf with a wet, gummy interior. Use the poke test as your guide: press a floured finger into the dough — a slow, partial spring-back means it’s ready. No spring-back at all? You’ve overshot it.
4. Weak Gluten Development
Think of gluten as the internal scaffolding holding gas bubbles in place — skip building it and your loaf just caves in on itself. Working in stretch-and-fold sets throughout bulk fermentation strengthens that structure without overhandling the dough. My routine is four rounds in the first two hours, spaced about 30 minutes apart. With each round, you’ll notice the dough getting tighter and more unified — that’s the sign you’re building the strength you need.
5. Poor Shaping Technique
Shaping isn’t only for looks — it builds the surface tension that lets your loaf hold its rise and spring dramatically once it hits the oven. Shape too loosely, or knock the air out while handling the dough, and you’re releasing gas bubbles you worked hard to create. Give the dough a firm pre-shape, let it rest on the bench for 20–30 minutes, then finish with a confident, purposeful final shape. You want tautness, not tearing.
6. Proofing Environment Issues
An environment that’s too cold stalls fermentation; one that’s too warm speeds it up past the point of no return. The ideal window for final proof usually lands in the fridge at roughly 38–40°F for 8–16 hours, or at room temperature around 75–78°F for 2–4 hours. I lean toward cold proofing myself — it slows things down in a way that makes scoring simpler and builds deeper flavor. A proper proofing basket earns its keep here too, holding the dough’s shape while it rests.
7. Oven Temperature and Steam Problems
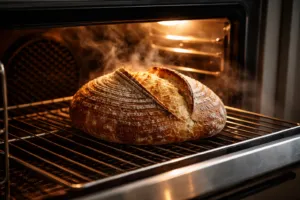
Even a beautifully fermented dough can still bake up dense if your oven setup is off. You want strong heat — 450–500°F — plus steam during the first 20 minutes. That steam keeps the crust pliable just long enough for full oven spring to kick in. My method is a preheated Dutch oven: lid on for the first 20 minutes, then lid off for the remaining 20–25. Trapping that steam changes everything. Skipping it is a mistake worth correcting right away.
A Troubleshooting Reference to End the Guesswork Around Dense Loaves
Staring down a dense crumb tends to send your brain into a spiral of doubt — was it underproofed, overproofed, did the starter die on you? Having a straightforward diagnostic tool on hand while you troubleshoot saves you hours of second-guessing and another wasted batch of dough.
What works
- Guides you through a logical decision path for pinpointing density problems — hydration, fermentation timing, gluten strength — without drowning you in jargon that makes baking feel harder than it is.
- Structured so you can jump back in mid-bake or mid-troubleshoot, instead of digging through hundreds of pages of backstory and science you don’t need in that moment.
- Builds real confidence to experiment — once the *why* behind density clicks, you stop panicking over every variable and start baking with intention instead.
What doesn’t
- This is thorough reference material, not a grab-and-go cheat sheet — expect to actually read through sections rather than skim for a quick fix.
- It won’t substitute for hands-on baking; understanding the theory behind a dense loaf only gets you halfway without real practice to back it up.
I almost returned this after my third dense loaf because I was still pulling heavy crumbs from the oven — until I realized I wasn’t actually *reading* the diagnostic sections, just skimming. Once I sat down and worked through the checklist methodically, everything clicked. The Sourdough Bible: The Ultimate Resource for Great Bread at Home
Frequently Asked Questions
How do I know if my sourdough starter is ready to use?
Use the float test: scoop a small bit of starter into a glass of water. If it floats, it’s ready to mix. If it sinks, feed it again and wait until it peaks before starting your dough. Your starter should be visibly active, full of bubbles, doubled, and domed at its peak.
How long should bulk fermentation take for sourdough?
Bulk fermentation typically takes 8–12 hours in a chilly kitchen. You’re looking for dough that’s visibly puffy, jiggles when nudged, and has grown roughly 50–75% in volume before shaping. Resist rushing it—the payoff is worth every extra hour.
What temperature should I proof my sourdough at?
The ideal proofing window is roughly 38–40°F in the fridge for 8–16 hours, or around 75–78°F at room temperature for 2–4 hours. Sam leans toward cold proofing because it slows fermentation in a way that makes scoring simpler and builds deeper flavor.
What oven temperature do I need for sourdough bread?
You want strong heat between 450–500°F plus steam during the first 20 minutes. Sam uses a preheated Dutch oven with the lid on for the first 20 minutes, then lid off for the remaining 20–25 minutes. Trapping that steam is essential for proper oven spring.
About This Article

Written by Sam Whitaker. Sam Whitaker has been baking sourdough for over a decade, including three years baking commercially, and now works out of a home kitchen in the Pacific Northwest. Sam's eleven-year-old starter, Harold, is the foundation for every recipe and troubleshooting guide on Sourdough Rising — real bread tested over and over until it works. More about this site.
Scope and limits. Sam is a home baker with no formal culinary training. Follow current food safety guidance for storage and handling, particularly with enriched or filled doughs.
Verify this against a primary source
Specifics change, and your situation may differ from the one described here. These are the authorities worth checking directly:
- USDA FoodData Central — flour and ingredient composition data
- FoodSafety.gov — safe handling and storage