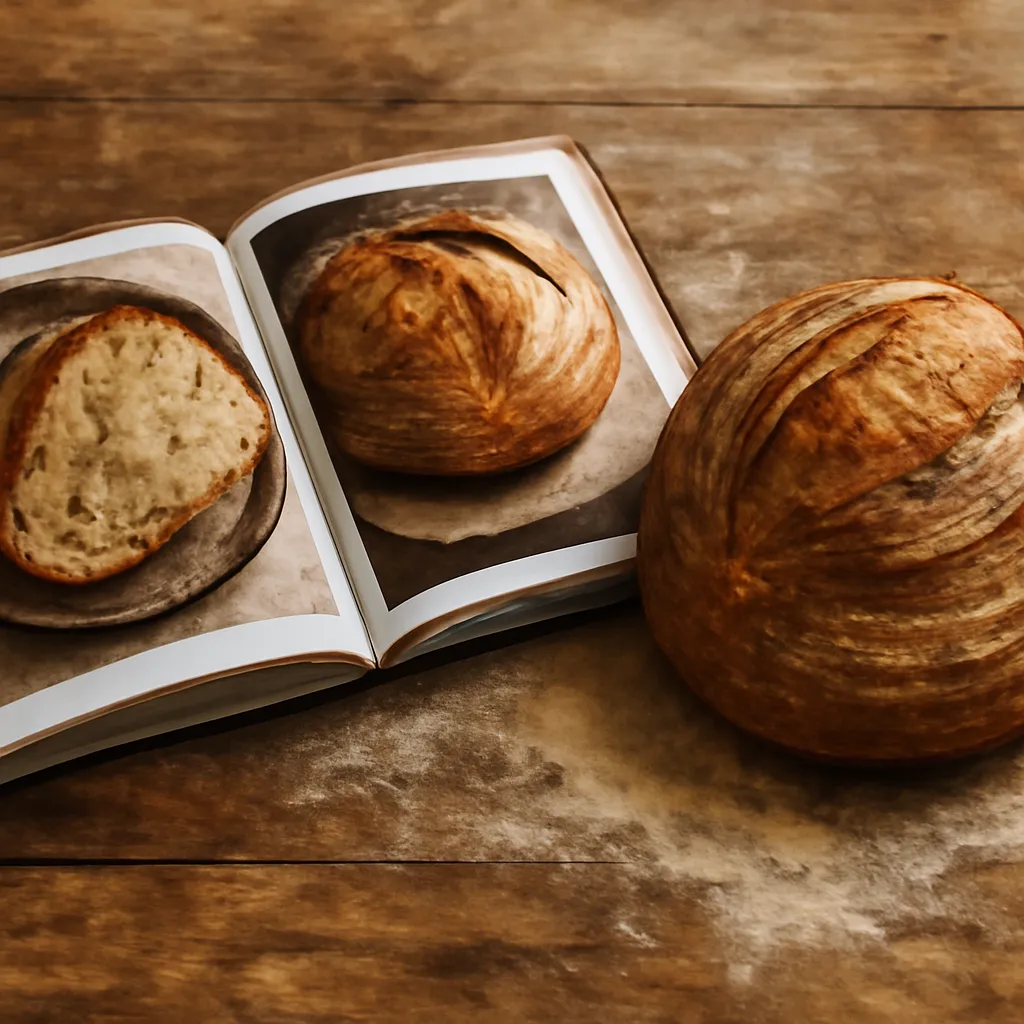
Most home bakers overthink sourdough. They obsess over hydration percentages, fermentation timings, and whether their starter’s float test is precise enough. But here’s what I’ve learned across eleven years of baking and three years running a microbakery: simplicity beats complexity every single time.
The best loaves I’ve ever made came from the least complicated recipes. Not recipes stripped of skill—recipes that removed the unnecessary steps and gatekeeping language so the actual craft could breathe.
Why “Simple” Doesn’t Mean “Beginner”
Let me be clear about something first. A simple sourdough method isn’t a shortcut version. It’s not a watered-down compromise for people who can’t handle real technique.
In my microbakery days, I made sourdough five days a week. The recipes that pulled the most weight—the ones customers lined up for—weren’t complicated. They were stripped down to the essentials: flour, water, salt, time, and attention.
Complexity usually enters through one door: fear. Fear that you’re doing it wrong. Fear that you need special equipment or precise measurements to produce something decent. As a result, bakers add steps that don’t improve the bread—they just add stress.
The Core Method: What Actually Matters
Here’s the framework I use, and it’s been refined through thousands of loaves:
That’s it. Everything else is variation on those four things. No autolyse period (though you can add one). No complex stretch-and-fold routines. Just mixing, time, and heat.
The Mix
Start with 500 grams of bread flour. Add 350 grams of water—that’s 70% hydration, which is forgiving and practical. Include 100 grams of active sourdough starter and 10 grams of salt.
Mix everything until the flour is fully hydrated. Specifically, this takes about three to five minutes by hand or two minutes in a stand mixer. The dough should feel shaggy and unified, not smooth yet.
This hydration level works in almost any kitchen. It’s high enough to create an open crumb but low enough that you won’t fight it during shaping. In my experience, home bakers stress far too much about landing on exactly 73.5% hydration when 70% will produce beautiful bread.
Bulk Fermentation: Time Over Technique
Let the dough sit at room temperature. Room temperature means whatever your kitchen naturally is—usually between 68°F and 72°F in most homes.
Every three to four hours, do one set of stretch-and-folds. Wet your hand, grab one side of the dough, stretch it up and fold it over itself. Rotate the bowl ninety degrees. Repeat four times total.
That single set—not four or five or seven—is genuinely enough. Over-handling the dough doesn’t improve it. One good set of stretches just confirms the dough is developing strength and helps redistribute the bulk evenly.
Bulk fermentation takes about six to eight hours total. You’ll know it’s ready when the dough has increased in size by about fifty percent and jiggles slightly when you move the bowl. On the other hand, if your kitchen is cooler (62°F), expect twelve hours. Warmer (75°F)? Maybe four to five hours.
Temperature drives fermentation speed more than any other single factor. Get comfortable reading your dough instead of the clock.
Shaping and Cold Proof
Turn the bulk-fermented dough onto a lightly floured surface. Shape it gently into a round by folding edges toward the center. Specifically, imagine you’re gathering the perimeter and tucking each fold underneath itself, creating surface tension as you work.
Place the shaped dough into a floured banneton or a bowl lined with a kitchen towel. Cover it and refrigerate overnight—twelve to sixteen hours works perfectly.
Cold fermentation is the secret weapon of simple sourdough. As a result of the long, cold rest, the dough develops deeper flavor and becomes easier to score. The cold also slows the rise during baking, which means better oven spring and more pronounced ear development.
Baking: Where Temperature Becomes Real
This is where the approach shifts slightly depending on your equipment. However, the principle stays the same: high heat in an enclosed space creates the crust and sets the crumb.
With a Dutch Oven
Preheat your oven to 500°F with a Dutch oven inside for at least thirty minutes. If you use a Staub (my favorite for home baking), it holds and distributes heat more evenly than most. Cast iron works fine too—just preheat an extra ten minutes.
Score the top of your cold dough with a sharp blade. A simple cross or single slash is perfect. Remove the Dutch oven, place the dough inside, cover it, and reduce heat to 450°F.
Bake covered for twenty-five minutes. Remove the lid and bake another twenty to twenty-five minutes until the crust is dark mahogany brown.
Without a Dutch Oven
Preheat to 475°F. Place a large oven-safe pot or metal bowl upside-down on a rack above your bread. As a result of the enclosure, steam will circulate around your loaf—less dramatically than a Dutch oven, but enough to develop a decent crust.
Bake for thirty-five to forty minutes until deep golden brown. You’re aiming for similar color either way: that mahogany that tells you the crust is properly set.
Why This Approach Works
Simplification doesn’t mean ignoring technique. It means removing decisions that don’t materially affect the outcome.
Consider the stretch-and-fold debate. Some methods call for five or six sets. That said, research and my own thousand-plus bakes show one set during bulk fermentation builds enough strength. Additional sets mostly add complexity without improving flavor or crumb structure.
Or temperature precision. Yes, fermentation happens faster at 75°F than at 65°F. But obsessing over landing on exactly 70°F adds stress and requires equipment most home bakers don’t own. Watching the dough—observing when it’s puffed and jiggly—is more reliable than hitting an exact number.
Hydration at exactly 73.7% versus 70%? Honestly, most home bakers can’t reliably tell the difference in the finished loaf. For example, I moved from a 73% recipe to 70% in my third year of baking and never looked back. It simplified measuring and improved my consistency because I wasn’t fighting a dough that was harder to handle.
The Tools You Actually Need
This doesn’t require much. Here’s what I actually use:
That’s the full list. You don’t need a bread machine, a proofing box, a thermometer (though one helps), or special sourdough flour. Bread flour from any grocery store works beautifully.
Common Mistakes in “Simple” Sourdough
The irony is that bakers often complicate simplicity by misunderstanding what “simple” means.
Too Much Starter
Using more than twenty percent starter (by weight of flour) actually works against you. It accelerates fermentation to the point where you lose flavor development. In my microbakery, we used exactly ten to fifteen percent starter. That ratio gives you enough activity to reliable fermentation without rushing the process.
Skipping the Cold Proof
Some bakers try to streamline by going straight from shaping to baking. Specifically, this removes one of the few choices that genuinely improves sourdough. Cold fermentation is the easiest way to develop flavor and make your loaves more extensible (easier to score and less likely to burst randomly).
Over-Handling During Shaping
New bakers often reshape their dough multiple times, degassing it each time. Shape it once, confidently, and walk away. The dough has spent six to eight hours developing strength. Trust that work.
Scaling This Method
One of the best things about this framework: it scales beautifully. For example, during my microbakery days, I’d often batch four loaves at a time using the same timing and approach.
Double the flour, water, starter, and salt. Follow the exact same timeline. The fermentation schedule stays the same because you’re not changing the ratio of ingredients—just the volume.
On the other hand, if you want a smaller loaf, you can cut everything in half. 250 grams flour, 175 grams water, 50 grams starter, 5 grams salt. The timing remains identical.
Making This Your Own
Simplicity is a starting point, not a cage. Once you’ve baked this method three or four times, you’ll have the intuition to experiment.
Want a slightly more sour loaf? Extend the bulk fermentation an hour or two. Prefer a tighter crumb? Drop the hydration to sixty-five percent. Interested in longer fermentation? Cold proof for twenty-four hours instead of sixteen.
The beauty of starting simple is that you’ll understand what each change does because you’re only changing one variable at a time. That’s real sourdough literacy—not following a complicated recipe, but understanding the why behind each step.
Why Books and Guides Matter
If you’re looking to deepen your understanding beyond the basics, having a structured guide helps tremendously. Books and courses take the framework and show you variations, troubleshooting, and the reasoning behind different choices.
Artisan Sourdough Made Simple sits exactly in this sweet spot. It presents clear, practical methods without overwhelming you with theory or unnecessary complexity. In my experience, having a book you actually trust means you stop second-guessing yourself mid-bake and start trusting the process. That confidence translates directly to better bread.
Frequently Asked Questions
What hydration percentage should I use for sourdough?
Use 70% hydration. It’s forgiving and practical—high enough to create an open crumb but low enough that you won’t fight it during shaping. Home bakers stress too much about landing on exactly 73.5% when 70% will produce beautiful bread.
How many stretch and folds during bulk fermentation?
Do one set of stretch-and-folds every three to four hours during bulk fermentation. That single set—not four or five or seven—is genuinely enough. Over-handling the dough doesn’t improve it.
How long should I cold proof my sourdough dough?
Cold proof for twelve to sixteen hours in the refrigerator. Cold fermentation is the secret weapon of simple sourdough. The long, cold rest develops deeper flavor, makes the dough easier to score, and creates better oven spring and more pronounced ear development.
What percentage of starter should I use in my recipe?
Use ten to fifteen percent starter by weight of flour. Using more than twenty percent starter actually works against you because it accelerates fermentation to the point where you lose flavor development.
Final Thoughts
Artisan sourdough isn’t some mysterious craft that requires special gifts or expensive equipment. It’s flour, water, salt, time, and heat. Everything else is refinement.
Start with the simple method. Nail it three times. Then, and only then, start exploring variations. This approach—building mastery on a solid foundation instead of chasing complexity—is how real bakers develop their skills.
Your first loaf from this method might not be perfect. That’s fine. But by your fifth or sixth loaf, you’ll understand sourdough in a way that no amount of reading could teach you. That’s the real simplicity: knowing what matters and ignoring everything else.
About This Article

Written by Sam Whitaker. Sam Whitaker has been baking sourdough for over a decade, including three years baking commercially, and now works out of a home kitchen in the Pacific Northwest. Sam's eleven-year-old starter, Harold, is the foundation for every recipe and troubleshooting guide on Sourdough Rising — real bread tested over and over until it works. More about this site.
Scope and limits. Sam is a home baker with no formal culinary training. Follow current food safety guidance for storage and handling, particularly with enriched or filled doughs.
Verify this against a primary source
Specifics change, and your situation may differ from the one described here. These are the authorities worth checking directly:
- USDA FoodData Central — flour and ingredient composition data
- FoodSafety.gov — safe handling and storage