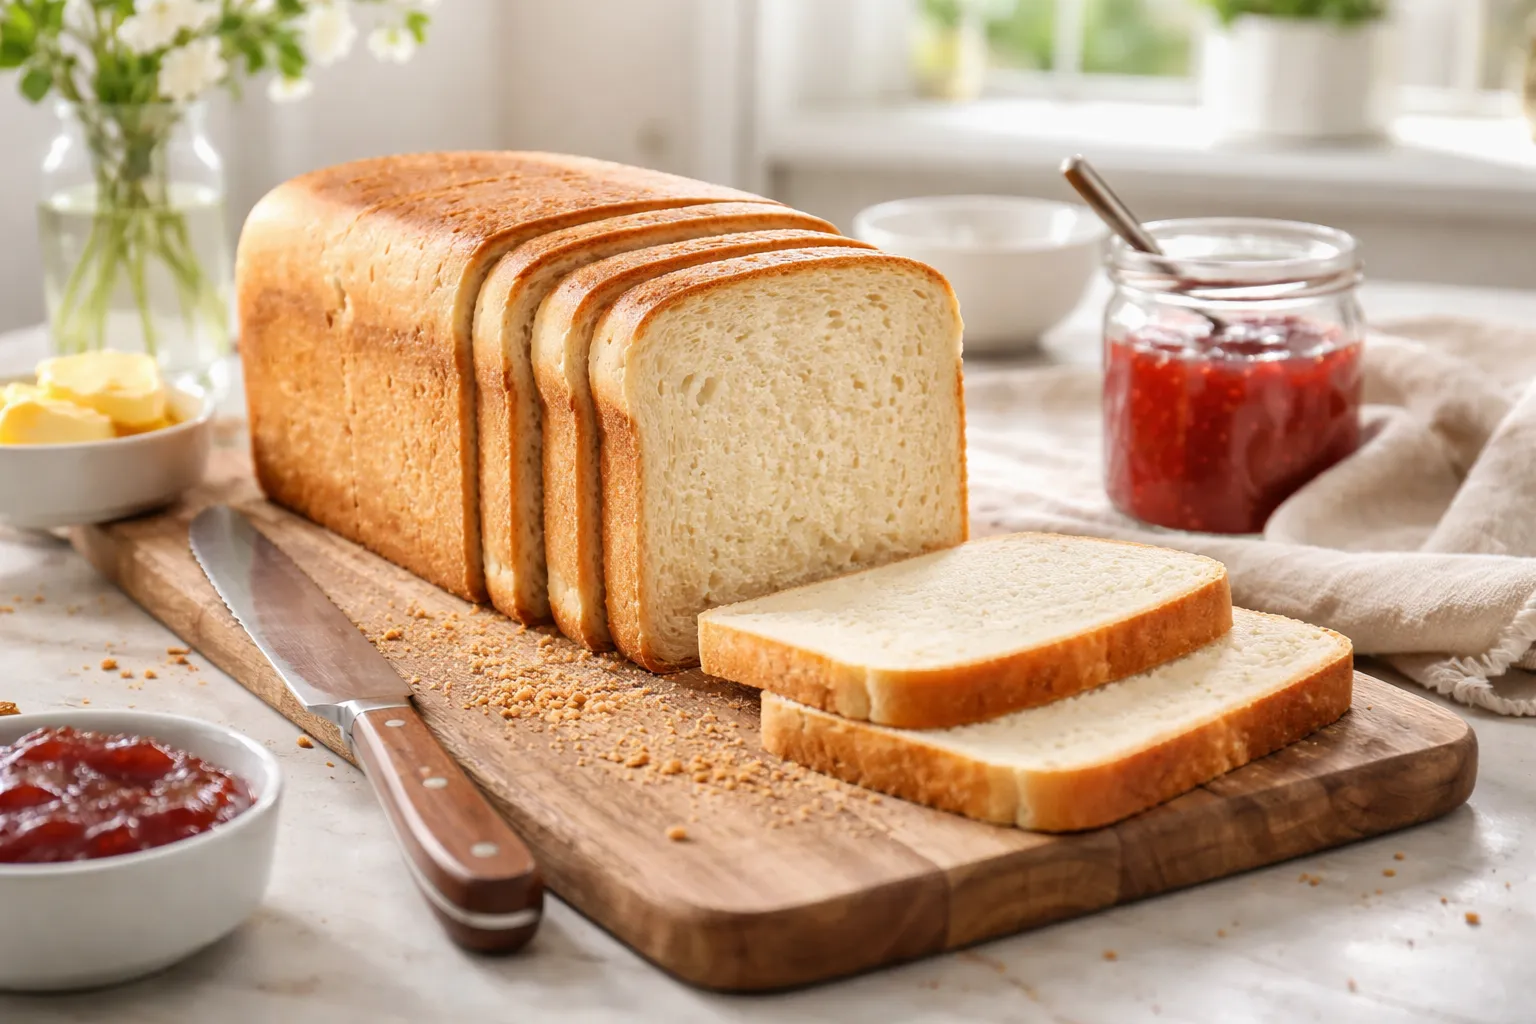
Most sourdough you’ll find at farmers markets or fancy bakeries is built for show, not for sandwiches. Thick crust. Huge irregular crumb. Beautiful for Instagram. Terrible for actually eating lunch.
A proper sandwich loaf changes that equation entirely. After 11 years of baking and three years running a home microbakery, I’ve learned that the best sandwich bread is the one you make yourself—softer, fresher, and genuinely better tasting than anything wrapped in plastic at the store.
In this post, I’m sharing my sourdough sandwich loaf formula. It’s designed for a Pullman pan, which gives you a soft, flat-topped, perfectly sliceable loaf every single time.
Why Sourdough Sandwich Bread Works
Commercial sandwich bread is soft because of added fats, dough conditioners, and that slightly rubbery crumb structure. Sourdough gets soft a different way: through time and technique.
The natural fermentation of sourdough produces lactic acid, which softens the gluten network and breaks down starches. This happens slowly, over 12 to 16 hours of bulk fermentation and cold retard. That’s why a day-old sourdough sandwich loaf slices better than a fresh boule.
A Pullman pan (also called a pain de mie pan) changes the game here. Unlike a round banneton, a Pullman pan creates a flat top and tight, uniform crumb. No huge irregular holes. No thick crust. Just clean, soft slices that hold a sandwich without falling apart.
The Formula and Hydration
This is a 78% hydration dough. That’s wetter than your typical boule or batard, but it’s necessary for a truly soft crumb. The water content, combined with the Pullman pan’s enclosed environment, produces a tender, yielding texture.
- Bread flour: 500g
- Water: 390g (78%)
- Active, fed sourdough starter: 100g (20%)
- Salt: 10g (2%)
- Diastatic malt powder: 5g (optional, but recommended for color and browning)
A few notes on ingredients: I use a strong bread flour here (13–14% protein) because higher hydration needs structural support. Whole wheat or spelt will work, but your crumb will be denser. Malt powder isn’t essential, but it does help the crust brown evenly in a Pullman pan, where steam is trapped.
Starter Strength Matters
Your sourdough starter should be at peak activity when mixed into the dough. This means fed, bubbly, and doubling within 4–6 hours at room temperature. If your starter is sluggish, give it an extra feeding 2–4 hours before you use it.
For a sandwich loaf, you don’t need a fast rise. In fact, slower fermentation is better—it builds flavor and creates a more tender crumb. Weak starter is fine as long as it’s consistent.
The Schedule and Timeline
This timeline assumes a room temperature around 68–72°F. Warmer kitchens will move faster; cooler ones will need an extra 1–2 hours at each stage.
Morning (Hour 0–1): Mix and Autolyse
Combine bread flour, water, and malt powder. Mix until there are no dry bits—this takes about 2 minutes by hand or 30 seconds in a stand mixer. Let this rest for 30 minutes. This autolyse hydrates the flour and develops gluten without any mechanical work.
After the rest, add your starter and salt. Mix thoroughly. In a stand mixer on low speed, this takes about 5 minutes. By hand, expect 8–10 minutes of kneading.
Bulk Fermentation (Hour 1–5)
Leave the dough in a lightly oiled bowl at room temperature. Perform 4 sets of stretch-and-folds, spaced 30 minutes apart. Each stretch-and-fold takes 1 minute: grab one side, stretch up and over itself, rotate the bowl 90 degrees, repeat 4 times total.
After the fourth set of folds, let the dough rest undisturbed for another 1.5 to 2 hours. You’re looking for a dough that’s visibly risen, bubbly at the surface, and jiggles slightly when you move the bowl. It should increase 30–50% in volume, not double.
Shaping and Cold Retard (Hour 5–6 and overnight)
Turn the dough onto a lightly floured surface. You want minimal handling here. Gently pre-shape it into a rough rectangle, roughly the size of your Pullman pan.
Let it rest seam-side down for 15 minutes. This bench rest allows the gluten to relax slightly. Then, final shape: fold the dough into thirds lengthwise, seal the seams gently with the heel of your hand, and flip seam-side down. You’re creating a small amount of surface tension, nothing aggressive.
Place the shaped dough into your Pullman pan. It should fill about 2/3 of the pan—not more. Cover with the lid or plastic wrap and refrigerate for 12–16 hours.
Why the overnight cold retard? Cold dough ferments slowly, developing more acidity and flavor. This also makes scoring irrelevant—a Pullman loaf bakes flat-topped anyway. The real benefit is that cold dough is easier to handle and produces a more open, tender crumb.
Baking the Loaf
Preparation and Oven Temperature
Remove the dough from the fridge. Preheat your oven to 475°F (245°C) for 45 minutes. If you have a baking stone, place it in the oven too—this helps with even heat.
The dough should be cold and just barely risen. Don’t let it warm up to room temperature. Cold dough in a hot oven is the combination that gives you great oven spring.
Baking with Lid and Cover
Slide the entire Pullman pan (with lid) into the oven. Bake covered for 35 minutes. The lid traps steam, which is essential for a soft crust and open crumb. Without it, your loaf will develop a thick, chewy crust.
After 35 minutes, remove the lid carefully—it will be hot. Bake uncovered for another 10–12 minutes until the top is a deep golden brown. Total bake time is roughly 45–47 minutes.
The internal temperature should reach 205–210°F (96–99°C) when you insert an instant-read thermometer into the center of the loaf. If you don’t have one, gently shake the pan—the loaf should feel very firm, not soft or squishy.
Cooling and Slicing
Remove the loaf from the pan immediately. Place it on a wire rack seam-side down. Let it cool for at least 3–4 hours before slicing. Yes, this is annoying. No, you can’t skip it.
Hot bread has not finished setting. The crumb structure is still reorganizing as it cools. Slicing too soon will produce a gummy, compressed loaf. Wait the full 4 hours and your slices will be clean and tender.
When you’re ready to slice, use a sharp serrated knife and a gentle sawing motion. A dull knife will compress the crumb and tear the structure. Wet the blade under running water, wipe it, and make smooth, even strokes.
Why Use a Pullman Pan
I’ve baked hundreds of sandwich loaves over the years, and I’ve tried every approach: Dutch ovens, free-form boules, tall loaf pans without lids. None of them compare to a proper Pullman pan for this specific job.
A Pullman pan creates an enclosed baking environment. Steam stays trapped inside. The dough can’t over-expand vertically; instead, it fills the pan evenly. The result is a flat top, square sides, and a uniform crumb with small, regular holes—exactly what you want in sandwich bread.
The USA Pan Bakeware Pullman Loaf Pan with Cover is my go-to. It’s heavy-gauge steel, so it conducts heat evenly without any hot spots. The lid fits snugly and doesn’t warp. After three years of commercial baking, I still use the same pan I bought a decade ago. One less thing to worry about on bake day.
If you don’t have a Pullman pan yet and are serious about sandwich loaves, this is the single best investment. It costs less than $25 and it will outlast you.
Troubleshooting Common Issues
The Crust Is Too Thick
You’re either forgetting to cover the pan with the lid, or the lid isn’t sealing properly. Check that the edges of the lid sit flush against the rim of the pan. If the lid is warped, replace it.
Also check your oven temperature with an independent thermometer. If your oven is actually running 50°F hotter than the dial says, your crust will set too quickly and thicken.
The Crumb Is Too Dense or Gummy
This usually means underbaking or slicing too soon. Check your internal temperature. If it’s below 205°F, return the loaf to the oven (uncovered) for another 5 minutes. Always let the loaf cool fully before slicing.
Another culprit: weak starter or insufficient bulk fermentation. If your dough barely rose during the bulk phase, it didn’t develop enough gluten strength. Next time, extend bulk fermentation by 30–60 minutes, or add one more set of stretch-and-folds.
The Top Sinks or Wrinkles After Baking
This is usually a sign of slight underbaking combined with too much residual moisture. The interior is still slightly soft, and as it cools, the structure settles unevenly. Add 2–3 minutes to your uncovered bake time next batch.
Alternatively, your dough over-fermented before shaping. The gluten had already started to relax and break down. Cut bulk fermentation by 15–20 minutes and see if that helps.
Storage and Keeping Quality
Fully cooled loaves can be wrapped in plastic and kept at room temperature for 2–3 days. After that, the crumb will start to firm up and lose its soft, tender quality.
For longer storage, slice the loaf and freeze the slices in a freezer bag. Frozen sourdough sandwich bread thaws beautifully in about 20 minutes at room temperature. Toast it if you want extra crispness.
Don’t refrigerate unsliced loaves. Cold temperatures accelerate staling, even though it seems counterintuitive. Room temperature or freezer—those are your only two good options.
The Bottom Line
A sourdough sandwich loaf takes time and planning, but most of that time is passive fermentation. Active hands-on work is maybe 20 minutes spread across two days. The payoff is bread that tastes infinitely better than anything commercially produced and costs a fraction of what you’d pay at a bakery.
Once you nail this formula, you’ll stop buying bread. I did, and I haven’t looked back.
Frequently Asked Questions
Why is sourdough sandwich bread softer than store-bought?
Sourdough gets soft through natural fermentation over 12 to 16 hours of bulk fermentation and cold retard. The fermentation produces lactic acid, which softens the gluten network and breaks down starches. This slow process creates a tender crumb without added fats or dough conditioners.
What hydration percentage should my sandwich dough be?
This sandwich loaf formula uses 78% hydration dough, which is wetter than typical boules or batards. The higher water content, combined with the Pullman pan’s enclosed environment, produces a tender, yielding texture perfect for slicing and sandwiches.
How long should I cool the loaf before slicing?
Let the loaf cool for at least 3–4 hours before slicing. Hot bread hasn’t finished setting, and the crumb structure is still reorganizing. Slicing too soon produces a gummy, compressed loaf. Waiting the full 4 hours gives you clean, tender slices.
Can I refrigerate my sourdough sandwich loaf to keep it fresh?
No, don’t refrigerate unsliced loaves. Cold temperatures accelerate staling. Instead, keep fully cooled loaves wrapped in plastic at room temperature for 2–3 days, or slice and freeze them in a freezer bag for longer storage.
About This Article

Written by Sam Whitaker. Sam Whitaker has been baking sourdough for over a decade, including three years baking commercially, and now works out of a home kitchen in the Pacific Northwest. Sam's eleven-year-old starter, Harold, is the foundation for every recipe and troubleshooting guide on Sourdough Rising — real bread tested over and over until it works. More about this site.
Scope and limits. Sam is a home baker with no formal culinary training. Follow current food safety guidance for storage and handling, particularly with enriched or filled doughs.
Verify this against a primary source
Specifics change, and your situation may differ from the one described here. These are the authorities worth checking directly:
- USDA FoodData Central — flour and ingredient composition data
- FoodSafety.gov — safe handling and storage