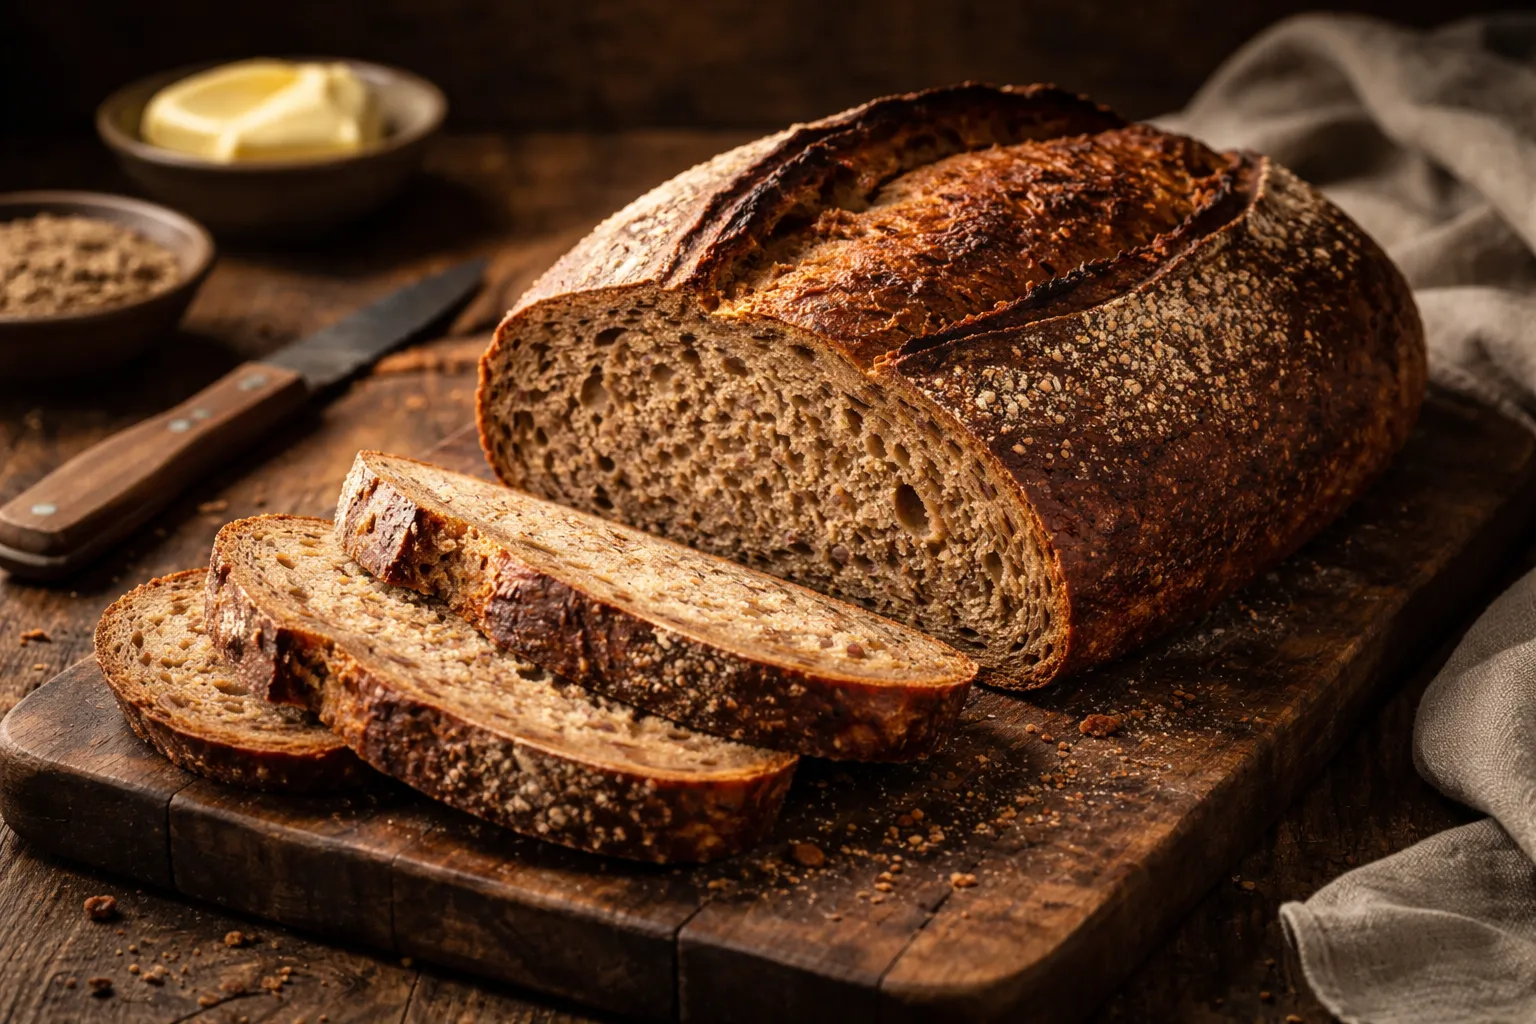
I still remember staring at what was supposed to be a beautiful, rustic loaf sitting on my cooling rack and thinking, “I could use this thing as a doorstop.” It was dense, gummy in the middle, and about two inches tall. I had spent three days nursing my starter, carefully measured every gram, followed a recipe I found online to the letter, and somehow ended up with the saddest excuse for a loaf of bread I had ever seen. That was my first serious attempt at a 100 percent whole wheat sourdough recipe, and it very nearly convinced me to just give up and go back to mixing in a little bread flour like everyone kept telling me to. I am so glad I did not listen.
If you have been down the same road, this one is for you. Whole wheat sourdough is genuinely one of the most rewarding breads you can bake, but it comes with a learning curve that nobody really warns you about. Once you understand why whole wheat dough behaves the way it does, everything changes. Let me walk you through what I learned, what I changed, and how I finally pulled a loaf out of the oven that made me do a little happy dance right there in my kitchen.
Why 100 Percent Whole Wheat Sourdough Is So Hard to Get Right
Here is the core problem. Whole wheat flour contains the entire grain, bran and germ included. That sounds like a good thing, and nutritionally it absolutely is. But those bran particles are like tiny little knives that literally cut through the gluten strands you are trying so hard to develop. Less gluten structure means less gas retention, which means a flatter, denser loaf. It is not a flaw in your technique, at least not entirely. It is just the nature of the flour.
On top of that, whole wheat flour absorbs water much more aggressively than white flour. A hydration level that gives you a perfectly workable dough with bread flour will feel impossibly stiff with whole wheat. Many bakers try to compensate by just dumping in more water, and then they end up with a slack, sticky mess that spreads sideways instead of rising upward. I did exactly this on attempt number two. Progress, technically, but not in the right direction.
The third challenge is fermentation speed. The extra nutrients in whole wheat flour actually feed your starter and the wild yeast in your dough faster than white flour does. That sounds helpful until you realize it means your dough can over-ferment in far less time than you expect, which destroys the gluten structure you worked to build and leaves you with that dreaded flat, gummy result.
The Flour That Actually Hydrates Like Whole Wheat Should
Whole wheat flour drinks water differently than white flour—it absorbs more of it and holds onto moisture longer—but I didn’t know that until I switched flours and suddenly my dough stopped fighting me. If you’re using a flour that’s been sitting around or doesn’t have consistent protein content, you’ll be chasing the right hydration level forever.
What works
- The dough absorbs water more evenly during mixing, so you actually get a cohesive mass instead of a shaggy, unmanageable mess that won’t come together.
- It ferments predictably—your bulk rise isn’t a guessing game, and the dough develops decent strength instead of staying slack and soupy through the whole cycle.
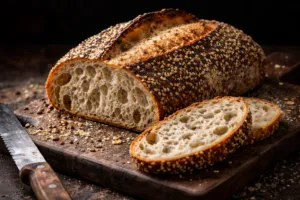
- The crumb structure is noticeably better; you get actual open pockets instead of that dense, gummy interior that makes you question everything you did for three days.
What doesn’t
- It’s not as widely available in every grocery store, so if you’re used to grabbing whatever’s on the shelf, you may need to order online or plan ahead.
- The price per pound is higher than conventional whole wheat flour, which adds up if you’re baking multiple loaves a week.
I nearly gave up on whole wheat sourdough entirely after that brick loaf—I actually considered it a failed experiment—but switching to this flour changed everything. Grab Bob’s Red Mill Organic Whole Wheat Flour and see if consistency in your flour means consistency in your loaves.
This post contains affiliate links. As an Amazon Associate, I earn from qualifying purchases at no extra cost to you.