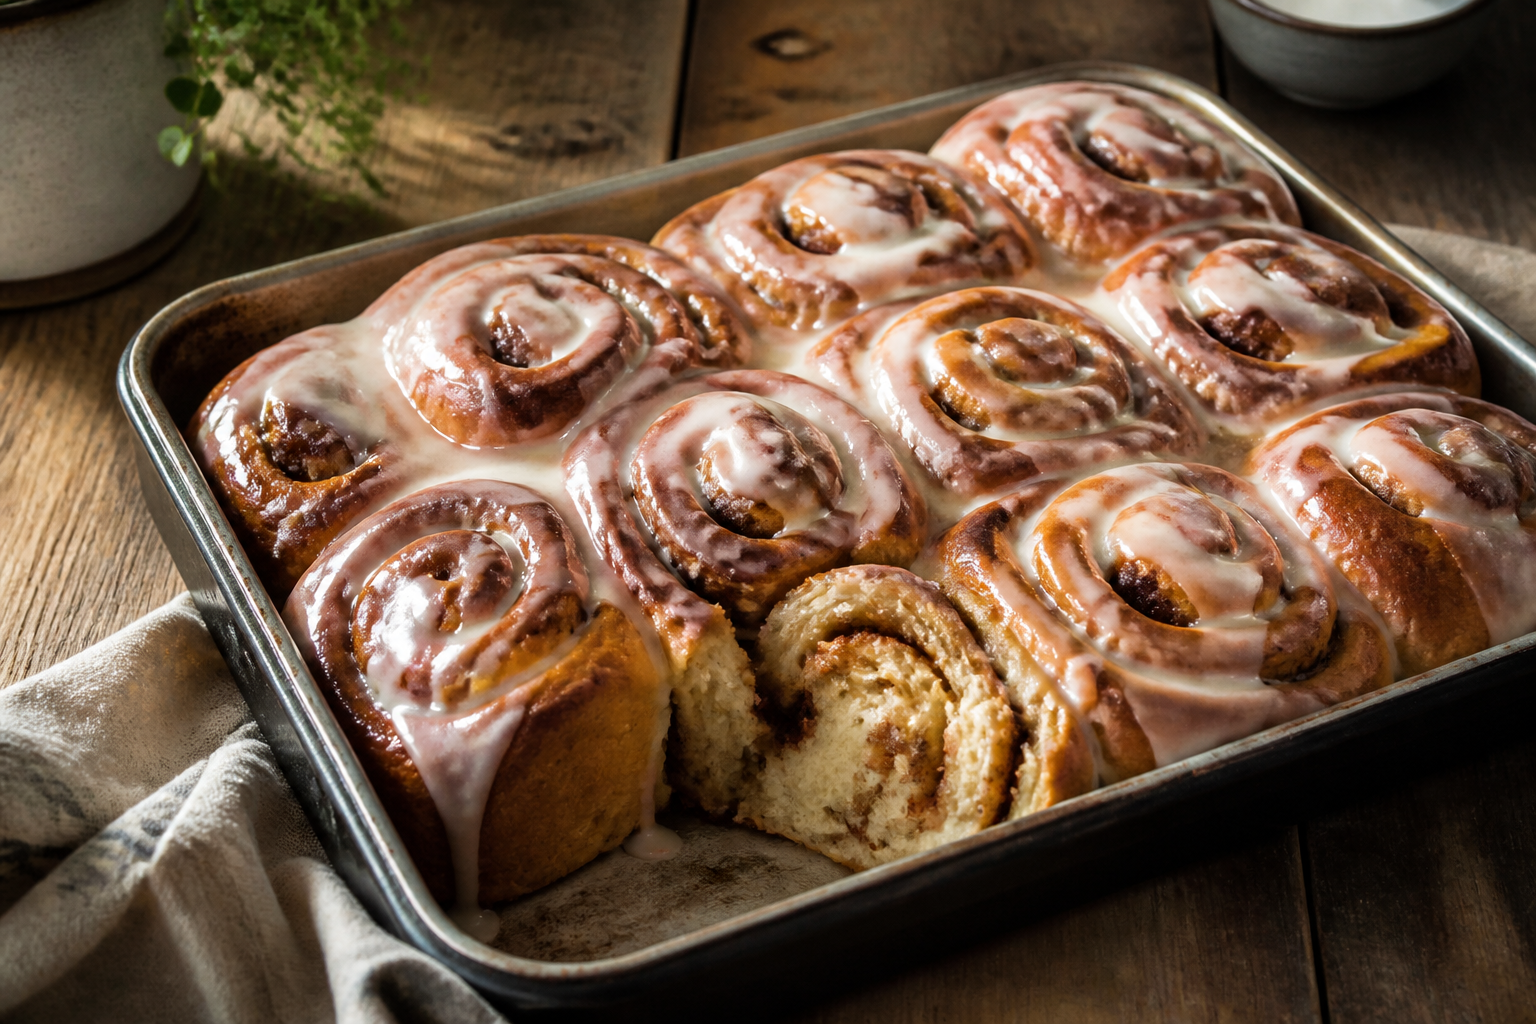
Back when I first started making these, I’d set an alarm for 5am on Christmas morning just to babysit a proof, because I hadn’t yet cracked the trick of letting the fridge do the heavy lifting overnight. These days the dough gets mixed after supper, the rolls get shaped before I turn in, and the cold fridge handles the rest — I get up, slide the pan in the oven, and there’s a tray of tangy, fluffy cinnamon rolls cooling before anyone else has even rolled out of bed. Eleven years into baking sourdough, this is the one I come back to on a regular Tuesday, not just when there’s a holiday to justify it.
What Sets a Sourdough Version Apart
A standard yeasted roll is soft and sweet, nothing more complicated than that. Bring sourdough into the mix and you keep that same cloud-like crumb, but now there’s a faint sourness running underneath that tames the sugar — instead of eating what amounts to frosted cake, it starts to feel like an actual breakfast food. Stretching the fermentation out overnight also builds far more flavor than a rushed hour-long rise ever could, which is really the whole reason the overnight approach earns its keep here.
What Goes Into the Dough
- 100g active sourdough starter
- 240g whole milk, warmed slightly
- 70g granulated sugar
- 1 large egg
- 60g unsalted butter, softened
- 500g all-purpose or bread flour
- 7g salt
Because this dough is enriched — loaded with milk, egg, sugar, and butter — fermentation naturally slows down compared to a plain lean loaf, and that’s precisely why a long cold rise overnight works with the dough rather than against it.
What Goes Into the Filling
- 100g unsalted butter, very soft (almost a paste)
- 150g brown sugar, packed
- 2 tablespoons cinnamon
- Pinch of salt
The Process, Stage by Stage
- Bring the dough together. Stir the starter into the warmed milk along with the sugar and egg, then work in the softened butter. Add the flour and salt and mix until you’ve got a shaggy, somewhat sticky mass. Knead by hand for 8-10 minutes (or 5-6 minutes on medium speed with a stand mixer’s dough hook) until it turns smooth and stretches into a rough windowpane.
- Let it bulk ferment. Cover the bowl and leave it at room temperature for 4-6 hours, until it’s visibly puffed up — enriched dough climbs slower than lean dough, so don’t wait around expecting it to fully double. As an alternative, mix it up in the evening and let bulk fermentation happen in the fridge overnight instead, over 8-12 hours.
- Roll it out and add the filling. Tip the dough onto a floured surface and roll it into roughly a 16×12-inch rectangle. Spread the very soft butter all the way to the edges, then scatter the brown sugar and cinnamon mixture evenly across it, pressing lightly so it sets into the butter.
- Roll it up and slice. Beginning at the long edge, roll the dough into a snug log. Slice it into 10-12 equal rolls using a length of unflavored dental floss or a sharp serrated knife — floss tends to leave a cleaner cut without flattening the spiral the way a knife can.
- Give them their second rise. Nestle the rolls into a buttered 9×13 pan, leaving a little breathing room between them. Cover the pan snugly and refrigerate overnight, somewhere between 8 and 12 hours. This is the stage that really makes the overnight method click — the rolls proof gradually in the cold instead of you standing around waiting the next morning.
- Bake them off. In the morning, take the pan out and let it come up to room temperature for 30-45 minutes while your oven heats to 350°F (175°C). Bake 25-30 minutes, until they’re golden on top and an instant-read thermometer in the center hits at least 190°F.
- Finish with glaze while hot. Whisk 120g powdered sugar with 2 tablespoons milk and a bit of vanilla, then drizzle it over the rolls while they’re still warm so it melts slightly into the surface.
Two Ways to Wreck a Batch
Butter that hasn’t softened enough. If the filling butter isn’t genuinely soft — nearly the consistency of frosting — it’ll rip through the dough rather than spread smoothly, and your spiral falls apart. Soften it more than feels necessary; you won’t regret it.
Trusting color instead of a thermometer. Enriched dough browns on the outside long before the center is actually cooked through. Pull a roll from the middle of the pan and check it — anything under 190°F means a gummy, underbaked core no matter how golden the crust looks.
Tools Worth Having for Consistent Results
Getting the dough-to-filling ratio right every time comes down to weighing your ingredients instead of eyeballing them — a digital kitchen scale takes the guesswork out of both the dough and the filling. And if you’re making a double batch for a crowd, a stand mixer with a proper spiral dough hook saves your arms during the knead — enriched dough is noticeably stickier and heavier than a lean loaf.
Ways to Customize From Here
Try replacing half the brown sugar in the filling with finely chopped pecans or walnuts, or work some orange zest into the dough for a brighter, more citrus-forward take. Once you’ve nailed the base recipe a single time, every other variation is just a matter of swapping out the filling.
After shaping and placing the rolls in a buttered 9×13 pan, cover and refrigerate them for between 8 and 12 hours. This cold overnight proof is what makes the method work—the rolls gradually proof in the fridge rather than requiring active attention the next morning. Bake until an instant-read thermometer inserted in the center hits at least 190°F. Enriched dough browns quickly on the outside but can still be gummy inside, so checking the internal temperature is more reliable than judging by color alone. Yes, as an alternative to a 4-6 hour room temperature bulk fermentation, you can mix the dough in the evening and let it bulk ferment in the fridge overnight for 8-12 hours instead. Enriched dough ferments slowly regardless, so the cold rise works well. If the filling butter isn’t softened to nearly a frosting consistency, it will rip through the dough rather than spread smoothly, causing your spiral to fall apart. Soften it more than feels necessary—you won’t regret it.Frequently Asked Questions
How long should sourdough cinnamon rolls proof overnight in the fridge?
What temperature should cinnamon roll dough reach when baking?
Can I bulk ferment sourdough cinnamon roll dough in the fridge?
Why does the filling butter need to be so soft?
About This Article

Written by Sam Whitaker. Sam Whitaker has been baking sourdough for over a decade, including three years baking commercially, and now works out of a home kitchen in the Pacific Northwest. Sam's eleven-year-old starter, Harold, is the foundation for every recipe and troubleshooting guide on Sourdough Rising — real bread tested over and over until it works. More about this site.
Scope and limits. Sam is a home baker with no formal culinary training. Follow current food safety guidance for storage and handling, particularly with enriched or filled doughs.
Verify this against a primary source
Specifics change, and your situation may differ from the one described here. These are the authorities worth checking directly:
- USDA FoodData Central — flour and ingredient composition data
- FoodSafety.gov — safe handling and storage