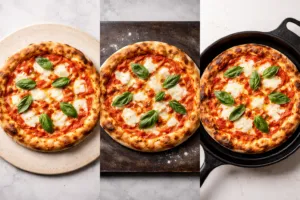
Sixty seconds. That’s roughly the window a genuine Neapolitan pie gets inside a wood-fired oven before it’s pulled — and no conventional home range comes anywhere near that kind of ferocity. I found this out the hard way on an otherwise unremarkable Tuesday, standing at my wide-open oven door, frantically fanning a dish towel at a shrieking smoke alarm while the pizza I’d been so proud of sat there transitioning from “dough” to “geological sample.” My kitchen reeked like a campsite. The underside of that pie hadn’t charred so much as fossilized — properly, uniformly black, the kind of black that says “this belongs in the trash, not on a plate.” My husband strolled in, glanced down, then back at me, and asked whether I’d baked a pizza or mined some coal. Coal. I had, in fact, produced coal.
Here’s the upside of that whole mess, though: it ended up teaching me nearly everything I needed to know going forward. These days, armed with some deep-dive reading, a flour swap that changed everything, and one crucial piece of gear, I’m sliding Neapolitan-style pies out of my ordinary home oven that make my family fall quiet for a beat before anyone reaches for a slice. That brief silence is about the highest praise my kitchen has ever earned. Stick with me and I’ll walk you through the whole thing, so you can skip straight past the coal phase.
| Flour Type | Protein Level | Best Use | Crust Texture |
|---|---|---|---|
| Italian 00 flour | 11–12.5% | Neapolitan-style pizza | Soft, delicate crumb with leopard-spotted char |
| Bread flour | Not specified | Sourdough loaves | Chewier, denser |
| All-purpose flour | Not specified | Sourdough loaves | Not ideal for Neapolitan pizza |
Your Home Oven Isn’t the Obstacle You Think It Is
The one belief that keeps home bakers from ever attempting real Neapolitan pizza is the temperature panic: the assumption that without a wood-fired oven roaring past 900°F, the whole thing is a lost cause. I get why people think this way. Officially certified Neapolitan pizza — the sort recognized by the Associazione Verace Pizza Napoletana — gets blasted with brutal heat for somewhere between 60 and 90 seconds flat. Your kitchen oven, meanwhile, tops out somewhere in the 500°F to 550°F range. Those numbers really are worlds apart.
None of that means your setup is doomed, though — it just means you have to compensate. Reach for the correct flour. Push your oven to the absolute ceiling of its heat range. Bake on the right surface. And build a sourdough that’s been properly developed, fermented, and shaped before it ever sees the oven. Nail those pieces and your regular oven will pull off something far better than you’d expect.
As for my coal disaster — it happened because I’d cranked my oven as high as it would go but plopped a dark, non-stick pan straight onto the oven floor. The crust’s underside baked at a completely different speed than the top. Basically every variable was working against me. The solution turned out to be simple, but only once I actually understood the problem.
Flour Matters More Than You Think: The Case for 00
Chances are, if sourdough bread is already your thing, bread flour or all-purpose flour is what’s sitting in your pantry. Both are genuinely great for loaves. Neither, though, is the ideal choice for Neapolitan-style pizza dough — which was the second major lesson I took away from my smoke-filled evening.
Italian 00 flour gets milled down to an incredibly fine texture, with protein levels usually sitting somewhere between 11 and 12.5 percent. That combo produces a dough that stretches into a round without ripping, bakes up with a soft, delicate crumb, and forms those signature leopard-spotted char marks along the crust when the heat gets intense. Bread flour, by contrast, gives you something chewier and a touch denser — perfectly enjoyable, just a different animal entirely.
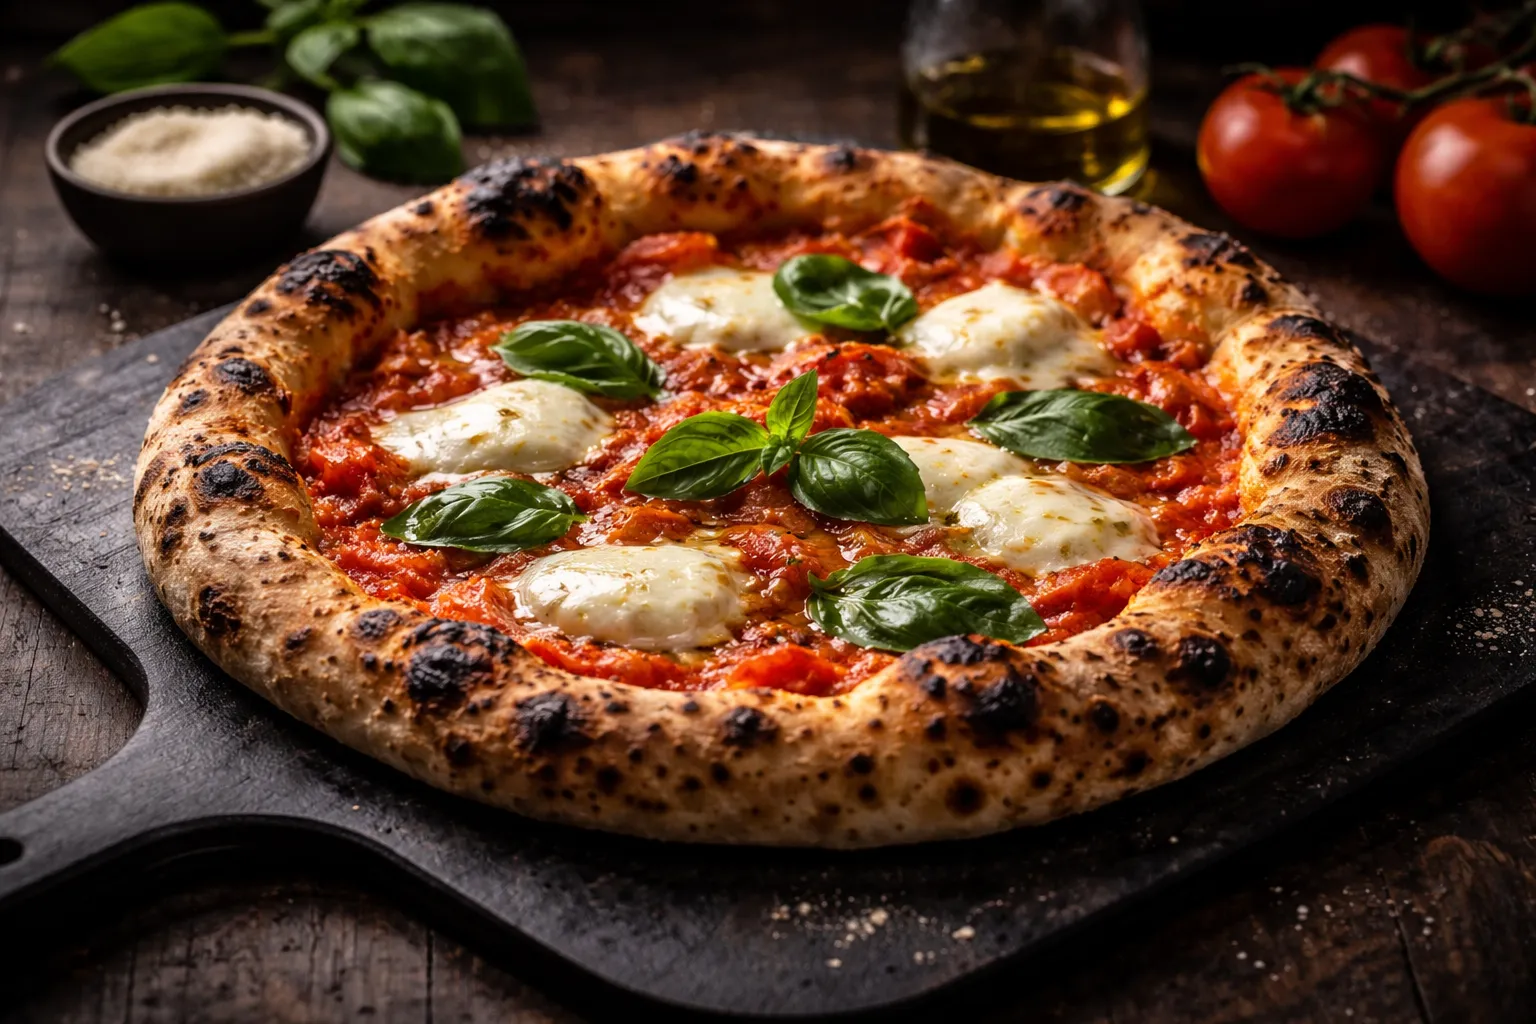
When I build sourdough Neapolitan dough, I stick with 00 flour at roughly 65 percent hydration. Purists run wetter doughs, but that gets harder to manage if you’re newer to this, and 65 percent still gives you a stretchy, cooperative dough that puffs up nicely with real oven spring and produces a light, blistered cornicione — that airy, puffed rim that’s the signature of an honest Neapolitan crust.
I add sourdough starter at around 15 to 20 percent of the total flour weight, staying toward the lower number whenever I’m planning a slow, cold ferment of 48 to 72 hours in the refrigerator. That cold rest isn’t just about scheduling convenience — it builds a depth of flavor you simply can’t get from a dough baked the same day it’s mixed. Salt runs 2.5 to 3 percent. That’s the entire ingredient list. Basic components, patience, and heat handle the rest.
What You’ll Need
- 500g 00 flour
- 340g water (68% hydration — pushed higher than a true Neapolitan ratio, since home ovens simply don’t get as hot as a wood-fired setup)
- 75g active sourdough starter (15% of flour weight)
- 12g salt
Putting It All Together
- Mix it up. Stir together flour and water, then let that rest through a 30-minute autolyse. Work in the starter and salt, then knead for 10 minutes until the dough turns smooth and springy — 00 flour builds a noticeably silkier dough than bread flour ever does.
- Let it bulk ferment. Cover the dough and leave it at room temperature for 3 to 4 hours, until it’s puffed up roughly 50 percent in size.
- Portion and shape into balls. Split the dough into 4 pieces, about 230g apiece, and form each into a tight, taut ball.
- Send it to the fridge. Place the balls in an oiled, covered container and refrigerate for 24 to 48 hours.
- Pull the dough out and let it sit at room temperature for 1 to 2 hours before you start shaping.
- Open it up using only your hands. Use your fingertips and gravity alone to press and stretch each ball into a round — skip the rolling pin entirely, since it flattens out the very air pockets you’re trying to preserve in the crust.
- Keep toppings light and bake it screaming hot. Get your oven, along with a pizza steel or stone, preheating at its highest possible setting (usually 500-550F) for a full 45 to 60 minutes. Go easy on toppings — Neapolitan pizza was never meant to be piled high — then bake for 5 to 8 minutes, until the crust is leopard-spotted and the edges have puffed up nicely.
Setting Up Your Oven: Heat, Surfaces, and the Gear I Rely On
This is where that whole coal fiasco finally gets its resolution, and I want to say this plainly: whatever surface you bake on matters more than any other single factor in your home pizza setup. More than the dough recipe. More than the sauce. The surface underneath your pizza is what makes or breaks it.
Steel transfers heat far more effectively than stone, and unlike stone, it won’t crack when thermal stress hits it hard. Preheat a steel in your oven at full blast for a solid 45 to 60 minutes, and it turns into a dense pocket of steady, intense heat that pours straight into your dough the second they touch. That’s exactly what produces a blistered, crisp underside while the inside finishes cooking before your toppings scorch. That’s the piece I was completely missing the night I made coal.
My routine now: preheat the steel on the top rack, flipping the broiler on for the final 10 minutes before the pizza goes in. The steel handles bottom heat throughout the preheat, and the broiler hammers the top the moment the bake begins. Two to three minutes later, I’ve got a pizza that genuinely looks like it came from a pizzeria. The crust has real color, the cheese bubbles and spots beautifully, and the base is crisp — not carbonized proof of a failed attempt.
The Steel That Actually Retains Heat Instead of Failing You at 500°F
A flimsy pizza pan absorbs your oven’s heat unevenly, then dumps it all out the instant your dough touches down — which is a recipe for a soggy, underdone bottom while the top finishes way ahead of schedule. What you actually need is something dense enough to bank real thermal energy and hold that heat steady, even when your oven’s internal temperature seems to have a mind of its own.
Where it delivers
- That 3/8″ thickness soaks up and radiates heat consistently across the whole surface — no more scorched edges paired with a pale, underdone center.
- Past 500°F, it stays flat instead of warping the way thinner steels tend to, so the pizza isn’t sliding around mid-bake like it landed on ice.
- The surface only gets better with use — after a handful of bakes, dough releases far more easily, and you stop needing cornmeal on every single pie.
Where it falls short
- Reaching full thermal equilibrium takes a genuine 15 to 20 minutes of preheating, so there’s no jumping straight from “I want pizza” to actually baking one.
- At 3/8″ thick, it’s noticeably heavier to handle than you’d guess, especially once it’s hot — get sloppy with your peel angle and you’ll be chasing your pizza off the oven floor.
I second-guessed whether the extra thickness was worth the price until I pulled my third pizza with an actual baked bottom instead of a steam-cooked bottom — and that’s when it clicked. ThermiChef 16″ x 16″ Pizza Steel, 3/8″ Deluxe Thickness
Frequently Asked Questions
What flour should I use for Neapolitan-style sourdough pizza?
Use Italian 00 flour with protein levels between 11 and 12.5 percent. It produces a dough that stretches without ripping, bakes with a soft, delicate crumb, and forms signature leopard-spotted char marks. Bread flour or all-purpose flour are better for loaves but won’t give you the same results for Neapolitan pizza.
How long should I ferment Neapolitan pizza dough?
After a 3 to 4 hour bulk ferment at room temperature, shape the dough into balls and refrigerate for 24 to 48 hours. This cold fermentation builds depth of flavor you can’t get from same-day baking. Before shaping, let the dough sit at room temperature for 1 to 2 hours.
Can I make Neapolitan pizza in a regular home oven?
Yes, your home oven can produce excellent Neapolitan-style pizza if you use 00 flour, push your oven to its absolute maximum heat (usually 500-550F), bake on a proper pizza steel, and develop your sourdough with correct fermentation and shaping. The key is compensating for lower heat with technique and equipment.
Why is a thick pizza steel better than a thin one?
A 3/8″ thick steel soaks up and radiates heat consistently across the whole surface, preventing scorched edges with pale centers. It stays flat above 500F instead of warping, so pizza doesn’t slide around during baking. Reaching full thermal equilibrium takes 15 to 20 minutes of preheating.
About This Article

Written by Sam Whitaker. Sam Whitaker has been baking sourdough for over a decade, including three years baking commercially, and now works out of a home kitchen in the Pacific Northwest. Sam's eleven-year-old starter, Harold, is the foundation for every recipe and troubleshooting guide on Sourdough Rising — real bread tested over and over until it works. More about this site.
Scope and limits. Sam is a home baker with no formal culinary training. Follow current food safety guidance for storage and handling, particularly with enriched or filled doughs.
Verify this against a primary source
Specifics change, and your situation may differ from the one described here. These are the authorities worth checking directly:
- USDA FoodData Central — flour and ingredient composition data
- FoodSafety.gov — safe handling and storage