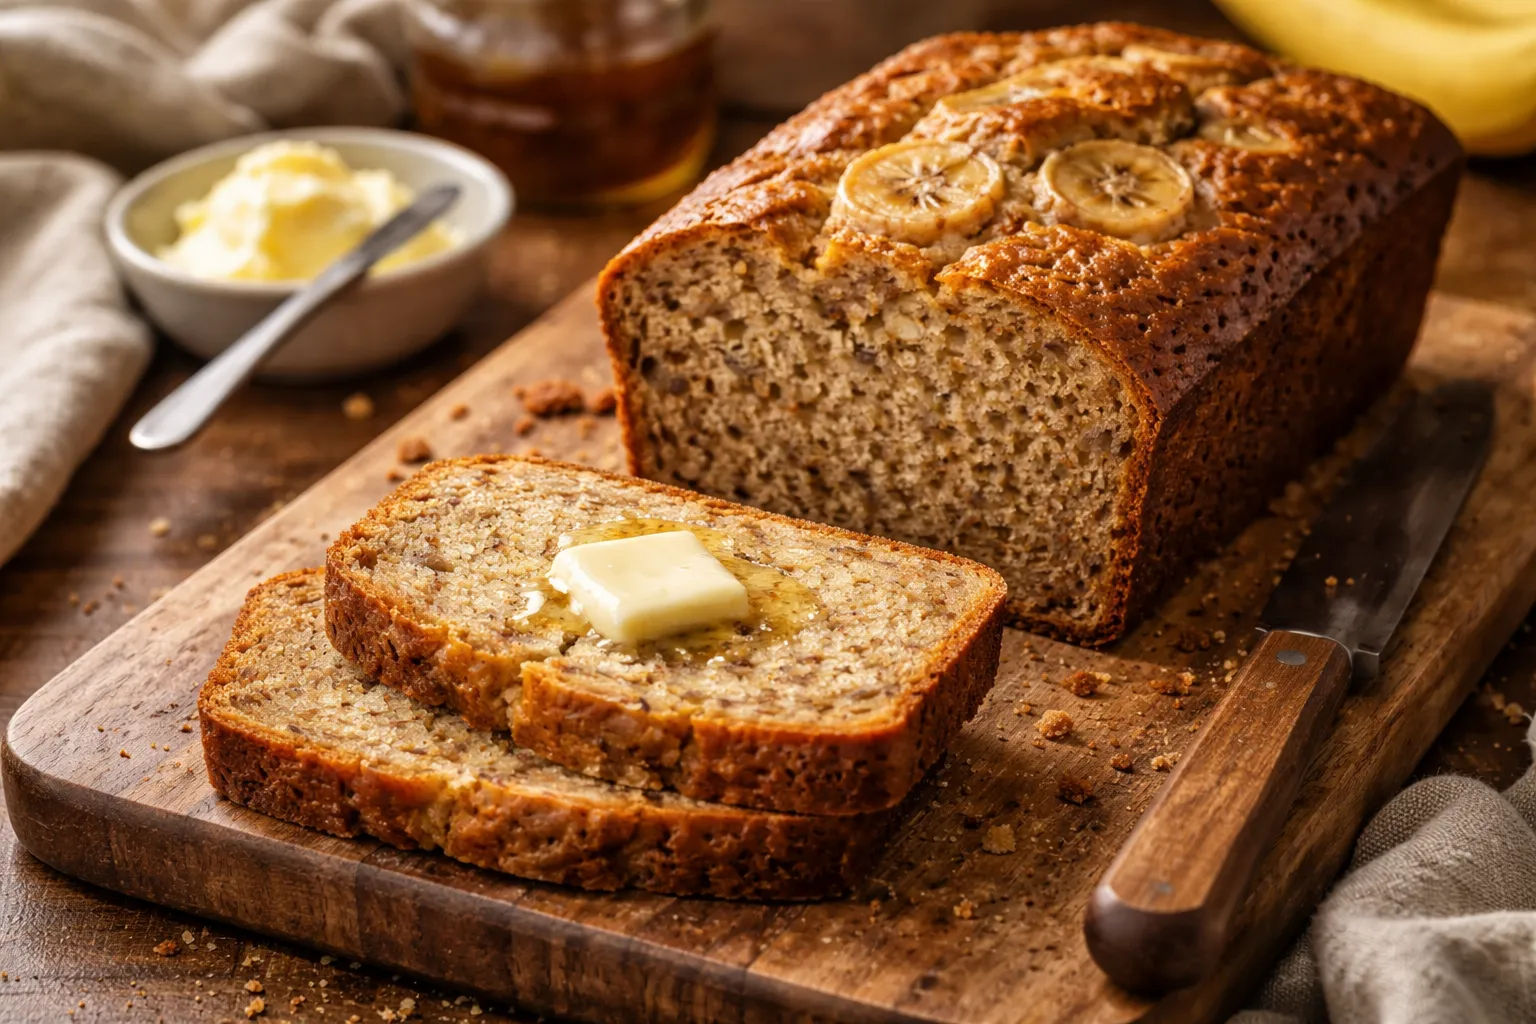
My knife is already through the crust before the disappointment sets in. Four minutes earlier I’d slid this loaf onto the cooling rack and let myself feel a little smug about it — gorgeous deep-brown crust, kitchen smelling exactly right. Then the slice fell open and told a different story: mushy, wet, almost translucent crumb in the center, like the middle hadn’t gotten the memo that it was supposed to bake too. This was attempt number three at sourdough discard banana bread inside a two-week stretch, and by that point I’d burned through every overripe banana in the house, a solid chunk of my flour bag, and pretty much all of my remaining patience.
Turns out I’ve got plenty of company on this one. Banana bread has this reputation as the recipe you hand a nervous first-time baker because nothing can really go wrong. Toss sourdough discard into that batter, though, and suddenly you’re juggling variables most recipe writers never mention, let alone account for. I learned that the hard way, through scorched edges and collapsed centers, before I finally traced the problem back to its actual source.
What I’m handing you today is the version that actually nails the texture — not the one that just looks impressive from the outside. This one comes out properly moist, tender all the way through, fully cooked in the center, and carrying that faint sourdough tang that makes people assume you know exactly what you’re doing.
Why This Loaf Is Sneakier Than a Normal Banana Bread Recipe
Nobody warns you about this part going in: discard brings extra liquid to the party. It also brings acidity. And depending on how mature and lively your particular jar of discard happens to be, it might contribute a bit of rise, or contribute nothing at all. Fold that into a batter already loaded with mashed banana, and you’ve got noticeably more moisture than any standard recipe was ever designed to handle. That extra liquid has to evaporate off somewhere during the bake, and if your time and oven temperature aren’t adjusted to account for it, it just pools in the middle, leaving you with a sad, undercooked core.
Both of my first two flops shared the exact same flaw: I grabbed a standard banana bread recipe, dumped in half a cup of discard, and treated the job as finished. Flavor-wise, honestly, it was fantastic both times. Texture-wise, the center was gummy and dense without fail. At one point I genuinely considered dedicating a separate compost bin just to failed quick breads.
The turning point came when I stopped rushing and actually sat down to consider what the discard was doing chemically to the batter. Once that clicked, the actual fix turned out to be embarrassingly straightforward.
The Loaf Pan That Fixed My Uneven Baking Problem
Two ruined batches in, I finally clocked that the recipe and discard ratio weren’t the culprits at all — my beat-up dark-finish loaf pan was trapping moisture and rushing the edges toward done while the middle lagged behind, still gummy. Once I switched over to a light-colored nonstick pan that distributes heat evenly, that raw-middle problem disappeared and I finally got a crumb that actually set properly.
Where it earns its keep
- That pale platinum nonstick finish doesn’t soak up and hold heat the way darker pans do, so the bottom and sides brown at a pace that actually matches the center instead of sprinting ahead of it.
- The crust released cleanly from the pan sides and eased away on its own, so I could turn the loaf out without the usual stuck-and-panicking routine that wrecks the look of the finished bread.
- Three batches in a row came out done all the way through with total consistency — no more guessing games about whether a dark exterior meant the interior was actually cooked.
Where it falls short
- The coating holds up better than my old pan’s did, but it’s strictly hand-wash territory — send it through the dishwasher just once and you’ll feel the nonstick surface start losing its grip.
- Given what it costs, it’s not noticeably beefier or heavier than the budget loaf pans out there, so what you’re really buying is the coating itself, not cast-iron-level durability.
I almost returned this pan after my second attempt because I was convinced the problem was something else entirely—but I gave it one more batch, and that’s when it clicked. If you’re cycling through recipe tweaks and your banana bread keeps coming out with that wet, undercooked center while the outside burns, try this one. Wilton Platinum Non-Stick 9 x 5 in Loaf Pan
Ingredients
- 200g sourdough discard
- 3 ripe bananas, mashed
- 200g all-purpose flour
- 150g sugar
- 2 large eggs
- 100g melted butter
- 5g baking soda
- 3g salt
- 5g ground cinnamon
Step by Step
- Mix the wet ingredients. Whisk together the mashed bananas, discard, sugar, eggs, and melted butter until smooth.
- Add the dry ingredients. Sprinkle the flour, baking soda, salt, and cinnamon over the wet mixture and fold just until no dry streaks remain – don’t overmix.
- Bake. Pour into a greased 9×5-inch loaf pan and bake at 350F (175C) for 55-65 minutes, until a toothpick inserted in the center comes out clean.
- Cool in the pan for 10 minutes, then turn out onto a rack to cool completely before slicing.
Sourdough discard brings extra liquid and acidity to banana bread batter, creating more moisture than standard recipes handle. Without adjusted baking time and temperature, that extra liquid pools in the middle instead of evaporating, leaving an undercooked, gummy core that won’t set properly. Use a light-colored nonstick loaf pan like the Wilton Platinum Non-Stick 9 x 5 in model. Light finishes distribute heat evenly instead of trapping it like darker pans do, so edges and center brown at matching rates, eliminating raw middles and burned outsides simultaneously. Bake at 350F for 55-65 minutes, until a toothpick inserted in the center comes out clean. Baking time varies depending on your oven and pan, so check for doneness at the earlier end rather than relying on time alone. This recipe uses 200g of sourdough discard mixed into the wet ingredients along with mashed bananas, sugar, eggs, and melted butter before folding in the dry ingredients and baking.Frequently Asked Questions
Why does my sourdough discard banana bread have a gummy center?
What pan should I use for even banana bread baking?
How long does sourdough discard banana bread bake?
How much sourdough discard goes in banana bread?
About This Article

Written by Sam Whitaker. Sam Whitaker has been baking sourdough for over a decade, including three years baking commercially, and now works out of a home kitchen in the Pacific Northwest. Sam's eleven-year-old starter, Harold, is the foundation for every recipe and troubleshooting guide on Sourdough Rising — real bread tested over and over until it works. More about this site.
Scope and limits. Sam is a home baker with no formal culinary training. Follow current food safety guidance for storage and handling, particularly with enriched or filled doughs.
Verify this against a primary source
Specifics change, and your situation may differ from the one described here. These are the authorities worth checking directly:
- USDA FoodData Central — flour and ingredient composition data
- FoodSafety.gov — safe handling and storage