Most home bakers assume a sourdough bagel is basically your everyday loaf dough, pinched into a ring and dunked in hot water for good measure — and that assumption is exactly what sank my earliest attempts. My first pot of boiled dough came out looking the part, then baked up into dense little rolls with a hole punched through the center: no chew, no shine, none of that bakery-case snap. It took roughly twelve tries before I understood that bagels aren’t sourdough wearing a costume — the dough itself needs to be firmer, the boiling water actually has to accomplish something, and the starter needs to contribute real character without dragging the crumb into sour, gummy territory. Once I nailed down the ratios, this turned into the one recipe my neighbors request specifically, by name.
Eleven years into home baking — three of those years spent cranking out big weekend batches for neighbors and friends out of my own kitchen — I’ve come to see sourdough bagels as their own animal entirely. They aren’t just sourdough pushed into a ring shape. They aren’t standard bagel dough with a spoonful of starter tossed in for flavor. They’re a genuine crossbreed of two separate traditions: the tang and depth that fermentation brings, paired with the dense, chewy backbone that makes a bagel worth boiling in the first place.
What Sets Sourdough Bagels Apart
My early failures had nothing to do with skill and everything to do with a faulty mental model. I was treating bagels like a spinoff of regular sourdough baking — the same category as pizza dough or focaccia. But bagels call for a completely different dough architecture.
Classic bagel dough clocks in around 60–62% hydration. It’s tight, and it’s supposed to be. That firmness is exactly what gives the dough the dense, chewy interior capable of standing up to a pot of boiling water and delivering the bite bagels are known for. Compare that to most sourdough loaves, which sit at 75–80% hydration, because they need all that extra water to open up and expand inside the oven.
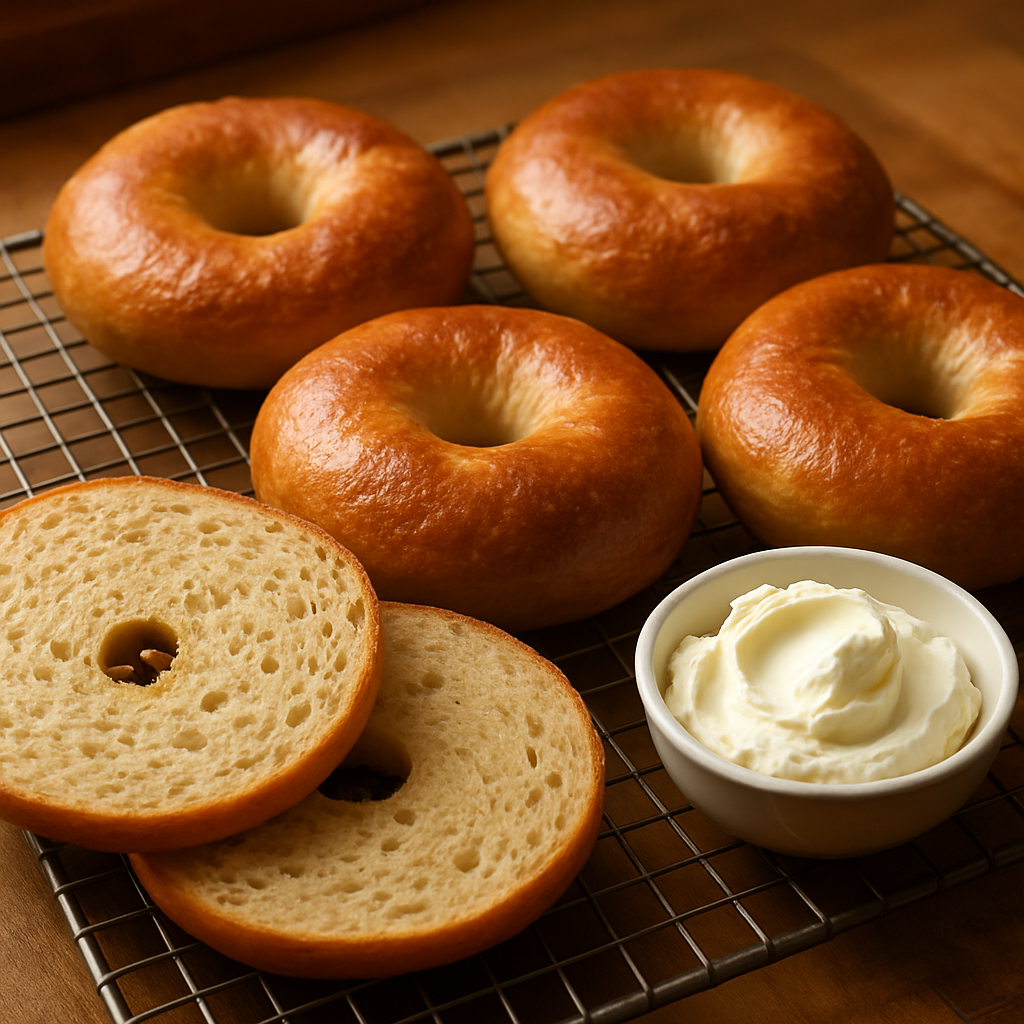
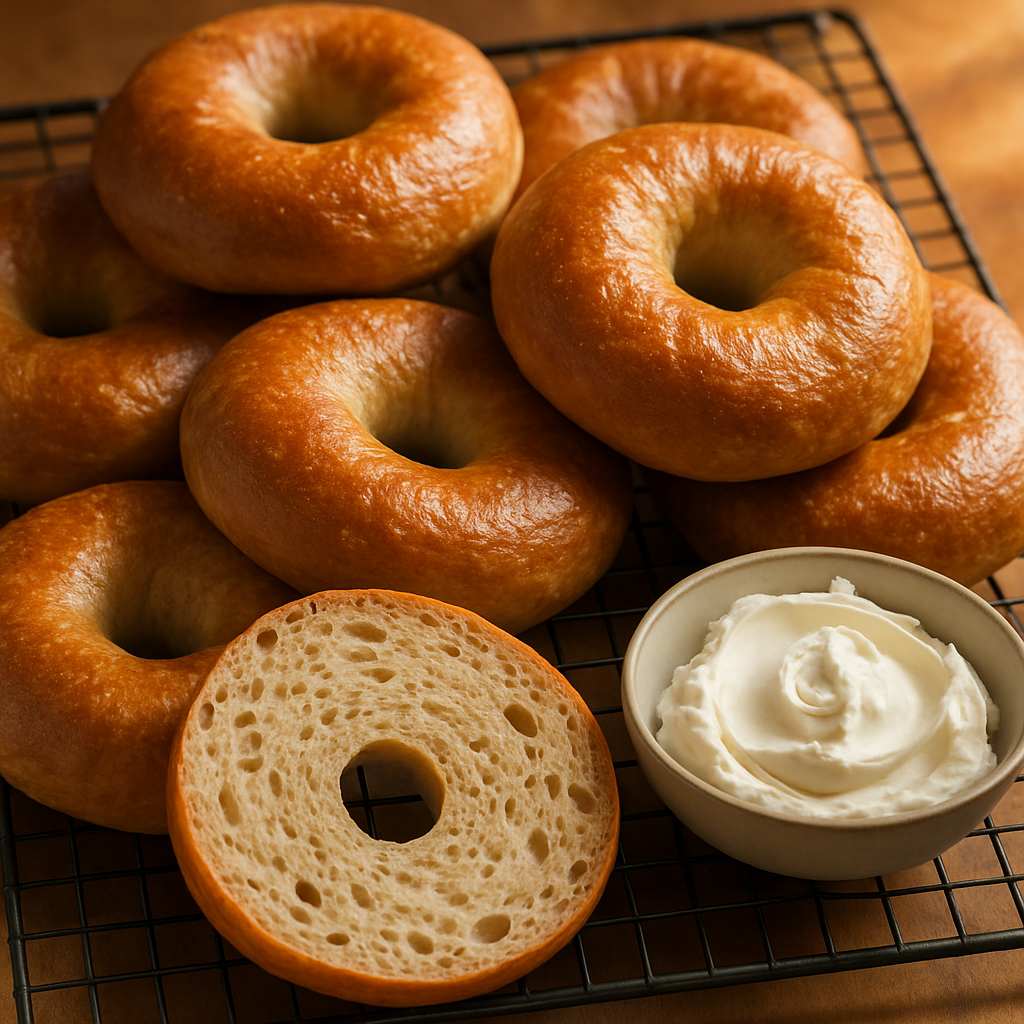
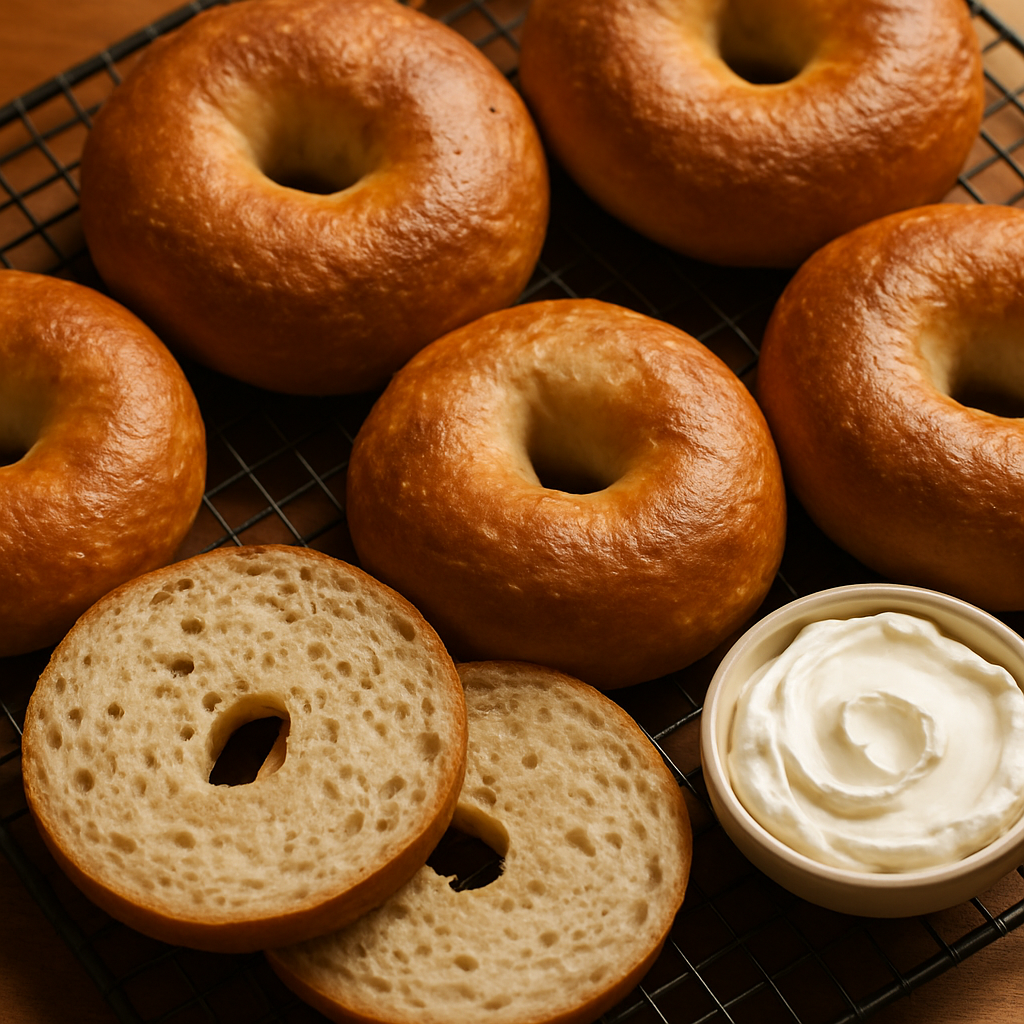
Once I dropped down to 62% hydration, paired it with a vigorous, well-fed starter, and gave the dough a longer stint in the fridge, the results transformed completely. The rings kept their shape through the boiling water. A faint sheen developed on the surface. And finally, that snap showed up — the moment you bite into the crust and it yields to something genuinely chewy underneath.
Before I even get into the dough, let me mention the one tool that actually changed how I score bagels: a reliable bread lame. I’ve been using the SAINT GERMAIN Premium Hand Crafted Bread Lame for Dough Scoring Knife, Lame Bread Tool for Sourdough Bread Slashing with 10 Blades Included with Replacement with Authentic Leather Protector Cover for a few years now, and the leather blade cover alone makes it worth keeping on the counter — it protects the blade between uses and keeps you from slicing a finger when you’re half-awake at 6 a.m. The 10 replacement blades mean you’re not hunting down refills every few months, which is exactly the kind of practical detail I wish someone had told me earlier.
Dough Ratios That Actually Deliver
Here’s my current formula, sized for six bagels:
- 500g bread flour
- 310g water (62% hydration)
- 100g active sourdough starter (fed 4–6 hours beforehand, at peak or just barely past it)
- 10g salt
- 5g sugar or honey (not required, but it aids browning)
Combine the flour and water first and let that sit for 30 minutes untouched. After that, work in the starter, salt, and sugar. Mix it well — this dough is stiff by design, and you’re aiming for solid gluten development. From there, I run four rounds of stretch-and-folds spaced across 30 minutes, giving the dough a 5-minute breather between each set.
This next part is where sourdough earns its keep: let the dough bulk ferment at room temperature (68–70°F works well) for 3–4 hours, until it’s grown by roughly half its original size and feels light without tipping into overproofed territory. Divide it into six rounds, give them 20 minutes to rest under a towel, then move the whole batch to the fridge overnight — anywhere up to 48 hours is fine.
Skipping that overnight rest in the fridge isn’t really an option. It’s what allows the sourdough tang to build without turning the crumb gummy in the process. It also stiffens the dough up ahead of shaping, so you get fewer blowouts once the rings hit the boiling water.
Shaping: The Step That Scares Everyone
People psych themselves out over bagel shaping, but it’s far more forgiving than it seems. Grab a cold dough ball straight out of the fridge. Push your thumb through the middle to open a hole. From there, use both hands to gently widen the ring, turning it as you stretch. You’re aiming for a hole roughly two inches across — it’ll close in some as the dough proofs and boils.
Go slow and stay gentle here. This isn’t pizza dough you’re stretching thin. You’re coaxing it into a ring shape while keeping the internal structure intact. If it fights back, give it 10 minutes to relax and try again.
Once they’re shaped, let the rings sit out at room temperature for 1–2 hours to proof. They should swell a bit and feel slightly airy when you press them, though they shouldn’t feel soft and pillowy the way sourdough loaves do. That firmer structure is exactly what gets them through the boil intact.
If you want something more compact for the occasional baker who doesn’t need a dedicated lame sitting out all the time, the Bread Lame Sourdough Scoring Tool, Extractable & Magnetic Bread Scoring Tool, Scoring Knife for Bread Baking, Bread Razor for Homemade Bread, Sourdough Scorer Tool, Includes 5 Razor Blades-Beige is worth a look — the retractable, magnetic design means the blade stays covered and secure without a separate case to misplace. It’s a tidy little tool that’s easy to tuck in a drawer, which honestly matters when your kitchen is already cluttered with proofing baskets and dutch ovens.
Boiling: The Moment Dough Turns Into Bagel
This is the step people rush through, and it’s precisely the one that matters most. You’ll want a decent volume of water — at least 2 quarts for a batch of six — and it needs to be at a genuine rolling boil, not a simmer. I stir in 1 tablespoon of baking soda. Some bakers swap that for honey or malt syrup instead. The soda pushes the pH up, which is what darkens the crust, gives it that soft sheen, and gelatinizes the starch on the dough’s outer layer. That gelatinized layer is the entire source of the chew.
Give each bagel 90 seconds per side in the water — not sixty seconds, not two full minutes, ninety. Go longer and the water soaks in too deep, leaving you with a dense, gummy center. Go shorter and the crust never gets the chance to develop properly. Watch for the bagel to float partway through that first side — that’s your cue that it’s ready for the flip.
Lift each one out with a slotted spoon and set it on a cooling rack to drain for a few minutes before it goes into the oven. A slightly tacky surface at this stage is completely normal.
Baking Toward That Bakery-Style Crust
I bake mine on a lined sheet pan in a 425°F oven for 22–26 minutes. There’s no steam involved — bagels simply don’t call for it. What they do need is even heat, which is exactly why I turn the pan around halfway through the bake.
You’ll know they’re done once the crust turns a deep golden brown and feels solid when you tap it. The sourdough tang should be present but restrained — noticeable, sure, but never loud enough to overpower everything else going on. If your batch comes out tasting overly sour or with a gummy center, chances are your starter had gone past its peak when you mixed the dough, or the boil ran too long.
As for that bakery-style crack when you bite in — that’s the payoff of getting three things right at once: hydration level, boil timing, and oven heat. Nothing mystical about it. It’s just technique, executed correctly.
Big Flavor, No Shortcuts Needed
What I appreciate most about these bagels is how the complex tang of a mature starter contrasts with the clean, toasted simplicity of the crust itself. There’s no need to reach for extra salt, sugar, or spice blends. The starter is already doing the heavy lifting.
Even so, this method leaves room to play. Add your seed toppings right after they come out of the boiling water, while the surface is still tacky enough to catch them. Everything-bagel blend, sesame, poppy seeds — they all cling perfectly. Want something a bit richer? A light brush of egg wash before topping does the trick.
Three years of making these for my own family, and not one batch has ever gone stale sitting on the counter. My neighbors ask for them specifically, by name. That’s not because I stumbled onto some hidden trick — it’s because I stopped trying to force sourdough into bagel shape and instead let sourdough become the bagel.
If your first attempt falls short, resist the urge to overhaul the whole process at once. Change one thing at a time: tighten up the hydration if the dough felt too loose, or stretch the boil if the crust never developed the way you wanted. The fix is usually smaller than you’d guess.
Step by Step
- Autolyse. Combine the flour and water first, then let it rest for 30 minutes.
- Mix. Work in the starter, salt, and sugar. Mix well – this dough is stiff on purpose, and you’re building solid gluten strength.
- Strengthen. Run four rounds of stretch-and-folds across 30 minutes, resting 5 minutes between each set.
- Bulk ferment. Let the dough sit at room temperature (68-70F) for 3-4 hours, until it’s grown by about 50% and feels light but not overproofed.
- Shape and rest. Divide into six rounds and let them rest 20 minutes under a towel.
- Cold retard. Move to the fridge overnight, or hold there for up to 48 hours.
- Shape into rings. Take a cold dough ball from the fridge, push a hole through the center with your thumb, then gently stretch the ring wider with both hands, turning as you go, until the hole reaches about two inches across.
- Proof. Let the rings sit at room temperature for 1-2 hours, until slightly puffy and airy when poked, but not pillowy.
- Boil. Bring at least 2 quarts of water to a rolling boil and stir in 1 tablespoon of baking soda. Boil each bagel 90 seconds per side, then drain on a cooling rack for a few minutes before baking.
- Bake. Bake on a lined sheet pan in a 425F oven for 22-26 minutes, rotating the pan halfway through, until the crust turns deep golden brown and feels firm to the touch.
Your kitchen has everything it needs for this. So does your starter. The only missing piece between you and a genuinely great batch of sourdough bagels is deciding to actually try it. Mix a batch. Toast a couple tomorrow morning. Let me know how they came out.
Frequently Asked Questions
What hydration should sourdough bagel dough be?
Sourdough bagel dough should be around 62% hydration, which is much firmer than regular sourdough loaves at 75–80% hydration. This firmness gives bagels their dense, chewy interior that can withstand boiling water and deliver that characteristic bite.
How long should I boil sourdough bagels?
Boil each bagel for 90 seconds per side in at least 2 quarts of rolling boiling water with 1 tablespoon of baking soda stirred in. Boiling longer soaks water too deep, creating a gummy center, while boiling shorter prevents proper crust development.
Why do I need to refrigerate bagel dough overnight?
The overnight fridge rest, which can extend up to 48 hours, allows sourdough tang to build without making the crumb gummy. It also stiffens the dough beforehand, reducing blowouts when the rings hit boiling water.
What oven temperature for sourdough bagels?
Bake bagels at 425°F on a lined sheet pan for 22–26 minutes, rotating the pan halfway through. They’re done when the crust turns deep golden brown and feels solid when tapped. No steam is needed for bagels.
About This Article

Written by Sam Whitaker. Sam Whitaker has been baking sourdough for over a decade, including three years baking commercially, and now works out of a home kitchen in the Pacific Northwest. Sam's eleven-year-old starter, Harold, is the foundation for every recipe and troubleshooting guide on Sourdough Rising — real bread tested over and over until it works. More about this site.
Scope and limits. Sam is a home baker with no formal culinary training. Follow current food safety guidance for storage and handling, particularly with enriched or filled doughs.
Verify this against a primary source
Specifics change, and your situation may differ from the one described here. These are the authorities worth checking directly:
- USDA FoodData Central — flour and ingredient composition data
- FoodSafety.gov — safe handling and storage