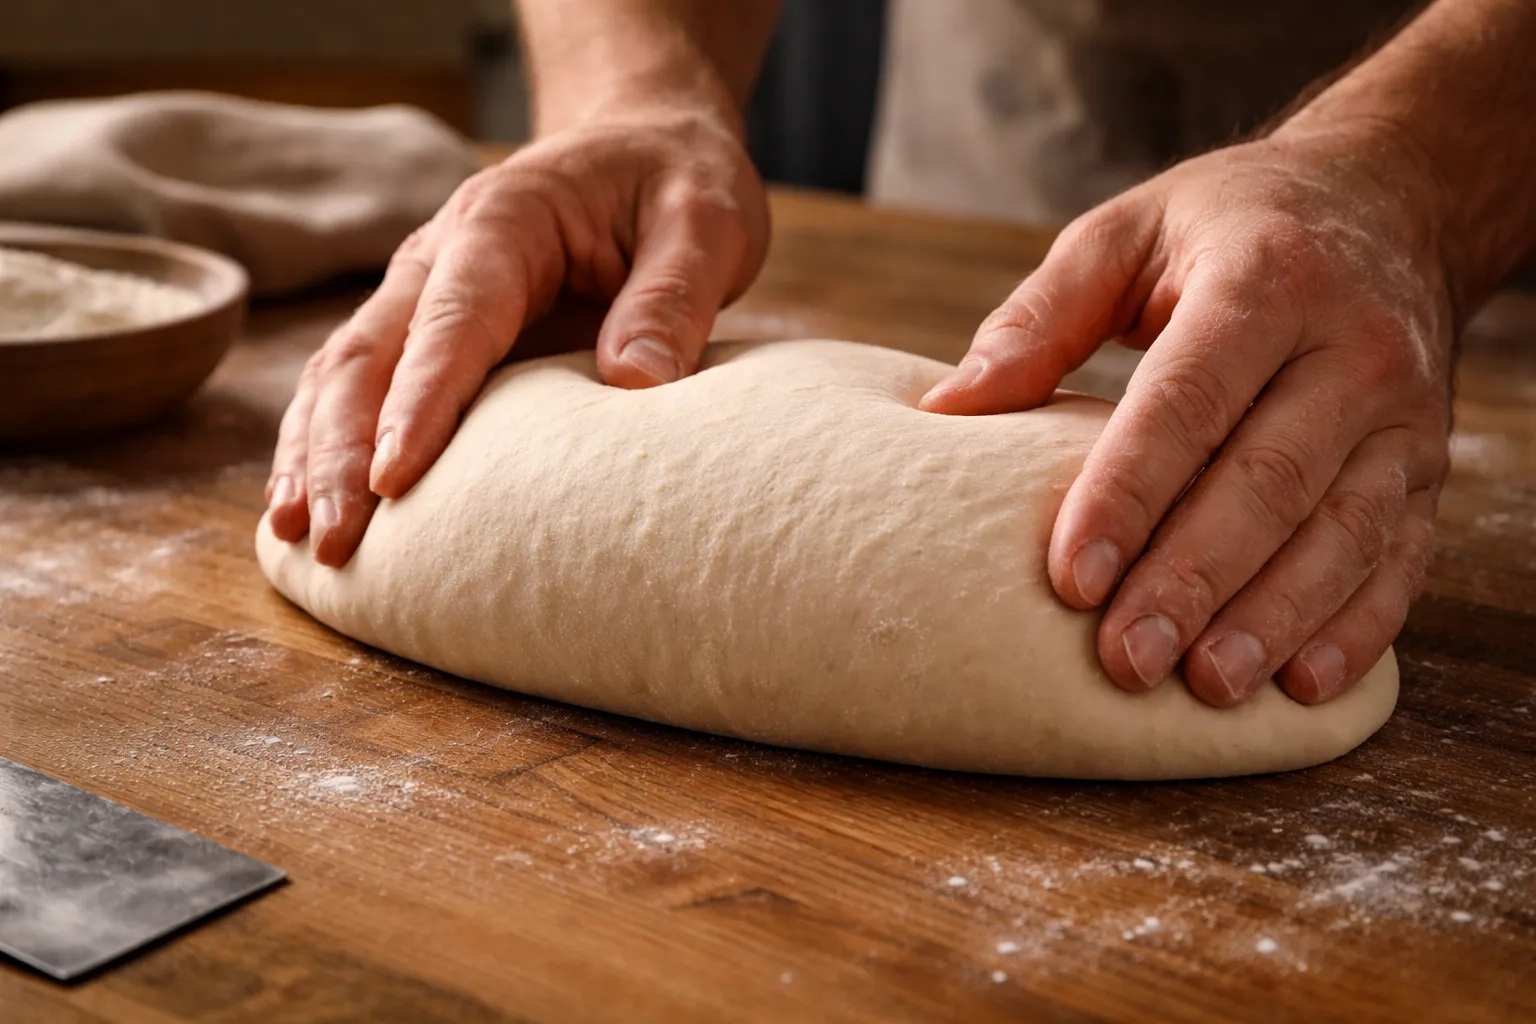
A dry, bitter cold front rolled through my kitchen three years back, right around the six-month mark of my sourdough journey, and it exposed exactly how little I actually understood about shaping. I lifted what should have been a tidy batard out of its proofing basket and watched it ooze sideways into something closer to a flattened football than an actual loaf. My starter was thriving, my schedule looked reasonable on paper, and every tutorial I’d watched made the shaping step look almost trivial. It wasn’t. If you’ve ever typed “how to shape sourdough batard” into a search bar at midnight with flour dust settling everywhere, this post exists for you.
I figured shaping would be the painless part of the whole process. It was not. Somewhere around eight pounds of wasted flour and more ruined Saturday mornings than I’d like to admit went by before things finally clicked into place. What follows is everything I picked up along the way, laid out so you can skip the flour-wasting phase entirely. (Still torn between shapes to begin with? my boule vs. batard breakdown covers when each one actually pays off — this guide starts once you’ve already settled on batard.)
| Proofing Method | Dough Behavior | Key Consideration |
|---|---|---|
| Rattan banneton with cloth liner | Stays compact and firm; grows tall | Needs seasoning with flour or rice bran first |
| Makeshift bowl with towel | Spreads flat; dough escapes | Not reliable for batard shaping |
| Bare rattan (unseasonded) | Dough sticks to wicker patches | Must season before use |
What a Batard Actually Is — and Why It’s Worth Learning
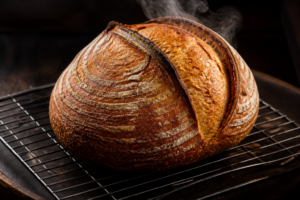
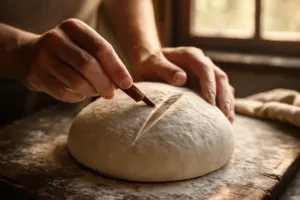
A batard sits somewhere between a round boule and a skinny baguette — an oval-shaped loaf, plain and simple. The name is French, and yes, it does carry the joke you’re already thinking of. Bakers clearly aren’t shy about their sense of humor. Joking aside, the shape earns its place. That elongated form gives you wider slices, a beautiful ear once you score it on a diagonal, and a crumb structure that holds together well when you’re building sandwiches. Get comfortable with it, and it becomes the loaf you pull out when you want to show off.
The hard part is that shaping a batard means generating actual tension across the dough’s surface without knocking the air out of all those bubbles you patiently built up during bulk fermentation. That balancing act is the whole game. Go too soft and the loaf spreads flat. Go too rough and you deflate everything. I discovered this the slow, painful way, batch after batch, before I finally eased off and started paying attention to what the dough was actually showing me. A surprising amount of that tension is actually established before final shaping even begins — if you’re skipping the rest period that comes before it, my pre-shaping guide walks through that step in detail, and my combined boule-and-batard shaping walkthrough puts both final shapes side by side if you want the fuller picture.
The Proofing Basket That Finally Kept My Dough From Going Flat
A decent proofing basket does a good chunk of the shaping work for you — it keeps the dough standing upright through the final proof so it grows tall instead of sprawling sideways into that same flattened-football shape. I only learned this after my first dozen or so batards collapsed on me, and switching baskets changed everything about how my shaped loaves turned out from there on.
Where it delivers
- The natural rattan grips dough tension really well — your shaped batard stays compact and firm instead of easing outward into a wide, flat oval during the cold proof.
- Having two liners in the set means one batard can proof while the other’s already in the oven, plus you’ve got a backup once one picks up those stubborn damp spots that refuse to dry.
- The cloth liners carry enough thickness that they won’t cling to your dough’s seam side, even through a long overnight cold proof once condensation starts to build.
Where it falls short
- These rattan baskets need a seasoning pass with flour or rice bran before you use them the first time — skip that, and your dough will stick to bare wicker patches no matter how thoroughly you flour the liner.
- For this price, you’re getting a basket that works, not one built to bakery standards — the rattan can splinter a little if you’re heavy-handed with it, so go slow and gentle when you’re turning your shaped dough out of it.
I’ll admit I was skeptical about buying a banneton—seemed like an unnecessary expense when I had mixing bowls lined with towels—but after my third dough escape from a makeshift “proofing basket,” I grabbed this set, and I’ve never looked back. 2 Pcs Bread Proofing Basket Cloth Liner Baking Dough Basket Cover Natural Rattan Banneton Proofing Cloth
Frequently Asked Questions
What is a batard and why bake one?
A batard is an oval-shaped loaf that sits between a round boule and a skinny baguette. The elongated form gives you wider slices, a beautiful ear when scored diagonally, and crumb structure that holds together well for sandwiches. It’s the loaf to pull out when you want to show off.
Why did my batard spread flat during proofing?
A decent proofing basket keeps your shaped batard standing upright during final proof so it grows tall instead of sprawling sideways. Natural rattan grips dough tension well, keeping your shaped batard compact and firm instead of easing outward into a wide, flat oval during cold proof.
How do I season a new rattan proofing basket?
Rattan baskets need a seasoning pass with flour or rice bran before you use them the first time. Skipping this step means your dough will stick to bare wicker patches no matter how thoroughly you flour the liner.
Can cloth liners handle overnight cold proofing?
Yes. The cloth liners carry enough thickness that they won’t cling to your dough’s seam side, even through a long overnight cold proof once condensation starts to build. Having two liners in a set means one batard can proof while the other’s already in the oven.
About This Article

Written by Sam Whitaker. Sam Whitaker has been baking sourdough for over a decade, including three years baking commercially, and now works out of a home kitchen in the Pacific Northwest. Sam's eleven-year-old starter, Harold, is the foundation for every recipe and troubleshooting guide on Sourdough Rising — real bread tested over and over until it works. More about this site.
Scope and limits. Sam is a home baker with no formal culinary training. Follow current food safety guidance for storage and handling, particularly with enriched or filled doughs.
Verify this against a primary source
Specifics change, and your situation may differ from the one described here. These are the authorities worth checking directly:
- USDA FoodData Central — flour and ingredient composition data
- FoodSafety.gov — safe handling and storage