Ever wonder why a loaf can look flawless on the outside and still hide a wet, gummy center the moment you slice into it? I found out the hard way, on the day I proudly handed my neighbor what I was sure was my finest sourdough yet, only to watch her knife sink into a slab that was raw and dense in the middle. She handled it graciously. I did not handle it graciously at all. That loaf landed in the trash, I landed in front of my laptop searching for answers, and somewhere between the panic and the lightbulb moment, I finally cracked the code on what makes a dependable classic white sourdough boule recipe actually work. That disaster sits roughly 198 loaves behind me now. These days, I could shape and bake this bread half-asleep, and it still comes out right, loaf after loaf.
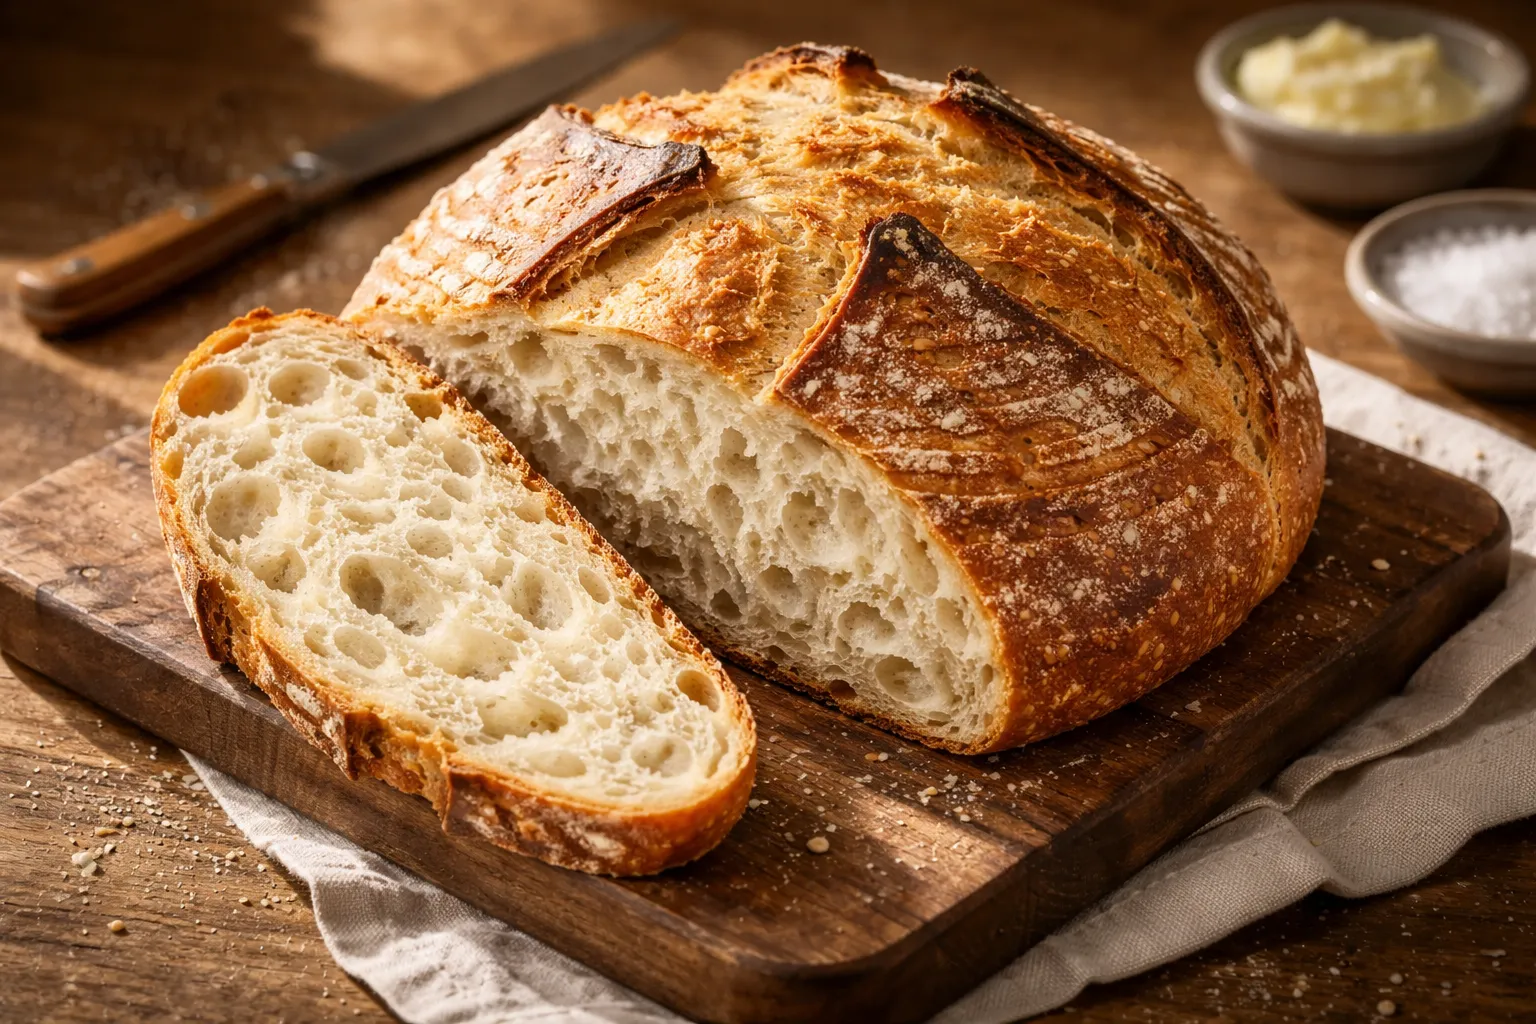
If a shattering crust, a wide-open chewy crumb, and that deep sour tang that only comes from proper fermentation are what you’re chasing, you’ve landed on the right post. I’ve racked up enough blunders with this exact loaf to fill a small book, and I’ve packed every lesson into what follows so you can skip past the gummy failures and land straight on the good version.
The Cringe-Worthy Story Behind My Obsession
Rewind a bit. The neighbor disaster went down on an October Sunday afternoon. I’d only been baking sourdough for about three months at that point, and my confidence had far outpaced my actual skill. My loaves looked stunning on the outside — crisp scoring, deep color, the kind of shape you’d expect in a Parisian bakery window. The catch was that I kept slicing into them way too soon. On top of that, I was timing bulk fermentation by the clock instead of reading the dough itself, which meant I was sliding underdeveloped, under-proofed loaves into the oven and then puzzling over why they looked done on the outside but tasted like wet paste inside.
So there I was, passing that loaf over the fence, when she said, “Oh, is the inside supposed to be a bit… damp?” I wanted the ground to swallow me whole. But that moment flipped a switch. I stopped guessing and started paying real attention. I learned what a fully fermented dough actually feels like, smells like, and looks like. And I stopped yanking my bread out of the oven before it had truly finished baking. Small adjustments. Enormous payoff.
What You’ll Need
- 500 grams bread flour
- 375 grams water (75% hydration)
- 100 grams active sourdough starter
- 10 grams salt
The Method, Start to Finish
- Combine. Stir together the flour and water, then let the mixture rest (this is your autolyse) for 30-45 minutes. Mix in the starter and salt, working the dough until no dry flour remains.
- Fold through the first stretch. Across the first 2 hours, perform 4 rounds of stretch-and-folds, spacing each one 30 minutes apart.
- Keep bulk fermentation going. Let the dough continue rising at room temperature for a total of 4-6 hours, until it’s grown roughly 50% in volume and looks visibly airy.
- Shape it up. Tip the dough onto the counter and form a taut round boule, dragging it against the surface to build tension on the skin.
- Cold proof. Settle the dough seam-side up into a floured banneton and slide it into the fridge overnight — 8-12 hours — for better flavor and cleaner scoring later.
- Score, then bake with the lid on. Get the oven heating with the Dutch oven inside to 475F (245C). Turn the dough out onto parchment paper, score the top, and bake covered for 20 minutes.
- Finish uncovered. Drop the temperature to 450F (230C), lift off the lid, and keep baking another 20-25 minutes until the crust turns deeply golden.
- Let it rest fully. Set the loaf on a cooling rack and hold off on cutting in for at least an hour.
The Dutch Oven That Finally Fixed My Raw-Center Problem
What caused that raw middle in my neighbor’s slice? Uneven heat, plus steam escaping partway through the bake. A hefty, well-seasoned Dutch oven locks in steam hard during those first 20 minutes and spreads heat so uniformly that your boule finishes baking through, predictably, every single time you make it.
Where It Delivers
- The 5-quart capacity leaves plenty of headroom for your boule to expand without the lid ever touching the dough, and the cream white interior lets you track the bake’s progress without popping the lid open.
- Enameled cast iron heats so evenly and holds its temperature so steadily that even the ring sitting against the pot for a full 10 minutes browns to the same shade as the rest of the crust.
- It’s heavy enough that steam has nowhere to sneak out through stray gaps — I haven’t ended up with a pale, flat-topped loaf since I made the switch.
Where It Falls Short
- It’s heavy enough that pulling it from a 500°F oven takes both hands and a firm grip — slip once and you’ll be explaining a cast-iron-shaped burn to an ER nurse.
- The lid doesn’t seal quite as tightly as it would on a bare cast iron Dutch oven, so if your oven runs a little cool or your steam seal isn’t airtight, you might notice a bit less oven spring on your earliest bakes.
I had a moment of panic on loaf number 52 when I thought the enamel was chipping—turned out to be flour dust—but that small doubt disappeared the moment I pulled out a boule with a perfectly baked crumb from edge to center. Get the Umite Chef 5QT Enameled Cast Iron Dutch Oven in Cream White and stop guessing whether your center is done.
Frequently Asked Questions
How long should bulk fermentation take for white sourdough boule?
Bulk fermentation should continue at room temperature for a total of 4–6 hours, until the dough has grown roughly 50% in volume and looks visibly airy. Rather than timing by the clock, watch the dough itself to know when it’s ready for shaping.
Why was the center of my sourdough raw and gummy?
A raw, gummy center usually results from uneven heat and steam escaping during baking. A well-seasoned Dutch oven locks in steam during the first 20 minutes and spreads heat uniformly so your boule finishes baking through predictably every time.
What hydration percentage is this white sourdough recipe?
This classic white sourdough boule uses 75% hydration, which means 375 grams of water mixed with 500 grams of bread flour. This ratio produces a dough with a wide-open, chewy crumb structure.
How long should I wait before cutting into fresh sourdough bread?
Let your loaf rest fully on a cooling rack for at least an hour before slicing. Cutting in too soon traps steam inside and can leave you with a gummy interior, even if the crumb structure baked properly.
About This Article

Written by Sam Whitaker. Sam Whitaker has been baking sourdough for over a decade, including three years baking commercially, and now works out of a home kitchen in the Pacific Northwest. Sam's eleven-year-old starter, Harold, is the foundation for every recipe and troubleshooting guide on Sourdough Rising — real bread tested over and over until it works. More about this site.
Scope and limits. Sam is a home baker with no formal culinary training. Follow current food safety guidance for storage and handling, particularly with enriched or filled doughs.
Verify this against a primary source
Specifics change, and your situation may differ from the one described here. These are the authorities worth checking directly:
- USDA FoodData Central — flour and ingredient composition data
- FoodSafety.gov — safe handling and storage