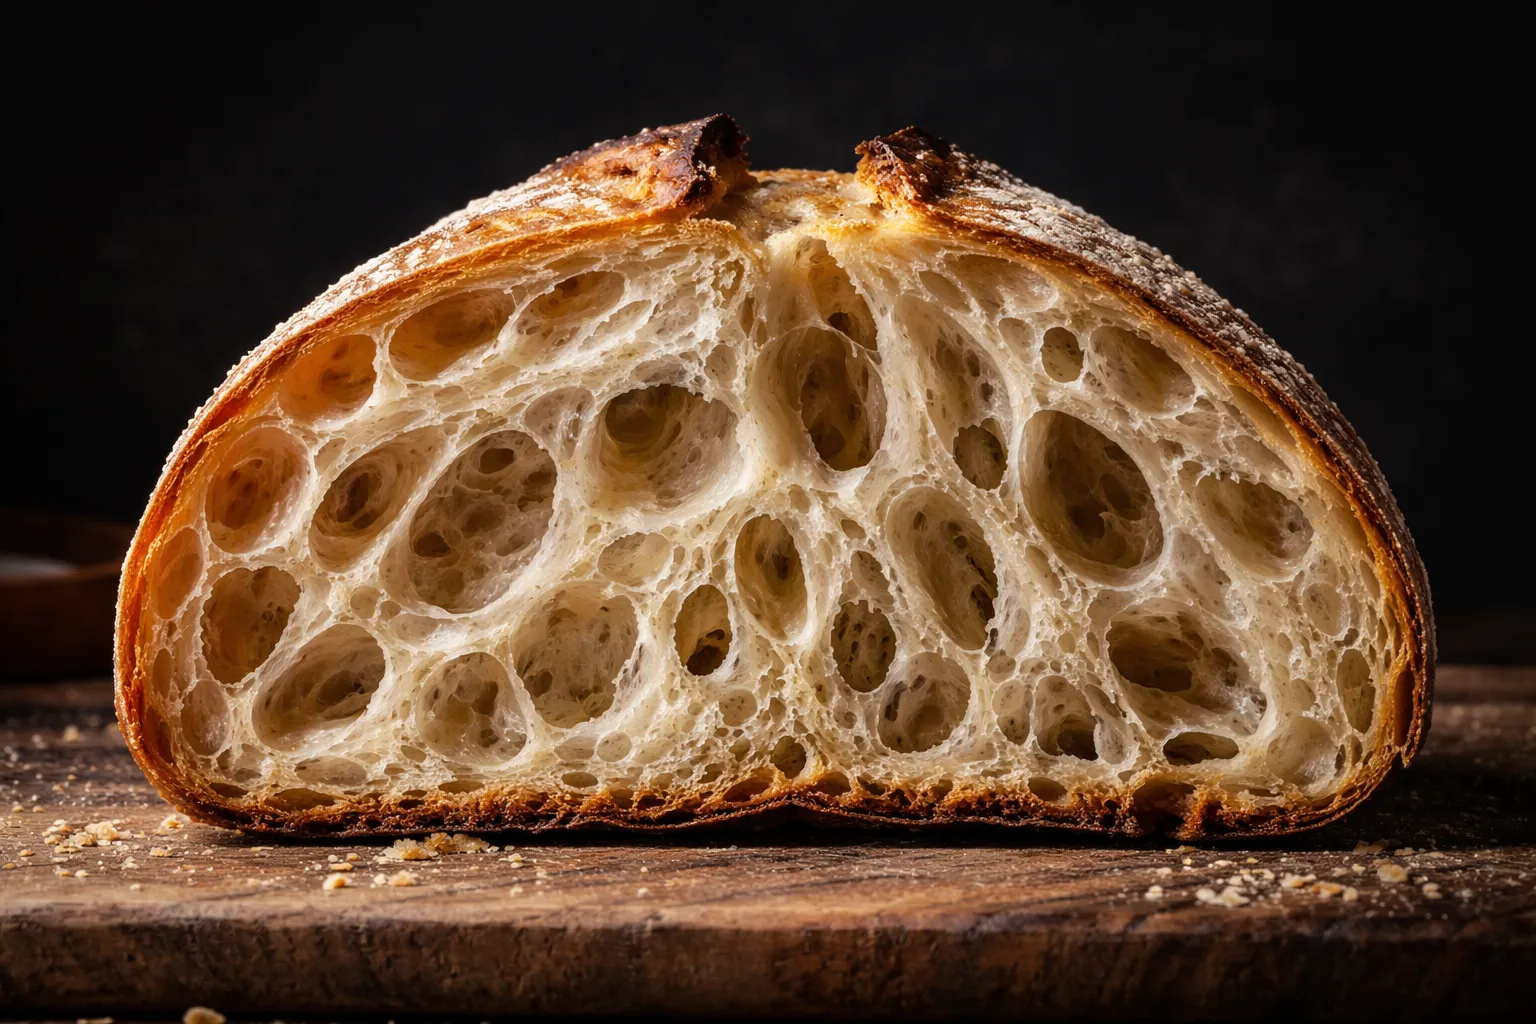
I still remember standing at my kitchen counter at 7 a.m. on a Saturday, staring into my Dutch oven like I had personally offended it. I had stayed up late the night before, carefully shaped what I was convinced would finally be my best loaf ever. I had a strong starter, good flour, perfect timing. I lifted the lid after the first bake, and there it was: a pale, dense, gummy brick with a crumb so tight it could double as a doorstop. I actually laughed. Then I sat down and ate a piece with butter and felt genuinely defeated. If you have ever been chasing that gorgeous high hydration sourdough open crumb and ended up with something that looked more like sandwich bread gone wrong, welcome. You are in exactly the right place.
That loaf was number eleven in a row that had failed to give me the open, lacey, almost wild interior I kept seeing on Instagram and in every sourdough book on my shelf. I was starting to think that crumb was simply impossible to achieve without a commercial deck oven, a steam injection system, and maybe a culinary degree. Spoiler: it is absolutely possible at home. But it took me a lot of flour, a lot of patience, and one very specific set of technique adjustments to get there.
Why High Hydration Dough Is So Frustrating (And So Worth It)
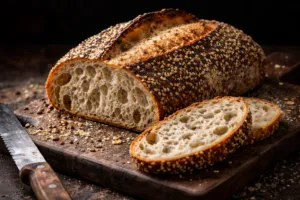
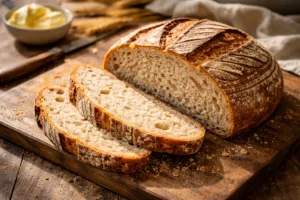
High hydration sourdough typically means doughs in the 75% to 85% hydration range, sometimes higher. More water means more steam trapped inside the loaf as it bakes, which is what creates those gorgeous, irregular holes and that thin, delicate crumb structure that tears apart so beautifully. It also means the dough is slack, sticky, and completely uncooperative when you are learning to handle it.
The problem most home bakers run into is not the recipe itself. It is the technique. High hydration dough punishes every shortcut. Under-fermented? Dense crumb. Weak shaping? Flat loaf that spreads sideways. Wrong baking vessel? No oven spring. I know this because I made every single one of those mistakes, sometimes all in the same loaf.
The good news is that each one of those problems has a concrete fix, and once things click, the results are honestly breathtaking. There is nothing quite like pulling a loaf out of the oven that looks like something from a proper artisan bakery, knowing you made it in your home kitchen with a regular oven.
The Dutch Oven That Finally Trapped Steam Instead of Letting It Escape
High-hydration dough needs serious steam in those first minutes—that’s what creates the open crumb and oven spring you’re after. A Dutch oven with a poor seal or thin walls that don’t retain heat evenly will give you pale, dense results no matter how perfect your fermentation was.
What works
- The combo cooker design lets you bake covered for steam-trapping, then uncovered for browning—no fumbling with a hot lid midway through a bake.
- Cast iron’s thermal mass means it holds temperature steady even when you drop in a cold, wet dough, so you get consistent oven spring across loaves.
- The fitted lid seals tight enough that condensation actually pools inside instead of escaping, giving you the humid microclimate high-hydration dough craves.
What doesn’t
- It’s heavy—like, genuinely heavy—so transferring it from oven to counter with a 500g loaf inside requires both hands and respect for your wrists.
- You’ll need to preheat it for 45 minutes minimum, which means planning your bake around the oven’s schedule, not the other way around.
I almost returned mine after a clumsy transfer left me second-guessing the whole investment, but that next loaf—with actual ear, actual open crumb—changed my mind instantly. If you’re serious about high-hydration sourdough at home, grab a Lodge Cast Iron Combo Cooker.
This post contains affiliate links. As an Amazon Associate, I earn from qualifying purchases at no extra cost to you.