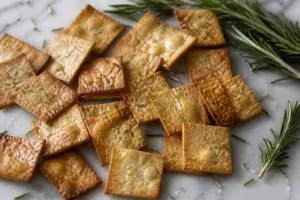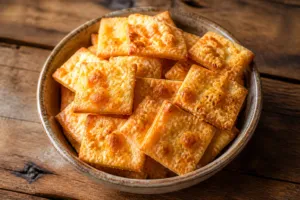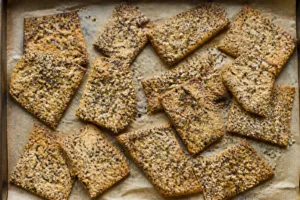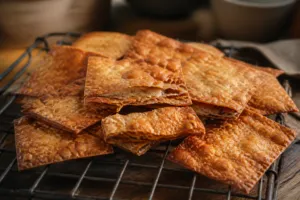
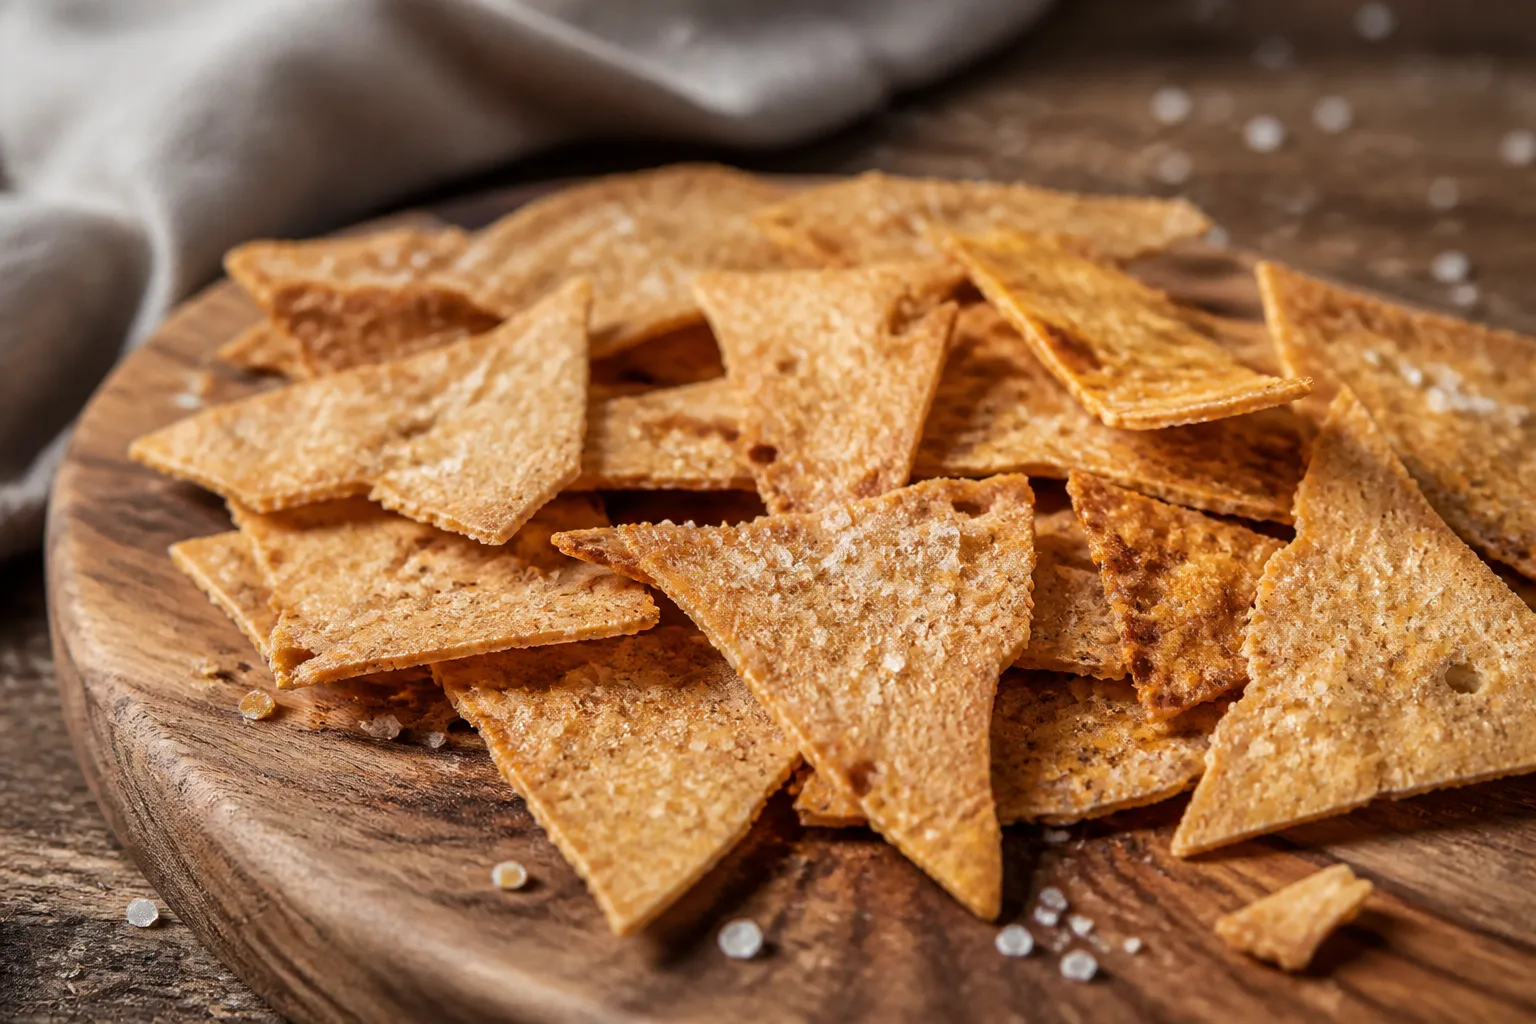
If there is one recipe that turned my weekly pile of sourdough discard from a guilt-inducing waste problem into something I actually look forward to, it is crackers. I’ve been baking sourdough for 11 years, including three years running a home microbakery, and during that time I made crackers almost every single week — partly to use discard, and partly because they sold out faster than almost anything else on my table.
This is the base recipe I keep coming back to. It is simple, forgiving, and produces thin, crisp, snappable crackers with that distinct sourdough tang. Once you have this down, every flavored variation becomes easy.
Why Discard Makes Such Good Crackers
Crackers are one of the few bakes where discard is genuinely better than active, peaked starter. You are not relying on the starter for leavening — crackers are meant to be flat and crisp, not puffy — so the only thing the discard contributes is flavor and a bit of structure. And discard, especially discard that has been sitting in the fridge for a few days, has developed exactly the kind of deep, tangy acidity that makes a cracker taste like something instead of a bland wafer.
This means the worse your discard looks, the better your crackers will probably taste. Three-day-old discard with a layer of hooch on top? Perfect. Stir the hooch back in and use it. I’ve made crackers from discard that I was honestly a little nervous about, and they were some of the best I ever baked.
The Base Recipe
This makes roughly two large baking sheets of crackers — enough for a party, or enough to last me about a week of snacking.
- 200g sourdough discard (any hydration, straight from the fridge is fine)
- 120g all-purpose or whole wheat flour
- 40g olive oil, plus more for brushing
- 5g salt (about 1 teaspoon)
- Flaky salt for topping
That’s the entire ingredient list. No yeast, no leavening, no sugar. The ratios are easy to remember and easy to scale: roughly 5 parts discard to 3 parts flour to 1 part oil by weight.
Step by Step
- Mix the dough. Combine the discard, flour, oil, and salt in a bowl. I use a Danish dough whisk for the initial mix because it brings everything together fast without packing the dough down, then switch to my hands. You want a smooth, slightly stiff dough that pulls away from the bowl. If it’s sticky, add flour a tablespoon at a time; if it’s dry and crumbly, add a teaspoon of water. It should feel like a firm pasta dough.
- Rest. Wrap the dough and let it rest at room temperature for at least 30 minutes, or up to overnight in the fridge. This relaxes the gluten so it rolls thin without snapping back. Skipping this step is the number one reason beginners struggle to roll crackers thin enough.
- Roll thin. Then roll thinner. This is the whole game. Divide the dough in half. On a sheet of parchment, roll each half out as thin as you possibly can — ideally 1 to 2 millimeters, thin enough that you can almost see the parchment through the dough. Crackers that come out soft or bready are almost always rolled too thick.
- Transfer and cut. Slide the parchment with the rolled dough directly onto your baking sheet. Brush lightly with olive oil, sprinkle with flaky salt, then cut into squares or rectangles with a pizza cutter or bench scraper. Cutting before baking means clean snap-apart lines later. I also dock the dough all over with a fork to stop it from puffing.
- Bake. Bake at 350°F (175°C) for 18 to 28 minutes, until evenly golden and crisp. Watch them closely past the 18-minute mark — thin edges brown faster than the centers. If the edges are done but the middle is still pale, pull the outer crackers off and return the sheet for a few more minutes.
- Cool completely. Crackers crisp as they cool. A cracker that seems slightly soft straight out of the oven will usually firm up on the rack. If they’re still bendy once fully cooled, they needed more bake time or were rolled too thick.
The Two Mistakes Everyone Makes
After teaching dozens of people to make these, I’ve seen the same two errors over and over.
Rolling too thick. I cannot say this enough. Thin dough makes crisp crackers. Thick dough makes little breads. If your crackers are chewy or soft in the middle, roll thinner before you change anything else.
Underbaking. Crackers should be fully, evenly golden. Pale crackers are soft crackers. They will not crisp up properly if you pull them while they’re still blond, even after cooling. Trust the color.
Storage
Cooled crackers keep in an airtight container for about two weeks, though they rarely last that long in my house. If they ever soften from humidity, a quick 5-minute pass in a 300°F oven brings the snap right back.
The Gear That Makes This Easy
You genuinely don’t need much for crackers, which is part of why I love them. But a few things help.
A good wooden rolling pin is the one tool that matters most — you need to roll thin and even, and a flimsy pin fights you. For baking, I use a pair of heavy half-sheet baking pans that don’t warp at temperature, lined with good parchment paper for nonstick, even browning. A bench scraper gives you clean cut lines, and a good flaky finishing salt on top is the small detail that makes a homemade cracker taste like a fancy one.
If you want a deeper reference for discard baking generally, Whole Grain Sourdough at Home by Elaine Boddy has a whole section on discard recipes worth having on the shelf.
Make It Once and You’ll Make It Forever
This recipe is the foundation of every other cracker on this site. Once you’ve made the plain version a couple of times and learned how thin to roll and how dark to bake, you can add seeds, cheese, herbs, or spice and the technique stays exactly the same. Start here, get the feel for it, and you’ll never throw away discard again.
This post contains affiliate links. As an Amazon Associate I earn from qualifying purchases.
The Whisk That Actually Breaks Up Discard Lumps
Sourdough discard straight from the jar is thick and stubborn—full of little flour clumps that refuse to hydrate evenly into your cracker dough. A regular whisk just smears it around; you need something with real leverage to actually break it apart before mixing.
What works
- The flat, wide head cuts through thick discard in about 30 seconds—way faster than trying to incorporate lumpy discard into your dough and hoping it smooths out during mixing.
- It actually aerates the discard slightly, which helps activate the yeast and bacteria just enough to give your crackers a little more rise and texture complexity.
- The handle length and leverage mean you’re not straining your wrist trying to break up a stiff, days-old starter—it does the work for you.
What doesn’t
- It’s one more tool to clean, and the thin wires can trap dried bits of old discard if you don’t rinse it immediately.
- For very liquidy, active discard (freshly fed), it’s honestly overkill—a regular whisk works fine.
I nearly gave up on this tool after my first try—I was pressing down too hard instead of letting the flat head do a quick figure-eight motion—but once I changed my technique, it became a weekly non-negotiable. Danish dough whisk
This post contains affiliate links. As an Amazon Associate, I earn from qualifying purchases at no extra cost to you.