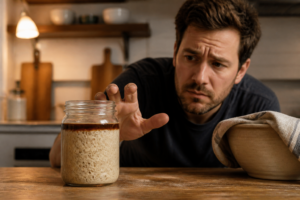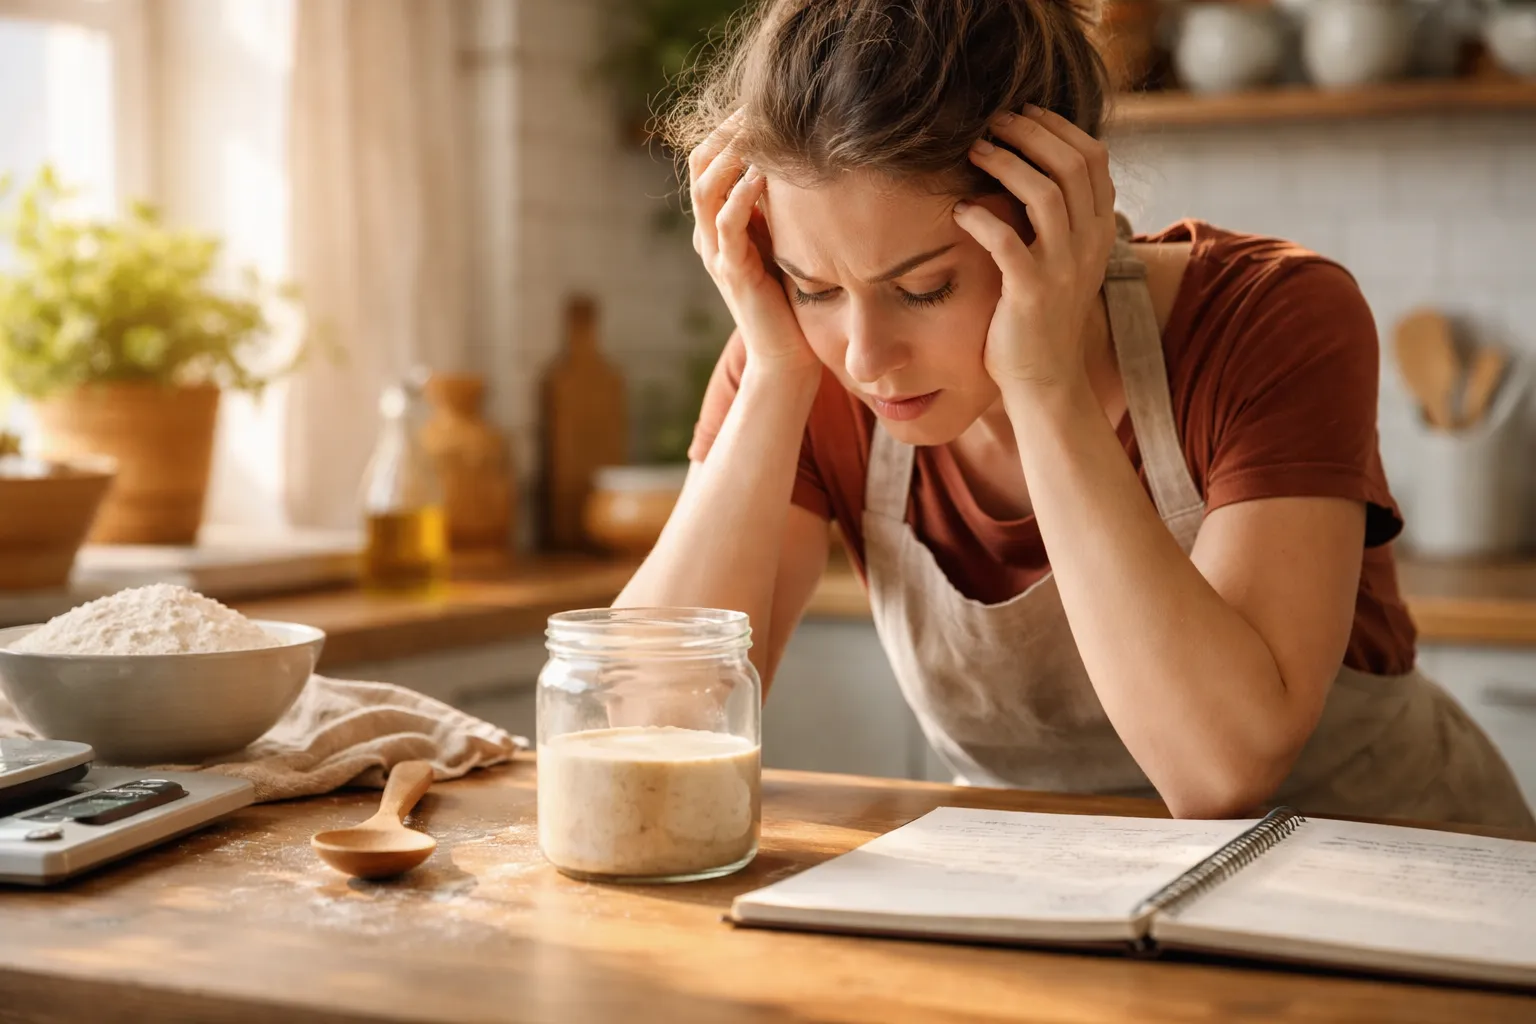
It was day fourteen, and I was standing in my kitchen at 7am, staring at a jar of what looked like slightly lumpy paste. No bubbles. No dome. No signs of life whatsoever. My sourdough starter won’t rise, I typed desperately into Google for what felt like the hundredth time, flour dust still on my hands, a half-empty bag of all-purpose on the counter, and a very real question forming in my mind: was I just bad at this?
I had been feeding that starter faithfully for two weeks. I talked to it. I named it (Gerald, if you must know). And Gerald was absolutely refusing to cooperate.
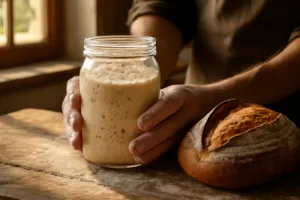
If you have ever been exactly where I was — exhausted, confused, and seriously considering just buying bread at the grocery store like a person with good sense — this post is for you. I want to walk you through my full three-week diagnosis diary, the mistakes I was making without even realizing it, and the specific changes that finally brought Gerald roaring back to life. Because spoiler: he is thriving now, and your starter can too.
Week One: The Confident Beginning (And Where It All Went Wrong)
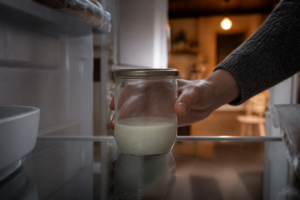
I started my sourdough journey the way most of us do — full of enthusiasm and a freshly printed feeding schedule from a popular baking blog. Day one went fine. I mixed flour and water, covered the jar with a cloth, and set it on top of my refrigerator because I had heard that was a warm spot. I felt like a sourdough person.
Days two through seven? Barely a bubble. A little bit of liquid pooled on top (hooch, I would later learn), and a smell that could only be described as gym bag meets vinegar. I kept feeding it anyway, convinced that persistence would win the day.
What I did not know yet was that I was making at least three significant errors simultaneously.
- My water was too cold. Tap water straight from the faucet in my house runs around 58°F in winter. Wild yeast is sluggish and unhappy below 70°F, and it basically goes dormant below 65°F. I had no idea.
- My flour had almost no protein. I was using a generic all-purpose from the back of my pantry shelf. Low-protein flour gives the yeast very little to work with.
- My ratios were off. I was feeding 1:1:1 (starter:flour:water) by volume, not weight, which meant my measurements were wildly inconsistent every single day.
But I did not know any of this yet. I just knew Gerald was not rising, and I was starting to feel personally rejected.
Week Two: Down the Rabbit Hole of Sourdough Starter Won’t Rise Forums
By week two I had consumed approximately forty YouTube videos, joined two sourdough Facebook groups, and started a notes document on my phone titled “Gerald Problems.” The amount of conflicting advice I found was genuinely overwhelming. Some people said feed twice a day, others said once. Some said whole wheat flour, some said rye, some said bread flour only. One person said to put it near a lit candle for warmth, which I did not try because it seemed like a fire hazard.
But buried in all of that noise, a few consistent themes started to emerge, and they all pointed back to the same two culprits: temperature and flour quality.
That is when I bought my first instant-read thermometer, and honestly it changed everything. I had been guessing at the temperature of my water and my kitchen environment this entire time. Guessing! With fermentation! I picked up the TempPro TP02S Digital Food Thermometer, which has a long probe that is perfect for checking water temperature right in the measuring cup. I started using it religiously. I also grabbed the 0.5 Sec Instant Read Meat Thermometer as a backup to keep near my starter station so I could check ambient temperature without walking across the kitchen every time.
What I discovered was humbling. My kitchen counter in winter was sitting at 64°F. The top of my fridge, which I thought was warm, was 62°F. I had been cold-fermenting Gerald for two full weeks without meaning to. No wonder he was miserable.
The Thermometer That Revealed My Starter Was Just Too Cold
I spent two weeks assuming my starter was dead or broken, when really it was just sitting in a corner of my kitchen that never got above 62°F. A cheap kitchen thermometer would have told me that on day two instead of day fourteen.
What works
- The probe reads accurate temperatures in seconds—no more guessing whether your starter’s spot is actually warm enough for fermentation, or if that “warm corner” is just wishful thinking.
- Backlit LCD screen means you can check temps at odd hours without waking the house, and the numbers are actually visible in low kitchen light (unlike my old analog thermometer that lived in shadow).
- It clarified my entire starter relationship—once I knew my kitchen was 58–62°F, I moved the jar to a warmer spot and saw activity within 48 hours, which would have saved me weeks of self-doubt.
What doesn’t
- The probe is thin and can bend if you’re not careful with it, and I’ve nearly snapped mine pushing it into cold starter more aggressively than it deserved.
- Takes a couple seconds to stabilize on a reading—not instant despite the name—so if you’re in a hurry you’ll be tempted to trust the first number, which isn’t always accurate.
I almost returned it after a week because I was frustrated that I couldn’t use it to troubleshoot my proofing box temperature fluctuations, but then I realized the real problem was the thermometer’s limitations, not the thermometer itself—it’s built for quick spot-checks, not logging data. That said, for nailing starter temperature and knowing exactly why your fermentation is stalling, grab the TempPro TP02S Digital Food Thermometer.
This post contains affiliate links. As an Amazon Associate, I earn from qualifying purchases at no extra cost to you.