It was 11 PM on a Sunday, and I was standing at my kitchen counter staring at a bowl of dough that looked absolutely, heartbreakingly wrong. Flat. Sticky. Smelling faintly sour but not in the good way. I had spent two days nurturing that loaf, and it was destined for the trash. That was the night I finally admitted I had no real grasp of sourdough fermentation temperature timing, and until I figured it out, I was just going to keep wasting flour and weekends.
If you have ever pulled a dense, gummy loaf out of the oven and had absolutely no idea what went wrong, this one is for you. Temperature and timing are the two variables that will make or break your sourdough, and nobody ever explained them to me in plain language. So let me be the person I needed back then.
Why That Sunday Night Loaf Failed (And It Was Entirely My Fault)
Here is what I did wrong: I followed a recipe that said “bulk ferment for four to five hours” and I did exactly that. Four and a half hours, timer set, very proud of myself. What I did not account for was the fact that it was January, my house was 64°F, and my dough was basically sitting in a refrigerator. The fermentation barely got started. I shaped it anyway, cold proofed it overnight, and baked it the next morning straight from the fridge. The oven spring was nonexistent. The crumb was a tight, gummy mess.
The recipe was not wrong. I was just ignoring one of the most fundamental truths in sourdough baking: time and temperature are the same thing, expressed differently. A warm dough ferments fast. A cold dough ferments slowly. That four-to-five hour window assumed a dough temperature somewhere around 75 to 78°F. Mine never got close.
Understanding Sourdough Fermentation Temperature Timing: The Basics That Changed Everything
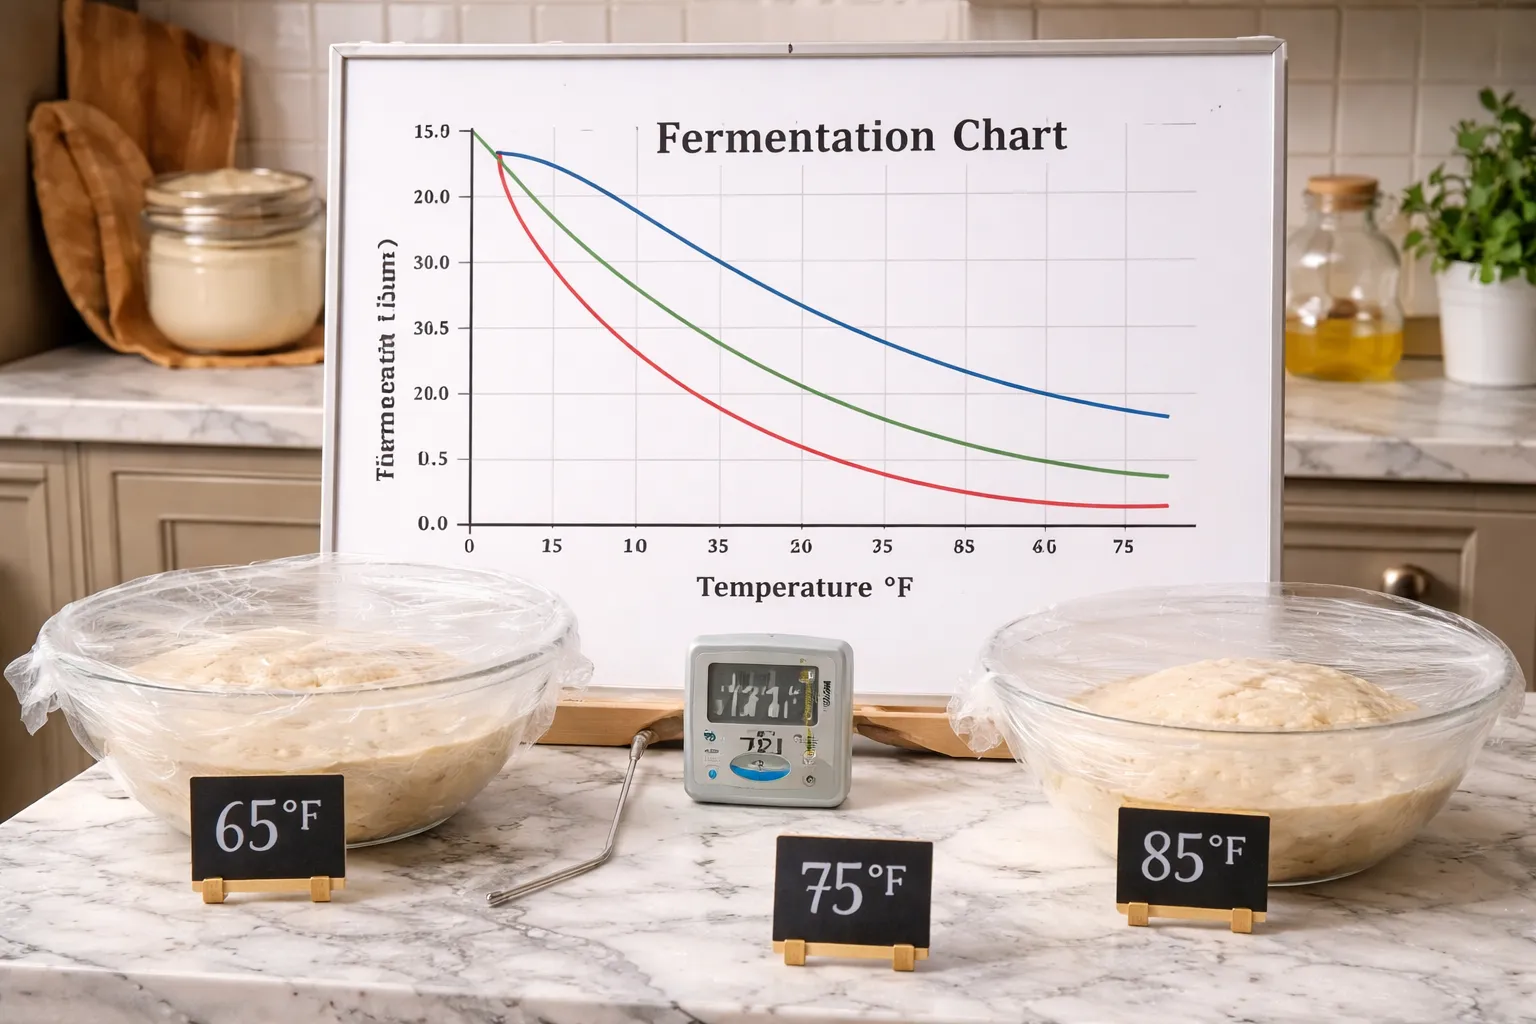
Once I understood the relationship between temperature and fermentation speed, everything clicked. Your sourdough starter is a living culture of wild yeast and bacteria. Those microorganisms are sensitive to heat. Warmer environments speed up their activity. Cooler environments slow it down. The sweet spot for active, balanced fermentation is generally between 75°F and 80°F for bulk fermentation.
Here is a rough guide I keep pinned inside my kitchen cabinet door:
- 65°F to 68°F: Bulk fermentation will take 8 to 12 hours or more. Flavor is complex, but it is very easy to underproof if you are watching the clock instead of the dough.
- 70°F to 74°F: Bulk fermentation typically runs 6 to 8 hours. This is the “shoulder season” range that catches a lot of home bakers off guard in autumn and spring.
- 75°F to 78°F: The sweet spot. Expect 4 to 6 hours of bulk fermentation with a healthy, active starter. This is what most recipes are written for.
- 80°F to 82°F: Things move fast here, often 3 to 4 hours. You need to watch closely and look for dough signs, not just the clock.
- Above 85°F: Fermentation can race ahead of you. The bacteria outpace the yeast and you can end up with over-acidic, weakened gluten. Proceed with caution in summer.
The key mindset shift is this: recipes give you a time range as a starting estimate, not a finish line. You are looking for dough behavior, including 50 to 75 percent volume increase, a domed and slightly jiggly surface, and bubbles visible through the sides of your container. Time is just a rough map. Temperature is the actual terrain.
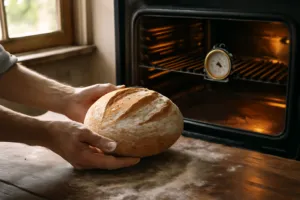
How I Actually Measure Dough Temperature Now
The second thing I learned from that failed Sunday loaf: I had never actually measured my dough temperature. I assumed it was “room temperature” and called it good. That was a mistake I fixed immediately.
Now I measure my dough temperature right after mixing and again at the beginning of bulk fermentation. A good instant-read thermometer is genuinely one of the most useful tools on my counter, and you do not need anything fancy. I rotate between a few depending on where things are sitting in the drying rack.
The Thermometer That Stopped Me From Guessing Fermentation Temps
For months, I was eyeballing dough temperature and hoping for the best—which is exactly how I ended up with that flat, ruined loaf at 11 PM. Knowing your actual dough temperature, not just your kitchen temperature, is the difference between a predictable fermentation and a guessing game that destroys your schedule.
What works
- Reads dough temperature in 1–2 seconds, which matters when you’re checking bulk fermentation progress multiple times a day without cooling the dough down
- Accurate enough (±1°F) to actually dial in whether you’re at 75°F or 78°F, which completely changes your fermentation timeline and rise predictability
- Built tough enough to survive being grabbed with wet hands mid-fermentation and tossed back in the drawer a thousand times without losing calibration
What doesn’t
- The probe isn’t long enough to reliably register the true center temperature of a very thick, cold dough without stirring first, so you might get a surface temp instead
- It’s a meat thermometer, so the display defaults to thinking you’re cooking beef—not a deal-breaker, but it reminds you every single time that you’re using a tool outside its intended purpose
I almost returned it after the first week because I kept second-guessing whether a 2-second reading was actually reliable, but once I started logging my fermentation temps against actual rise results, the pattern became undeniable. Alpha Grillers Instant Read Meat Thermometer
This post contains affiliate links. As an Amazon Associate, I earn from qualifying purchases at no extra cost to you.