I want to tell you about the time I confidently skipped autolyse because I was running late for a dinner party, convinced it was one of those steps that “serious bakers overthink.” I mixed everything together at once, shoved the dough in a bowl, and spent the next four hours watching it stay stubbornly dense and uncooperative. My guests got crackers from a box. I got a valuable lesson in not skipping steps I didn’t actually understand. That night, sitting with my sad flat loaf and a glass of wine, I finally decided to dig into the autolyse sourdough science I’d been casually dismissing for months. Spoiler: it completely changed my bread.
So What Is Autolyse, Exactly?
Autolyse (pronounced “AW-toh-lyze”) is deceptively simple: you mix your flour and water together, then walk away and do nothing for anywhere from 20 minutes to a full hour before adding your starter and salt. That’s it. No kneading, no stretching, no fussing. Just flour and water sitting quietly in a bowl while you drink your coffee.
And yet that unremarkable little rest does something genuinely remarkable to your dough. The technique was popularized by French baker Raymond Calvel in the 1970s, and bakers have been grateful ever since. But understanding why it works makes you a smarter baker, not just a recipe-follower. So let’s talk about what’s actually going on in that bowl.
The Autolyse Sourdough Science: What’s Happening in That Bowl
Hydration and Gluten Formation
The moment water touches flour, two proteins hiding inside the flour particles, glutenin and gliadin, start absorbing moisture and reaching toward each other. When they bond, they form gluten. This process takes time. When you skip autolyse and just start mixing everything at once, you’re rushing a process that genuinely wants to unfold at its own pace. The gluten network that forms during a proper rest is more organized, more extensible, and easier to work with than gluten that was yanked into existence through aggressive mixing.
Think of it like letting butter soften before you cream it. You can beat cold butter into submission, but why would you? Letting it come to the right state before you work it just makes everything easier and produces a better result.
Enzymatic Activity: The Hidden Worker
Here’s the part that genuinely blew my mind when I finally read about it. Flour contains naturally occurring enzymes, particularly proteases and amylases. During autolyse, these enzymes get to work. Proteases gently break down some of the protein bonds in the flour, which makes the dough more extensible and relaxed. Amylases start converting damaged starch into sugars that will later feed your starter’s fermentation. Your dough is essentially doing prep work for you, before you’ve even added the starter.
This is why an autolysed dough often feels almost silky compared to one that skipped the step. The enzymes have already begun loosening and organizing things at a molecular level. Less resistance, more stretch, better structure in the final loaf.
Hydration Distribution
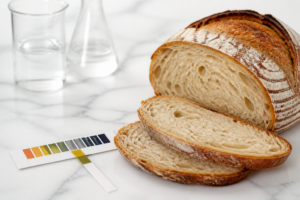
Water does not instantly absorb evenly into flour. During autolyse, the water has time to fully penetrate every flour particle, reaching the starch granules at the center rather than just coating the outside. The result is a more consistently hydrated dough that handles predictably. When I skipped this step on my dinner party disaster loaf, I was essentially working with dough where the hydration was uneven, which affects fermentation, texture, and oven spring all at once. No wonder it was a brick.
Practical Tips for Getting Autolyse Right
Now that the science makes sense, here’s how to actually apply it without overcomplicating your bake day.
- Flour and water only. Do not add your starter or salt during autolyse. Salt tightens gluten and slows enzyme activity, which defeats the purpose. Starter introduces acids that also interfere with the gentle enzymatic work you want happening. Keep it simple: flour and water, then walk away.
- 20 to 60 minutes is the sweet spot for most home bakers. Whole grain and high-protein flours benefit from shorter rests (20 to 30 minutes) because they hydrate faster and their proteins are more reactive. Lower-protein all-purpose flour can go longer, up to an hour. Beyond 90 minutes, you risk over-enzymatic activity that can actually weaken gluten structure.
- Cover your bowl. Prevent a skin from forming on the surface of your dough. A damp towel, a lid, or even a plate works perfectly.
- Room temperature matters. A warmer kitchen will accelerate enzyme activity, so lean toward shorter autolyse times in summer. A cool kitchen naturally slows things down and gives you more flexibility.
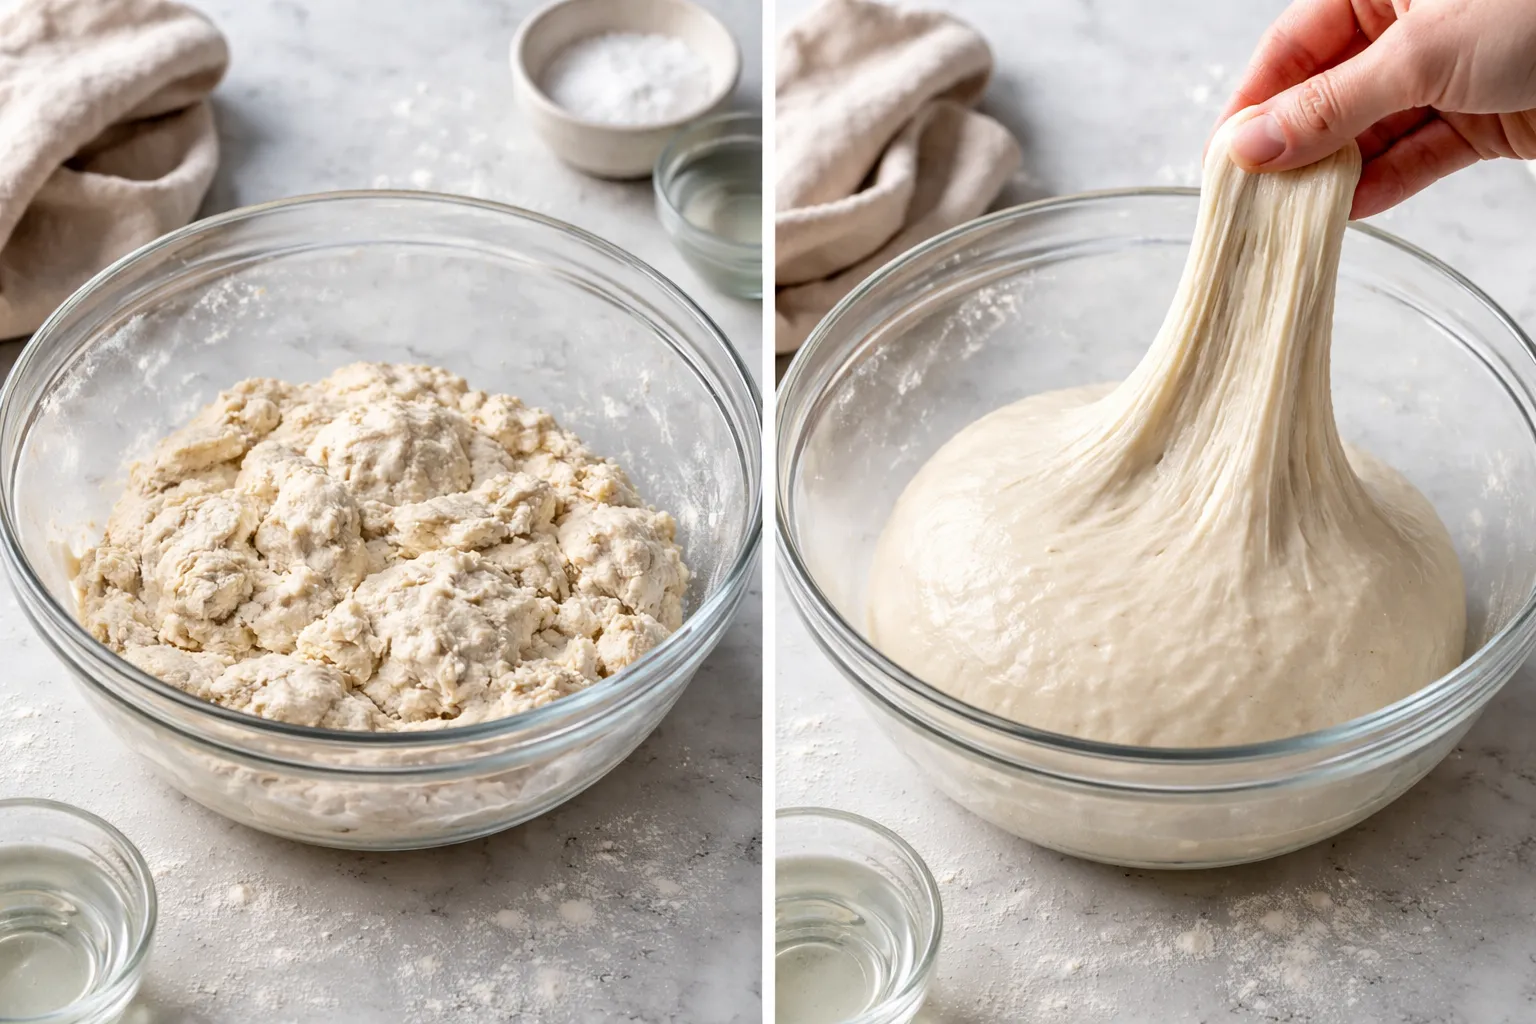
- Your dough should look shaggy when you start and smoother when you finish. That visible transformation is your signal the autolyse did its job. If it still looks exactly the same, give it another 10 minutes.
The Right Bowl Makes Autolyse Actually Visible
During autolyse, you’re watching flour gradually absorb water and gluten begin to organize itself—but only if you can actually see what’s happening in your bowl. A transparent glass bowl with straight sides lets you monitor the dough’s transformation without lifting the lid every thirty seconds and disrupting the process.
What works
- The clear glass lets you watch the flour fully hydrate and the dough tighten up without guessing—you’ll actually see the shaggy mass become more cohesive around minute 20.
- Straight sides mean you can scrape the bowl clean after autolyse without flour dust flying everywhere, and you can see exactly where dry bits are hiding at the edges.
- The set gives you enough bowls that you’re not stuck washing between autolyse and bulk fermentation, so you can actually rest your starter or prep your next loaf without interrupting flow.
What doesn’t
- Glass doesn’t insulate the dough, so if your kitchen is cold, autolyse will take longer than the 30 minutes you planned—you’ll need to account for actual temperature, not just the clock.
- These bowls are heavier than plastic, which sounds minor until you’re washing a dozen bowls after a three-loaf bake day and your wrists start reminding you why lightweight matters.
I once convinced myself I could skip looking at the dough during autolyse and just set a timer, but then I couldn’t resist lifting the lid constantly anyway—having a clear bowl eliminated that temptation and actually saved me time. If you’re serious about understanding what autolyse actually does, grab the Anchor Hocking 10 Piece Mixing Bowl Set.
This post contains affiliate links. As an Amazon Associate, I earn from qualifying purchases at no extra cost to you.