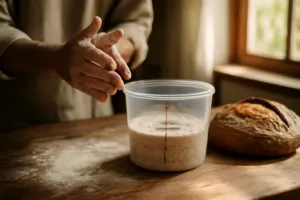
It was 6 a.m. on a Sunday, and I was standing in my kitchen in mismatched socks, staring at a bowl of sourdough that had absolutely refused to rise overnight. My in-laws were arriving at noon for brunch. I had promised them fresh sourdough. I had, in fact, bragged about it. “Oh, I’ll make my famous loaf,” I said, waving my hand like some kind of artisan bread wizard. The dough just sat there, flat and indifferent, like it had heard me bragging and decided to humble me. If you’ve ever needed to speed up slow down sourdough fermentation on the fly, you already know exactly the kind of panic I’m talking about.
That Sunday taught me more about fermentation temperature than any book ever could. Because here’s the thing I hadn’t fully respected yet: sourdough doesn’t run on your schedule. It runs on temperature. And once you understand that, you get to be the one in charge for a change.
Why Temperature Is Everything in Sourdough Fermentation
Your sourdough starter is a living culture of wild yeast and lactic acid bacteria, and like all living things, it is deeply sensitive to its environment. Temperature is the single biggest lever you have for controlling how fast or slow fermentation moves. Warmer temperatures speed up yeast activity and bacterial reproduction. Cooler temperatures slow everything down dramatically.
The sweet spot for active bulk fermentation is generally between 75°F and 80°F (24°C to 27°C). At this range, a healthy starter can complete bulk fermentation in roughly four to six hours. Drop below 70°F and things slow down noticeably. Go above 85°F and your dough can over-ferment before you even realize it’s happening. The bacteria start producing more acetic acid at cooler temps, giving you that deep, tangy sourdough flavor. At warmer temps, lactic acid dominates, producing a milder, creamier taste. So when you manipulate temperature, you’re not just controlling timing, you’re influencing flavor too.
Back to that Sunday morning. My kitchen in January sits at around 64°F. My dough had been sitting out all night going essentially nowhere. I had unknowingly set myself up for a very slow ferment with zero plan for recovery. What I needed was a way to gently warm things up, fast.
How to Speed Up Sourdough Fermentation Without Wrecking Your Dough
When you need to move things along, gentle and consistent warmth is your best friend. Here are the methods that actually work.
Use a Seedling Heat Mat
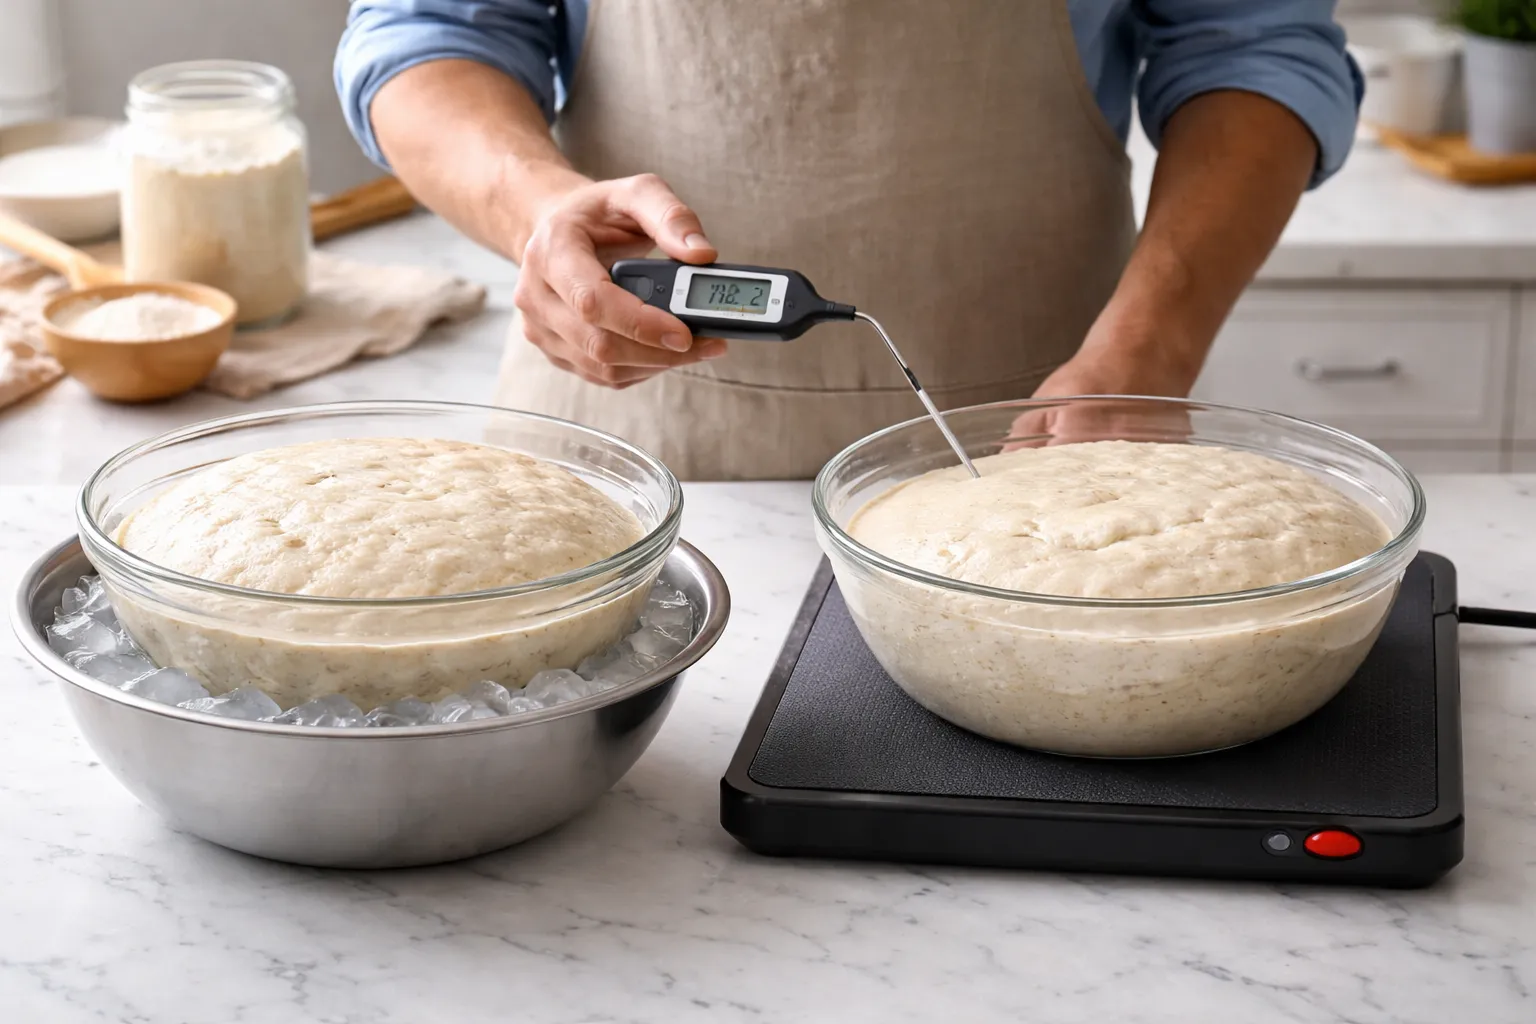
This is the method that saved my Sunday brunch, and honestly it changed my baking life. A seedling heat mat designed for plant germination produces a gentle, low-level warmth that is absolutely perfect for proofing sourdough. I set my bowl on the mat, draped a damp towel over it, and watched my dough finally wake up and start doing its thing. Within about two hours it had caught up beautifully.
I now keep two options on hand depending on what I need. For precise temperature control, I love the VIVOSUN 10″x 20.75″ Seedling Heat Mat and Digital Thermostat Combo Set. The thermostat lets you dial in an exact temperature, which is genuinely brilliant for consistent results. When I want something simpler, the VIVOSUN Durable Waterproof Seedling Heat Mat is my grab-and-go option. It runs about 10 to 20 degrees above ambient room temperature, which in a cool kitchen is usually exactly what you need. Another solid choice is the BN-LINK Durable Seedling Heat Mat, which is ETL listed and super reliable. All three are waterproof, easy to wipe clean, and genuinely earn their counter space.
The Oven Light Trick
Place your dough inside your oven with just the oven light turned on. In most ovens this raises the interior temperature to somewhere between 75°F and 80°F, which is that ideal fermentation zone. Do not turn on the oven itself. Just the light. I know it sounds too simple, but it genuinely works.
Warm Water During Mixing
One of the easiest ways to influence fermentation speed is to adjust the temperature of your water at mixing time. Using water between 85°F and 90°F when you mix your dough gives your starter a warm, welcoming environment right from the start. This is called controlling your dough temperature, and professional bakers do it obsessively. You want your final dough temperature after mixing to land around 76°F to 78°F for optimal activity.
Know Your Actual Temperature
None of this works if you’re just guessing at temperatures. A reliable instant-read thermometer is essential for checking your water temp, your dough temp, and your proofing environment. I use the Alpha Grillers Meat Thermometer Digital for quick reads on everything from water to dough to my finished loaf. The ThermoPro Digital Instant Read Meat Thermometer is another great option with a backlit display that I can actually read in my dimly lit kitchen at 6 a.m. without squinting. Both give you accurate readings in seconds and make a genuinely noticeable difference in your consistency.
How to Slow Down Sourdough Fermentation When You Need More Time
Sometimes life goes the other way. Your dough is moving faster than expected, your plans change, or you simply want more scheduling flexibility. The refrigerator is your greatest tool here.
Cold Proofing in the Refrigerator
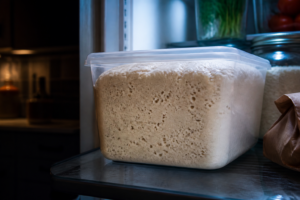
After shaping your loaf, place it in a well-floured banneton or a lined bowl, cover it loosely with plastic wrap or a shower cap, and slide it straight into the fridge. At 38°F to 40°F, fermentation slows to a near crawl. You can cold proof for anywhere from 8 hours to 48 hours. This is not just a delay tactic; it’s actually a flavor-building technique. The long, cold ferment gives the bacteria time to develop deeper, more complex flavor compounds. Many bakers, myself included, actually prefer the flavor of a long cold-proofed loaf over one baked the same day.
Slow Down Bulk Fermentation Too
You can also slow down bulk fermentation by placing your covered dough bowl in the refrigerator for a few hours before shaping. This is a great trick if you’ve started a dough and then gotten distracted by, say, a text from your in-laws saying they’re arriving an hour early. Hypothetically.
Use Cooler Water at Mixing
Just as warm water speeds things up, cold water slows things down at the start. If your kitchen is warm in summer and you want to extend your bulk fermentation window, using water around 65°F to 68°F at mixing time gives you more control over your timeline from the very beginning.
The Heat Mat That Turned My Kitchen Into a Fermentation Box
When your sourdough needs to rise faster but your kitchen is 68°F and stubborn about it, a heat mat with built-in temperature control stops you from playing guessing games with your oven light or proofing box. This is the tool that finally let me dial in consistent fermentation times instead of crossing my fingers.
What works
- The digital thermostat holds steady at whatever temp you set (I keep mine at 78°F for bulk fermentation), so you’re not getting wildly different rise times between winter and summer.
- The 10″x20.75″ surface is exactly wide enough to fit a standard banneton or Dutch oven without taking over your whole counter.
- I can see the actual dough temperature on the thermostat display instead of trusting my instincts—which, let’s be honest, have failed me before.
What doesn’t
- It takes up permanent real estate on the counter (or you have to store it away between bakes), so if you’re in a tiny kitchen, this is a commitment.
- The thermostat sensor cord is kind of stiff and awkward to position, and I’ve had moments where the reading felt a degree or two off until I repositioned it against the bowl directly.
I almost returned it the first time I got a reading of 82°F when I knew my room was closer to 70—but then I realized the probe was sitting an inch away from the dough instead of touching it. VIVOSUN 10″x 20.75″ Seedling Heat Mat and Digital Thermostat Combo Set
This post contains affiliate links. As an Amazon Associate, I earn from qualifying purchases at no extra cost to you.