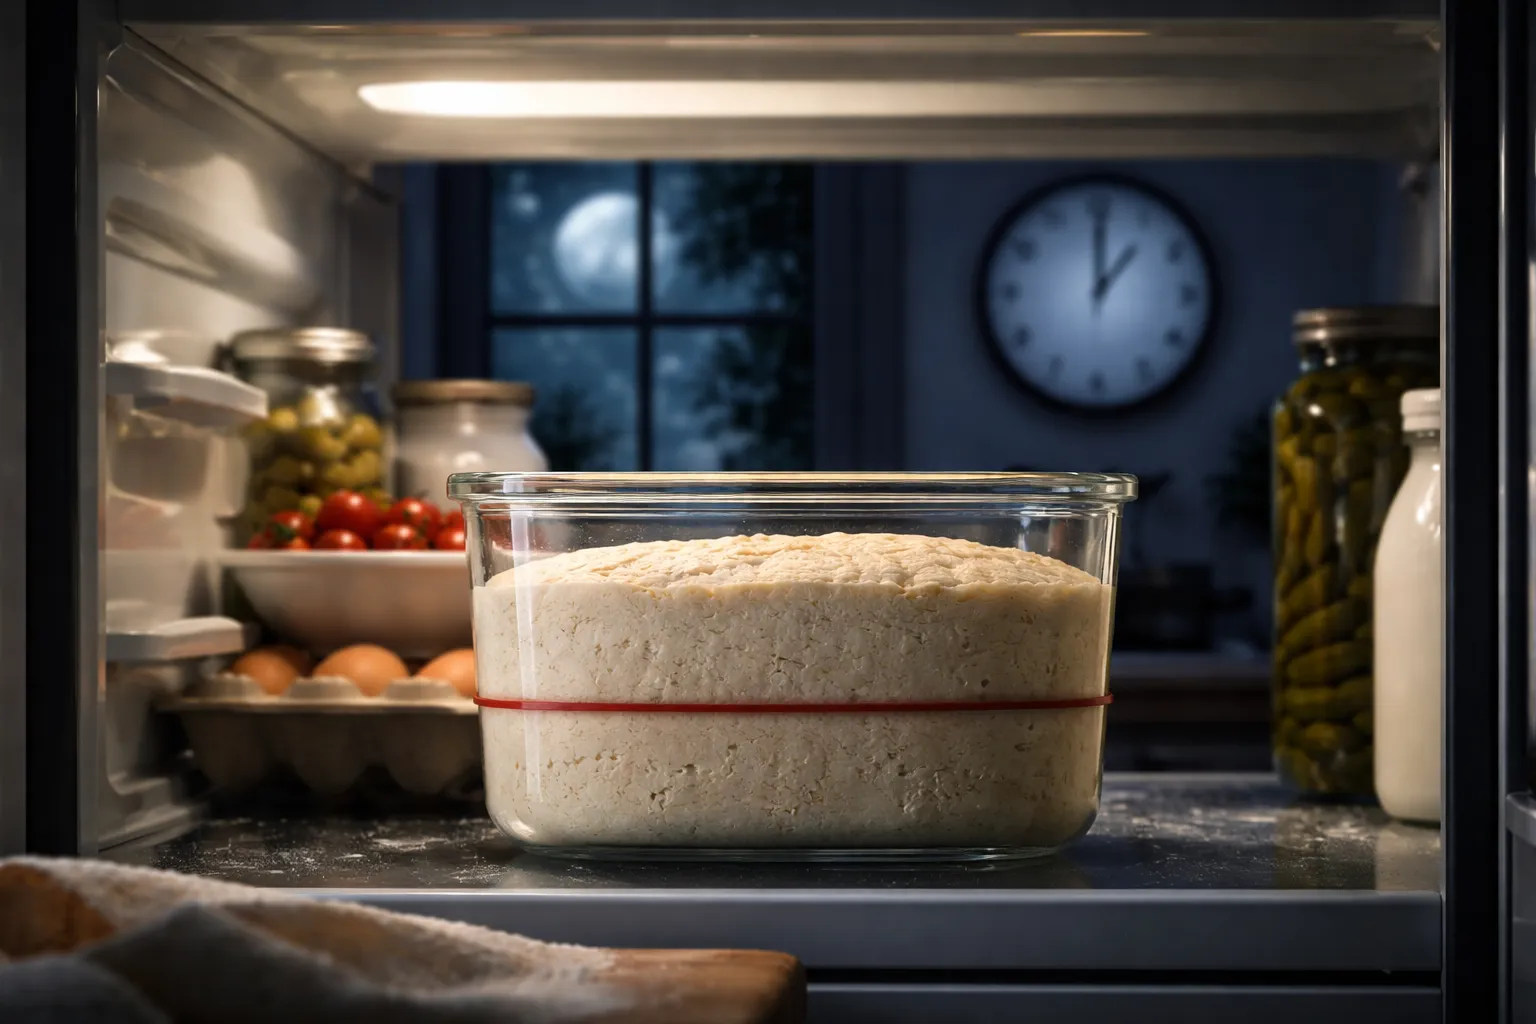
It was 11:47 PM on a Tuesday, and I was standing in my kitchen in mismatched socks, frantically googling “can you over-proof sourdough in the fridge” with flour-dusted hands, while my dough sat on the counter like a silent accusation. I had started my overnight bulk ferment sourdough journey approximately four hours earlier with enormous confidence. Now I was just tired, confused, and deeply questioning my life choices.
Sound familiar? If you have ever tried to wrangle a sourdough schedule around a normal human sleep cycle, you know the specific chaos I am describing. The recipes say things like “bulk ferment for 4 to 12 hours depending on temperature” and you think, great, that is very helpful, thank you. You do the math. You start your dough. And then somehow, no matter what time you begin, you end up either skipping sleep entirely or waking up to a dough that has gone fully rogue.
I am here to tell you that I have been on both sides of that disaster, and I have finally figured out how to make the overnight bulk ferment sourdough process actually work with a real schedule. And weirdly, the breakthrough came from one of my most embarrassing baking failures. But we will get there.
Why Timing the Overnight Bulk Ferment Sourdough Method Feels So Impossible at First
Here is the thing nobody tells you clearly when you start baking sourdough: bulk fermentation is not a fixed time. It is a temperature-dependent process, and your kitchen does not care about your bedtime. In the summer, a dough sitting at 78°F might be fully fermented in four to five hours. In the winter, that same dough at 66°F might need ten to twelve hours to reach the same point. Same recipe. Wildly different outcomes depending on when and where you leave it.
This is why so many home bakers end up accidentally over-proofed or under-proofed. We follow a recipe by the clock instead of by the dough. And when you are trying to sleep in between steps, the stakes get even higher because you cannot check in every hour and course-correct.
The solution is not a stricter schedule. It is using your refrigerator strategically, knowing your kitchen temperature with actual accuracy, and having the right containers so you can see what your dough is doing at a glance. Once I understood those three things, overnight bulk ferment sourdough stopped being a stress dream and started being my favorite baking method.
My Gear: What Actually Makes This Method Work
Before I walk you through the method itself, let me show you what I use, because the right tools genuinely changed everything for me.
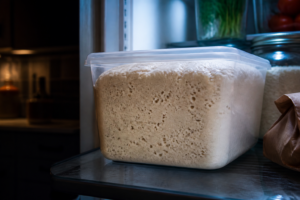
The Container That Finally Let Me See What’s Actually Happening in There
When you’re doing an overnight bulk ferment, you’re flying blind half the time—literally staring at an opaque container at 2 AM trying to guess if your dough has risen enough. A clear container with a tight seal solves that problem and lets you actually *watch* your fermentation without opening the lid every hour and letting warm air escape.
What works
- The clear polycarbonate walls let you monitor rise and bubbling without lifting the lid, so you can see exactly when your bulk is actually done instead of guessing by time alone.
- 2-quart capacity is the sweet spot for a single loaf’s dough—big enough to accommodate a good 75% hydration rise without overflow, but not so huge that you’re left with excess empty space that traps too much air.
- The snap-on lid seals tight enough to prevent your dough from drying out during an 8–14 hour cold overnight ferment, but it’s not airtight so gentle gas escape never becomes an issue.
What doesn’t
- The lid doesn’t have a vent, so if you’re fermenting at room temperature and things get vigorous, you might create enough pressure to pop the lid slightly—learned that one the hard way.
- Polycarbonate scratches easily from scrapers and repeated handling, so after six months of regular use your container starts looking cloudy and visibility actually decreases when you need it most.
I almost returned mine after week two when the bottom corner fogged up so badly I couldn’t see my dough anymore, but then I realized I could just rotate the container during fermentation to use the clearest side. Cambro RFSCW2135 Camwear 2-Quart Clear Round Food Storage Container with Lid
This post contains affiliate links. As an Amazon Associate, I earn from qualifying purchases at no extra cost to you.