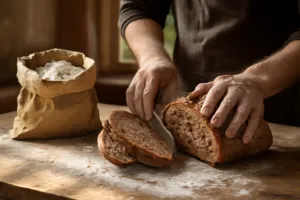
I still remember standing at my kitchen counter, staring at what could only be described as a very expensive, very heavy doorstop. It was a Tuesday evening, the house smelled amazing, and I had just unmolded my very first spelt sourdough bread onto the cooling rack. It thudded. Like, actually thudded. My husband wandered in from the living room and asked if I had dropped something. Reader, I had not dropped something. That was my loaf.
I had been baking sourdough for about two years at that point, and I thought I knew enough to just swap in a new flour and wing it. Spoiler: you cannot just swap in a new flour and wing it. But that dense, gummy, honestly kind of sad loaf was also the beginning of one of my favorite baking obsessions, because spelt sourdough bread is genuinely extraordinary when you understand what you are working with. It took me three more loaves, a lot of reading, and one very honest conversation with myself about hydration ratios before I got there. And now I want to save you all of that pain.
What Makes Spelt Different From Regular Wheat
Spelt is an ancient grain, a distant cousin of modern wheat that has been cultivated for thousands of years. It has a nutty, slightly sweet flavor that is genuinely unlike anything you get from white or even whole wheat flour. That flavor alone is worth the learning curve. But here is the thing that tripped me up completely: spelt behaves very differently from wheat during fermentation and baking, and if you go in expecting it to act like bread flour, you are going to end up with your own doorstop moment.
Spelt does contain gluten, but the gluten structure is more fragile and more extensible than wheat gluten. It absorbs water quickly and it can over-ferment fast. The dough can go from perfectly developed to slack and sticky in what feels like minutes. This is not flour you can leave on the counter and forget about. It needs attention, and once you give it that attention, it rewards you with the most gorgeous, complex, earthy loaf you have ever tasted.
The Spelt Flour That Actually Holds Together
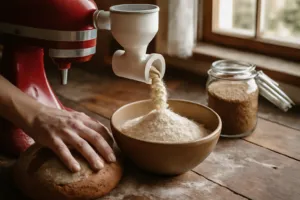
Spelt is notoriously thirsty and structurally fragile — it absorbs water differently than bread wheat and its gluten network is weaker, which means your flour choice genuinely matters. I learned this the hard way after that doorstop loaf, when I realized I’d been reaching for whatever spelt was cheapest at the co-op.
What works
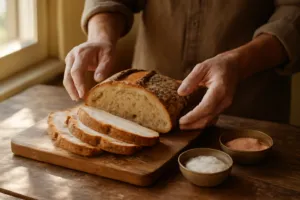
- The protein structure feels noticeably more stable in the dough — I could actually stretch and fold without the dough tearing apart like tissue paper.
- Hydration absorption is more predictable; I stopped having to guess whether I needed 65% or 75% water because this flour behaves more consistently batch to batch.
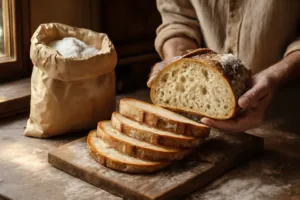
- The final loaf has actual crumb structure instead of that dense, gummy interior — you can see irregular air pockets instead of a sad, compact brick.
What doesn’t
- It costs more than standard whole wheat flour, so you’re not going to use this for every weeknight loaf if you’re budget-conscious.
- Even with a “better” flour, spelt still ferments faster than you’d expect — you can’t bake it on the same schedule as your usual white or whole wheat sourdough without adjusting timings.
I was skeptical that swapping flour could actually fix what felt like a fundamental technique problem, but my second attempt with this one was genuinely different. Nature’s Legacy VitaSpelt Organic Whole Spelt Flour
This post contains affiliate links. As an Amazon Associate, I earn from qualifying purchases at no extra cost to you.