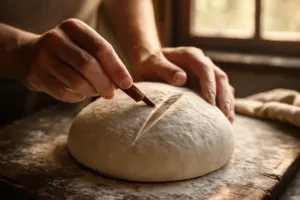
I still remember standing at my kitchen counter at 11pm, staring at what was supposed to be a beautiful sourdough batard. Instead, it looked like a deflated football someone had sat on. The dough had spread sideways into a sad, pancake-like oval, and I had absolutely no idea what I had done wrong. That was three years ago, and if you’ve ever Googled “how to shape sourdough batard” at midnight in a flour-dusted panic, this post is for you.
Back then, I had been baking sourdough for about six months. My starter was healthy, my timing was decent, and I thought I understood the process. Shaping felt like the easy part. Spoiler: it was not the easy part. I wasted probably eight pounds of flour and countless Saturday mornings before something finally clicked. Today I want to walk you through exactly what I learned, so you can skip straight to the good stuff.
What Is a Batard, and Why Is It Worth the Effort?
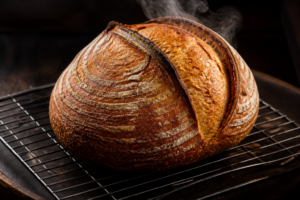
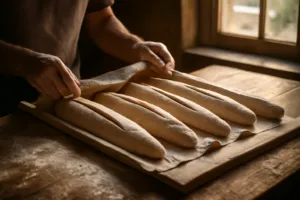
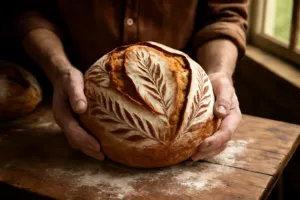
A batard is an oval-shaped loaf, somewhere between a round boule and a long baguette. The word is French, and yes, it does technically mean what you think it means. Bakers have a sense of humor. The shape is wonderfully practical though. The oblong form gives you longer slices, a gorgeous ear when scored diagonally, and a crumb structure that holds up beautifully for sandwiches. Once you nail it, it becomes the loaf you make to impress people.
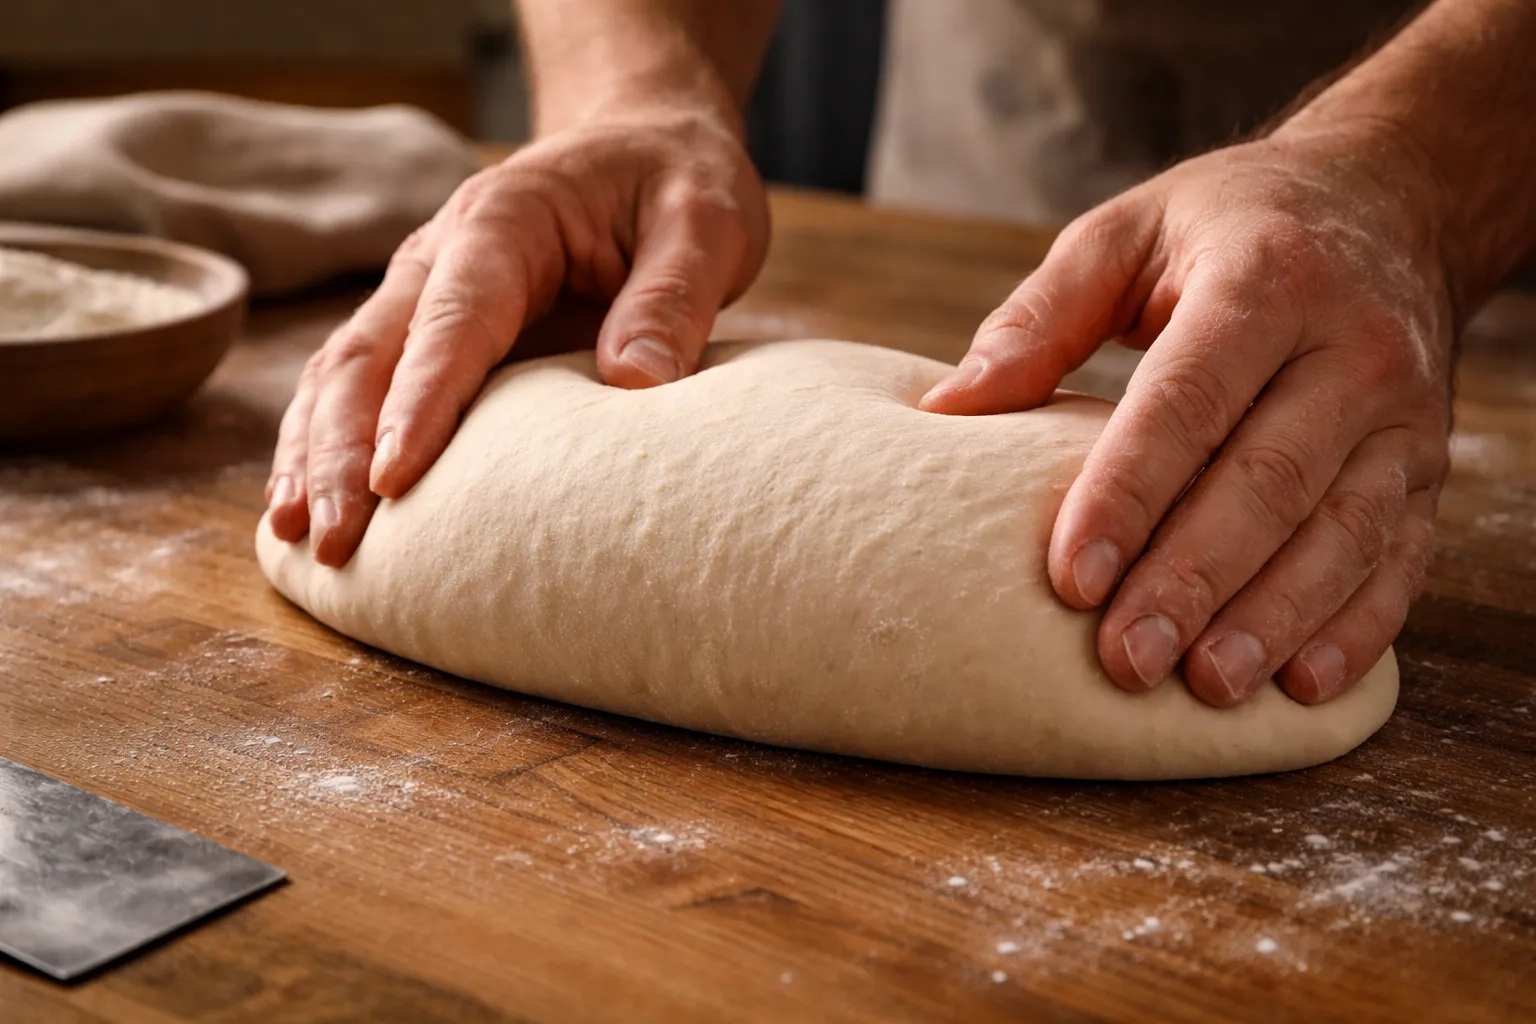
The challenge is that shaping a batard requires you to build real surface tension in the dough without deflating all those precious bubbles you worked so hard to develop during bulk fermentation. That balance is everything. Too gentle and the loaf spreads. Too rough and you knock out the air. I learned this the hard way, repeatedly, before I finally slowed down and paid attention to what the dough was actually telling me.
The Banneton That Stopped My Dough From Spreading Into a Pancake
A good proofing basket does half the work of shaping—it holds your dough upright during the final proof so it rises tall instead of splaying sideways into that deflated-football shape. I learned this the hard way after my first dozen batards collapsed, and it changed everything about how my shaped loaves turned out.
What works
- The natural rattan holds dough tension beautifully—your shaped batard stays firm and compact instead of relaxing into a wide, flat oval during the cold proof.
- Two liners means you can proof one batard while the other is in the oven, or have a backup when one develops those stubborn wet spots that won’t dry out.
- The cloth liners are thick enough that they don’t stick to your dough seam-side, even when you’re doing a longer overnight cold proof and condensation builds up.
What doesn’t
- The rattan baskets need to be seasoned with flour or rice bran before your first use, or your dough will stick to bare wicker spots no matter how well you flour the liner.
- At this price point, you’re getting a functional basket, not a restaurant-quality one—the rattan can splinter slightly if you’re rough with it, so treat it gently when you’re turning out your shaped dough.
I’ll admit I was skeptical about buying a banneton—seemed like an unnecessary expense when I had mixing bowls lined with towels—but after my third dough escape from a makeshift “proofing basket,” I grabbed this set, and I’ve never looked back. 2 Pcs Bread Proofing Basket Cloth Liner Baking Dough Basket Cover Natural Rattan Banneton Proofing Cloth
This post contains affiliate links. As an Amazon Associate, I earn from qualifying purchases at no extra cost to you.