I still remember the first time I tried to proof a sourdough loaf without a banneton. I had shaped my dough, set it on a floured kitchen towel in a bowl, and went to bed feeling pretty proud of myself. By morning, it had spread out into a sad, flat disc — more frisbee than boule. That disaster sent me down a rabbit hole of research, and it’s exactly what led me to putting together this banneton proofing basket guide for anyone else who’s been there. Trust me, the right tool genuinely changes everything.
What Is a Banneton Proofing Basket and Why Do You Need One?
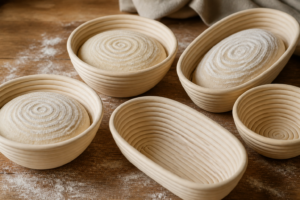
A banneton — also called a brotform or proofing basket — is a structured basket, typically made from rattan, cane, or wood pulp, that supports your shaped sourdough dough during its final proof. Unlike a regular bowl, a banneton holds the dough in shape while it ferments, preventing that dreaded pancake spread and giving your loaf the height and tension it needs to open beautifully in the oven.
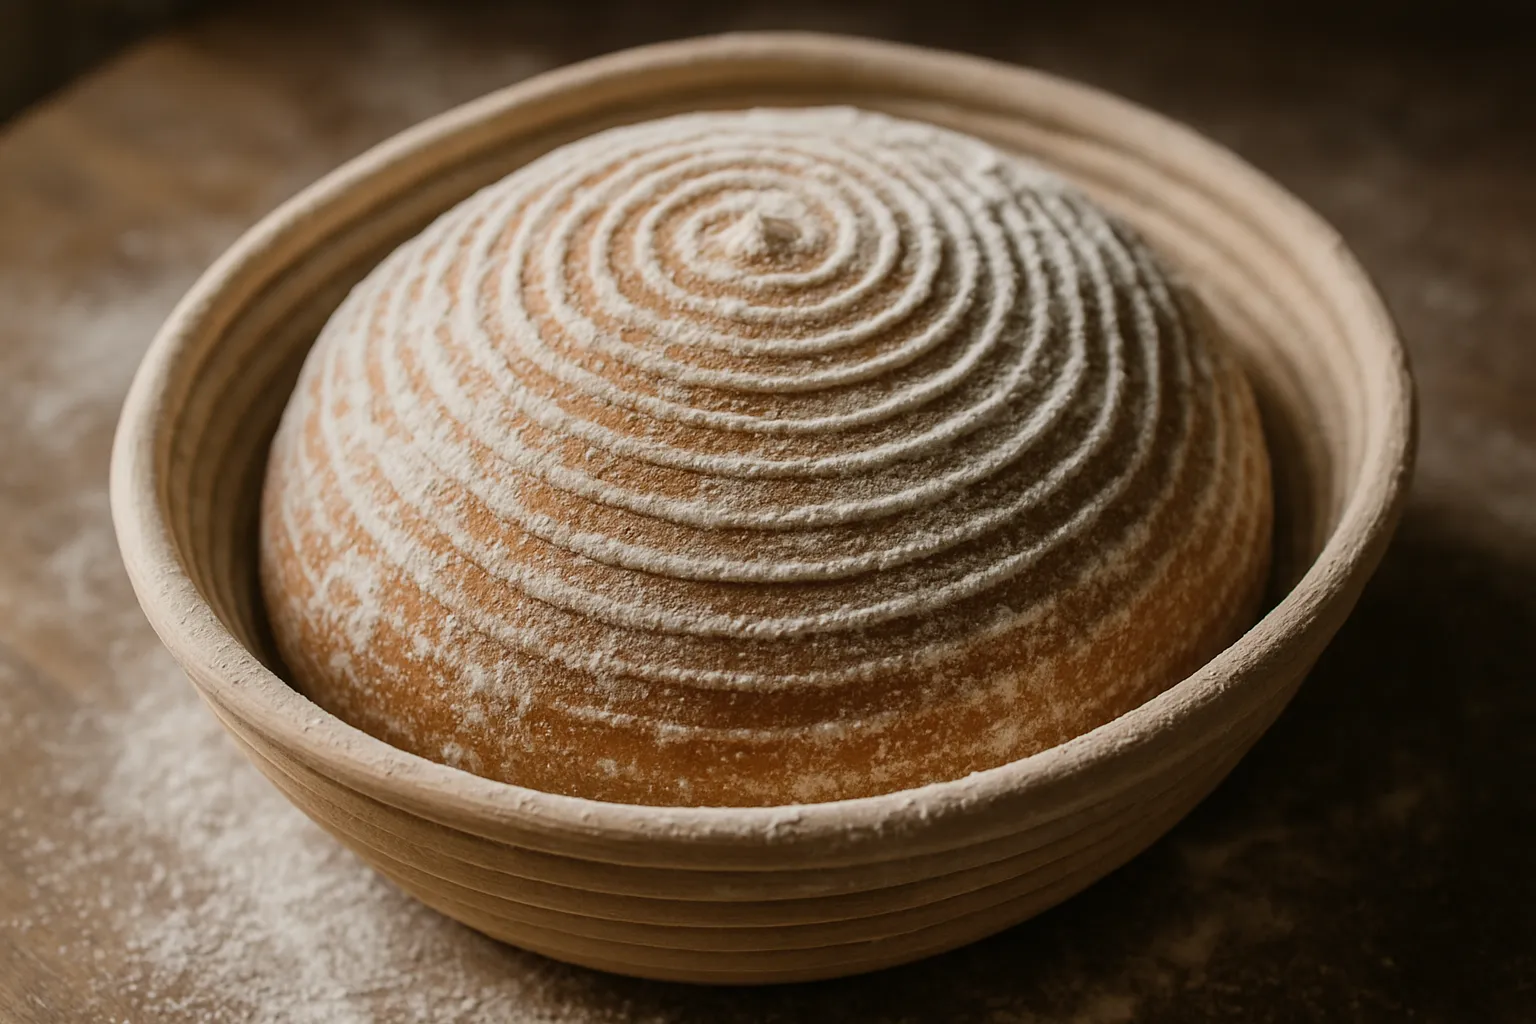
Beyond structure, bannetons do something else I absolutely love: those gorgeous spiral rings you see on artisan-style sourdough loaves? That’s the banneton at work. The coiled rattan leaves a signature pattern on the dough’s surface that makes your homemade bread look like it came straight out of a professional bakery. It’s one of those small details that makes the whole process feel like a craft.
How to Use a Banneton Proofing Basket: Step by Step
Seasoning Your Banneton Before First Use
Before you ever put dough in your new banneton, you need to season it. Lightly mist the inside with water, then dust generously with a 50/50 mix of rice flour and all-purpose flour. Rice flour is the secret weapon here — it doesn’t absorb moisture the way wheat flour does, which means it creates a far more reliable non-stick surface. Work the flour into all the coils with your fingers, tap out any excess, and let the basket dry completely before using it.
Preparing the Basket for Each Bake
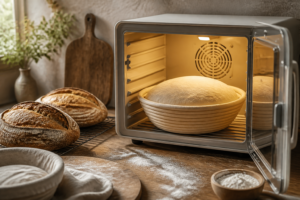
Each time you use your banneton, dust it again with that rice flour blend. Don’t be shy — a well-floured basket is a dough-release basket. Place your shaped dough seam-side up into the basket (the seam goes up because it will face down when you flip it onto your baking surface). Cover it loosely with a shower cap or plastic wrap and either cold-proof it in the fridge overnight or let it proof at room temperature for two to four hours, depending on your dough and your kitchen temperature.
Transferring the Dough to Your Baking Surface
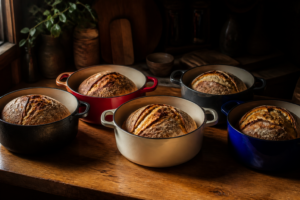
When you’re ready to bake, flip the banneton directly over your preheated Dutch oven or onto parchment paper in one confident, decisive motion. Hesitation is the enemy here — a quick flip releases the dough cleanly. Score immediately and get it into that hot oven. If your dough ever sticks, you haven’t lost the loaf. Just gently coax it free with a bench scraper and reshape the surface as best you can before scoring.
Choosing the Right Banneton Size
Size matters more than you might think, and getting it wrong leads to either dough overflowing the basket or a loaf that doesn’t have enough support to hold its shape. Here’s a simple way to think about it:
- 9-inch round banneton: Best for loaves made with 500–750g of flour. This is the most common size for a standard home sourdough recipe and the one I reach for most often.
- 10-inch round banneton: Great for larger batard-style loaves or recipes using 750g–1kg of flour. Also gives more flexibility if you like a lower-hydration dough that spreads slightly more.
- Oval banneton: Ideal for a batard shape — the elongated loaf that’s fantastic for sandwich slices. An oval basket gives you a beautifully shaped loaf with more surface area for scoring.
My honest advice? Start with a 9-inch round if you’re just getting into sourdough. It fits the most widely taught beginner recipes and gives you a classic boule shape to practice with.
The Banneton That Finally Stopped My Dough From Spreading Into a Pancake
A banneton with a quality liner does more than just hold your shaped dough—it actually supports the gluten structure during the cold proof so your loaf rises up instead of out. I learned this the hard way after that kitchen-towel disaster, and it completely changed how my boules proof overnight.
What works
- The linen liner has enough texture to grip the dough without sticking, so when I turn out onto my peel in the morning, there’s no wrestling or deflating.
- The 9-inch size fits a standard 500–600g shaped loaf perfectly—tight enough to support vertical rise during an 8–12 hour cold proof, but not so tight that I’m fighting the dough.
- The rattan bowl underneath holds its shape season after season; I’ve been using mine for two years and it hasn’t warped or started falling apart like some cheaper baskets I’ve tried.
What doesn’t
- The liner can take a few washes to fully break in—the first couple of times I used it, it felt a bit slippery until the flour really seasoned into the weave.
- At this price point, you’re getting one basket with one liner, so if you’re baking multiple loaves a week like I do, you’ll either need to hand-wash between bakes or buy a second one.
I was skeptical that a banneton would make that much difference—I figured a shaped dough was a shaped dough—but the first time I pulled my loaf out of this one and it actually held its height, I was a believer. Saint Germain Bakery Premium Round Bread Banneton Basket with Liner (9 inch)
This post contains affiliate links. As an Amazon Associate, I earn from qualifying purchases at no extra cost to you.