The Global Heritage of Wild Yeast
San Francisco often dominates the conversation regarding sourdough. However, the history of capturing wild yeast dates back much further. Ancient Egypt is likely the true birthplace of leavened bread. Consequently, this tradition spans thousands of years and crosses every continent. Local bakers adapted fermentation to their specific grains and climates. Therefore, the definition of sourdough changes depending on where you travel.
The beauty of fermented bread lies in its adaptability. A baker in Turkey works with different wheat than a baker in Denmark, and the ambient temperature in a German bakery differs from that of a Portuguese village. These conditions create distinct microbial ecosystems, which is why the same starter can produce surprisingly different results across regions. Understanding this foundation helps us appreciate why these ten breads are so distinctly flavored and textured.
Ten Fermented Breads Worth Seeking Out
Here are ten fermented breads from around the world that demonstrate the incredible range of what wild yeast and time can achieve:
- San Francisco Sourdough (USA) — The dense, tangy classic with a crispy crust that comes from the cool San Francisco fog and the Lactobacillus plantarum strain native to the Bay Area.
- German Vollkornbrot (Germany) — A whole-grain rye bread fermented for 24+ hours, resulting in a dark, dense crumb with subtle sourness and earthy depth.
- French Pain au Levain (France) — Milder and less sour than San Francisco’s version, this bread emphasizes subtle flavor and an open crumb structure.
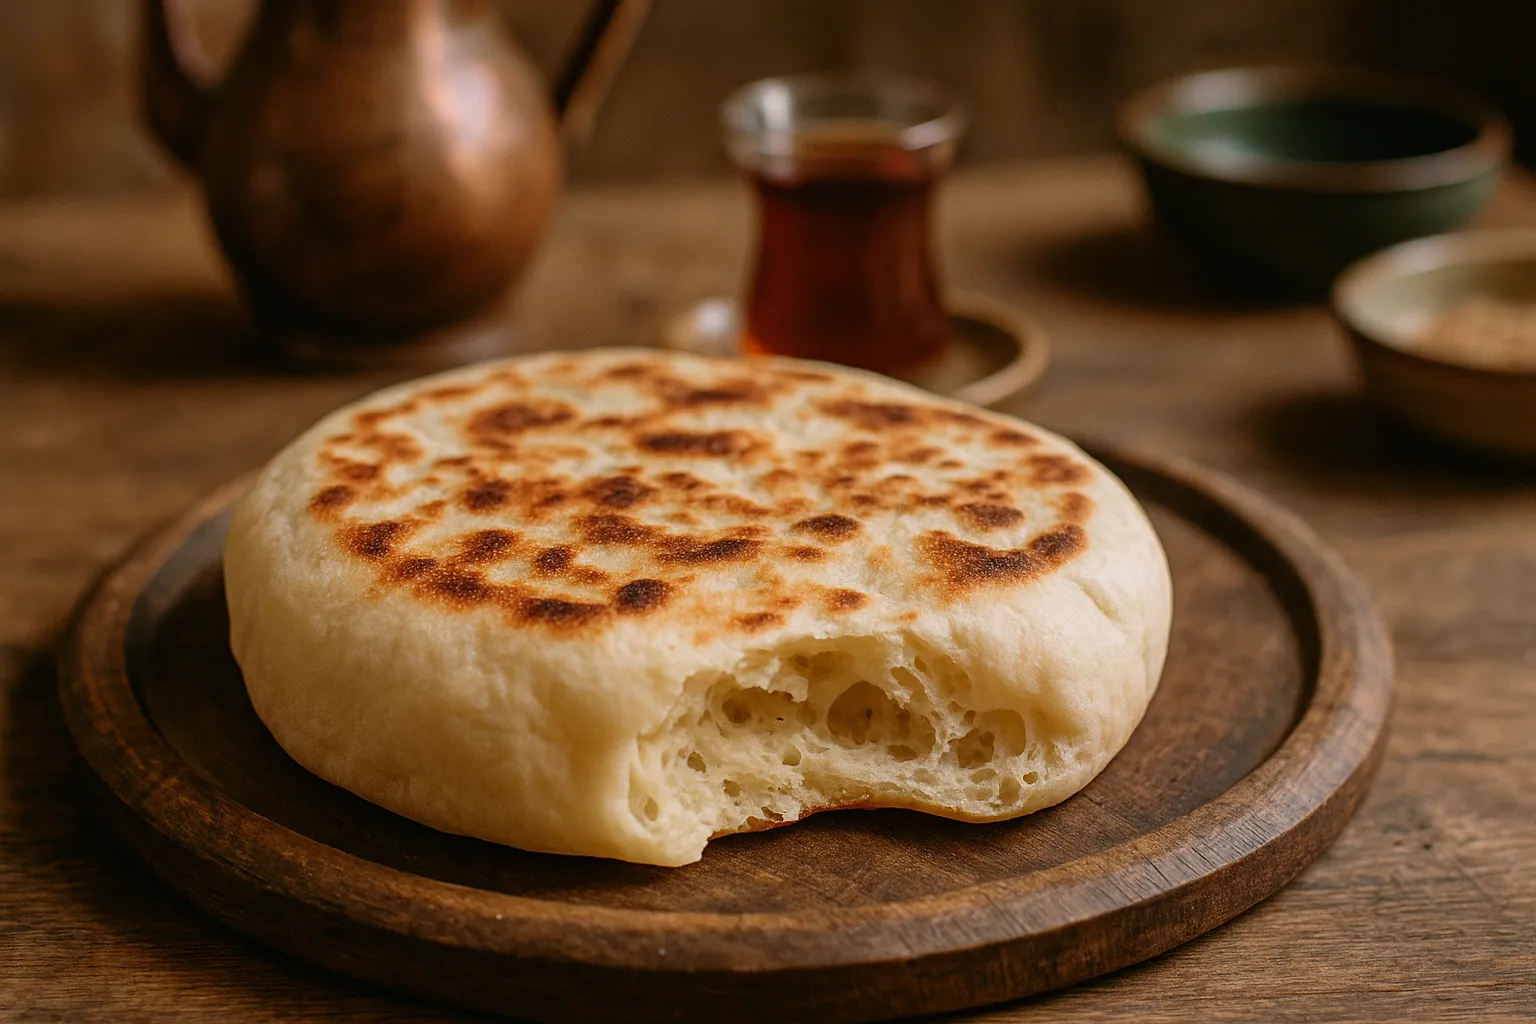
- Turkish Çörek (Turkey) — A slightly sweet, fermented flatbread often studded with sesame seeds and nigella, reflecting Middle Eastern baking traditions.
- Italian Pane Toscano (Italy) — Traditionally made without salt and with a long, cool fermentation that creates a subtle tang and tender crumb.
- Spanish Pan de Barra (Spain) — A crispy-crusted, open-crumb loaf with moderate sourness and a slightly malty flavor from extended fermentation.
- Portuguese Broa (Portugal) — A dense, slightly sweet rye and corn bread with a thick crust, traditionally fermented overnight.
- Danish Rugbrød (Denmark) — A dark rye bread fermented with caraway seeds, often containing seeds and grains throughout, with a distinctive tangy-sweet balance.
- Swedish Limpa (Sweden) — A lightly sweetened rye bread with hints of orange or anise, fermented long enough to develop complexity without harshness.
- Belgian Pain Artisanal (Belgium) — Often fermented with multiple types of grain, producing a nutty flavor and irregular crumb structure.
Why These Breads Matter
Each of these breads tells a story about its region’s climate, available grains, and cultural preferences. A northern European rye bread exists because rye thrives in colder climates and stores longer than wheat. Mediterranean breads often skip salt or minimize it, reflecting historical preservation methods and ingredient availability. By tasting these breads, you’re not just enjoying different flavors — you’re experiencing the intersection of microbiology, geography, and human ingenuity.
Starting a Starter When You’re Not Sure What You’re Looking For
If you’re exploring fermented breads from different cultures, you’ll quickly realize that not every starter behaves the same way — and building one from scratch to match a specific regional style takes time and patience you might not have. Having a reliable, proven starter on hand lets you focus on technique and flavor rather than wondering if your culture is even alive.